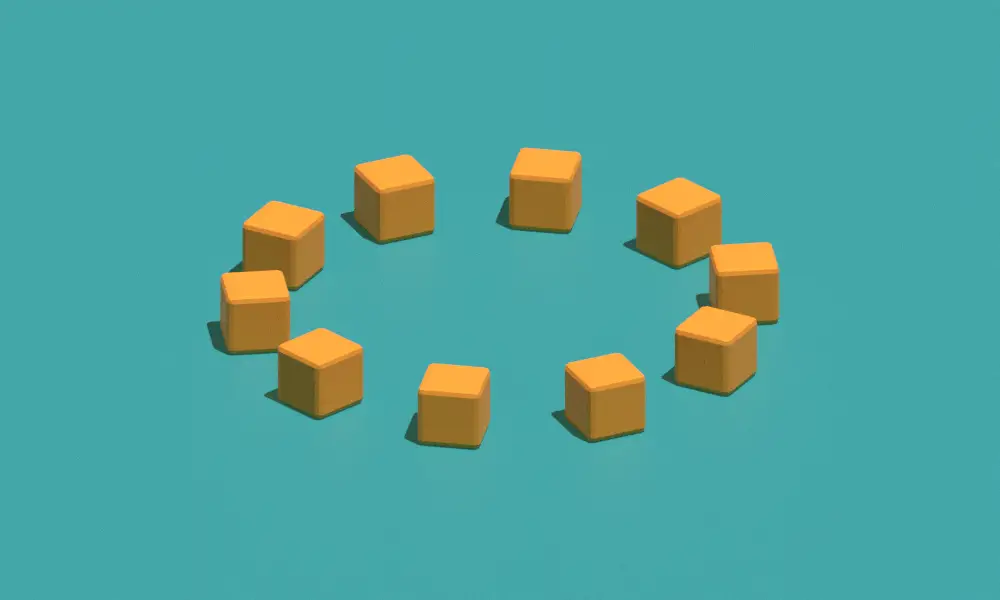
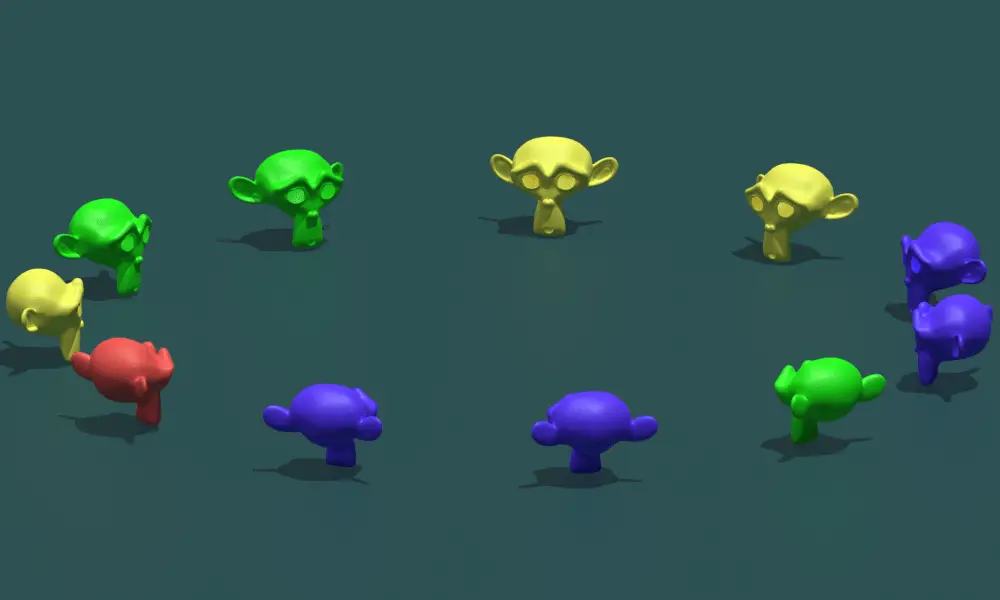
In this tutorial series, we are going to make a circular array using Geometry nodes in Blender, we first make a simple circular array, and all the instances in that array will be facing the same direction. And after that, we are going to modify that array in which the instances face the center of […]
Author: admin
Make a Circular Array in Blender
In this tutorial, we are going to make a circular array using the Array modifier and an Empty object. We will use Object offset feature of array modifier. Blender 2.93 is used.
In this tutorial, we are going to address an issue with the current method to make multiple instances. As we increase the number of vertices, the distance between the instance objects decreases. We are going to see why this problem occurs and what is the solution. Blender version 2.93 is used.
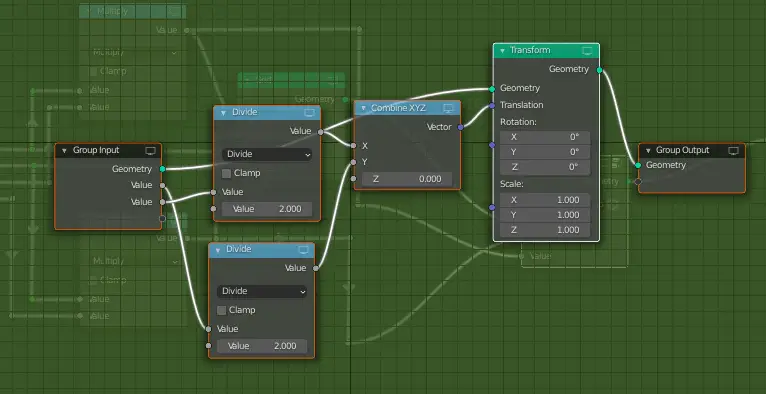
In this tutorial, we are going to combine some nodes into group. The benefit of doing this, is that our node system looks more organized this way. Blender version 2.93 is used.
In this tutorial, we will change the origin point of the instance objects. Originally, the instance objects are duplicated from the center and they instance to left and right sides. In our case, we want the instance object to increment on one side and not on the other just like the Array modifier. We want to change their instance origin. Blender version 2.93 is used.
In this tutorial, we are going to set up a parameter for the Distance between instance objects. We already have set up the number of instance objects and the size of the grid which can change the distance between the instance objects. But, in this tutorial, we are going to make distance a parameter but also keep the number of vertices affecting the size of grid. Blender version 2.93 is used.
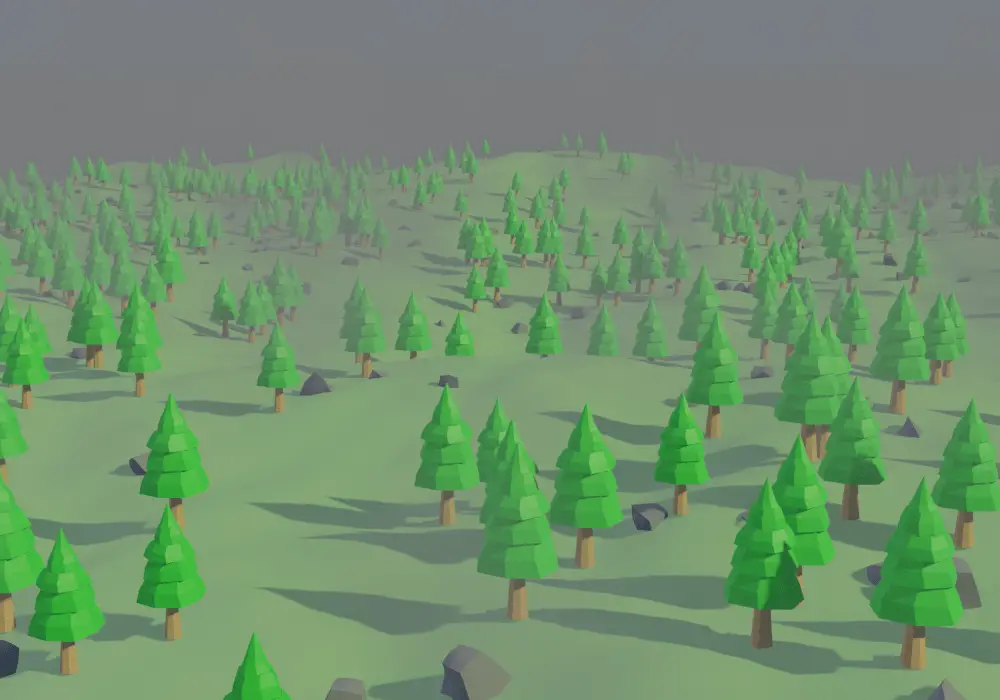
We are going to use Geometry Nodes to make multiple instances of an object or collection using Geometry Nodes. We will start by making a grid and then use point scattering on that grid. Points or objects are not randomly distributed, but they are placed at the place of the vertices. Blender version 2.93 is used.
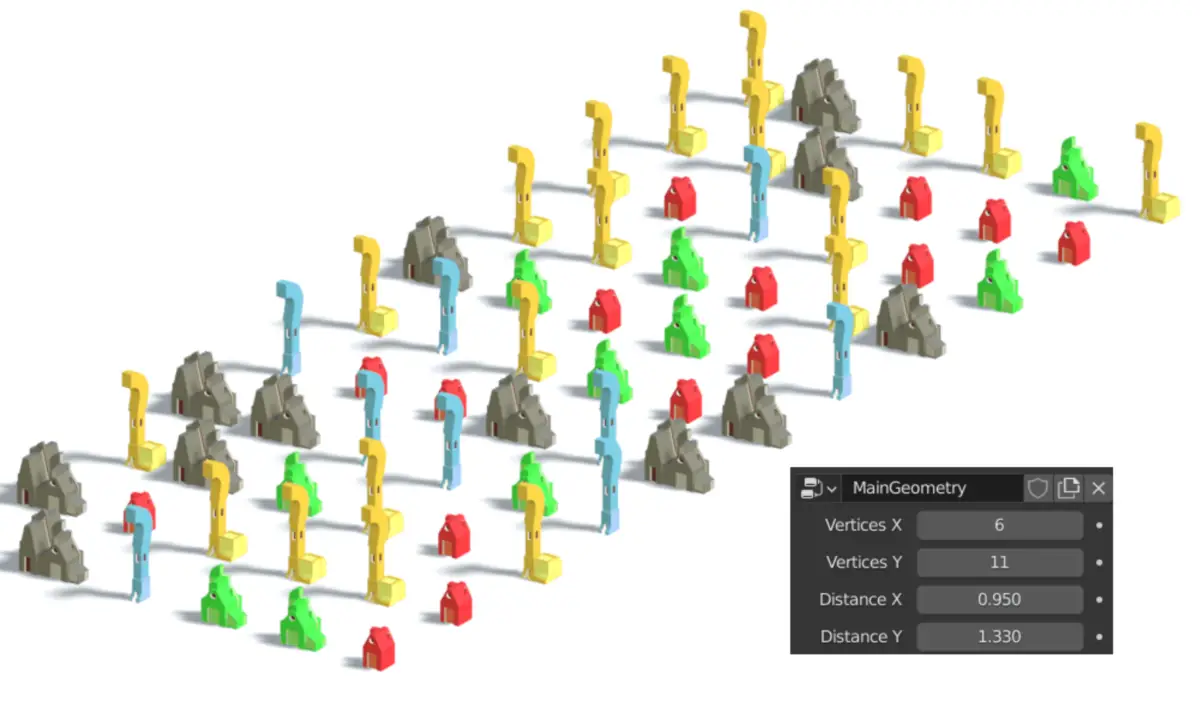
In this tutorial series, we are going to use Geometry Nodes to make multiple instances of an object or collection. This will be similar to array modifier. We will use a Grid geometry and add a Instance Object and Distance parameter in it. We will also see what type of problems may occur and how […]
In this tutorial, we are going to use Volume to make fog and animate it. We have chosen a scene that has already been made. The scene is covered by a large Volumetric Cube, we change density inside different parts of cube, this makes it looks like fog and finally we use those parameters to animate it. Blender version 2.93 is used.
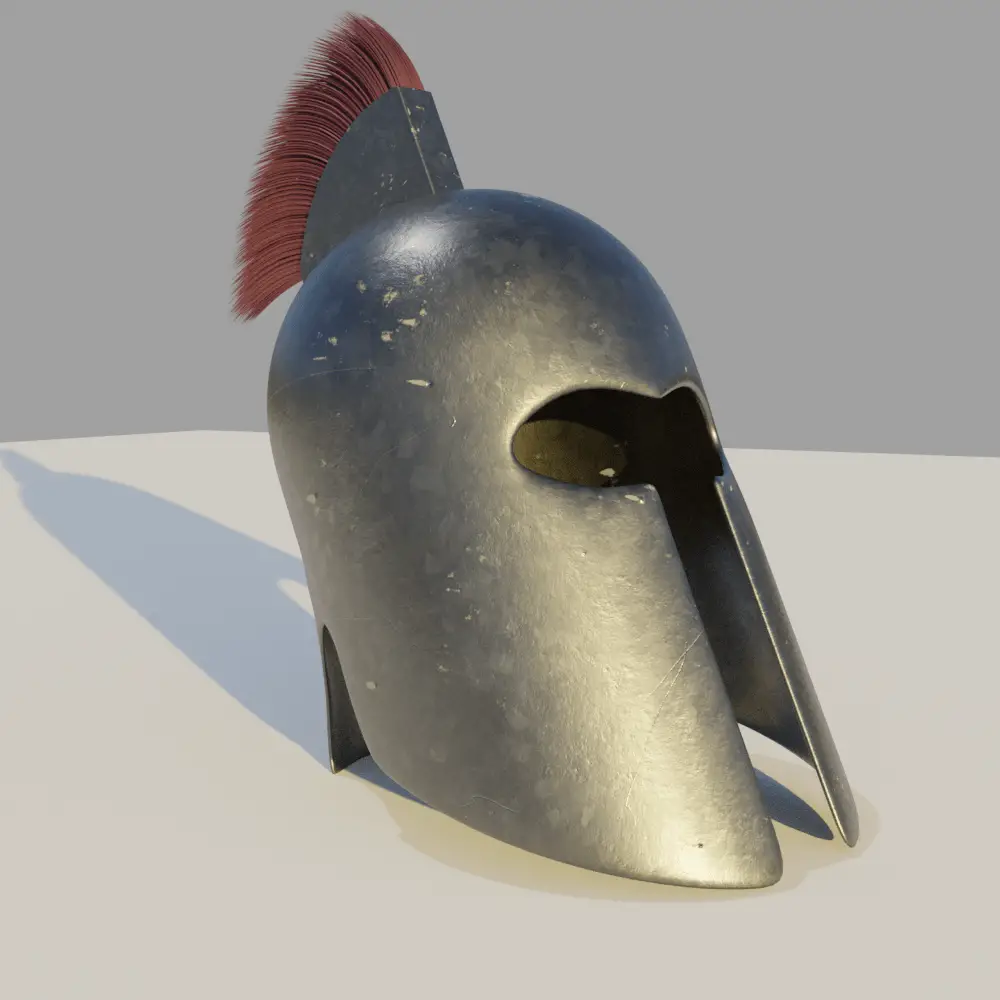
In this tutorial, we are going to apply Textures on the pre made Medieval Helmet. We are going to apply Color, Metallic, Roughness and Normal Map and after that we are going render it in cycles. Blender 2.92 is used.