Applying a Roughness Texture to the Model
Add another Image texture node, open the Roughness map and connect Color to the Roughness of the Principled BSDF node.
Choose the Color Space to be Non-Color.
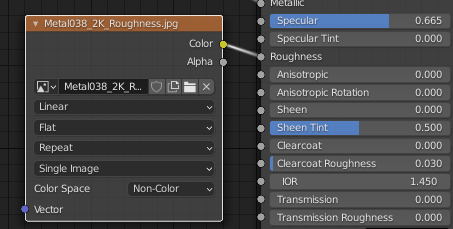
The Roughness map determines which part of the surface should shine more and which shouldn’t shine as much.
Applying a Normal Map to the Model
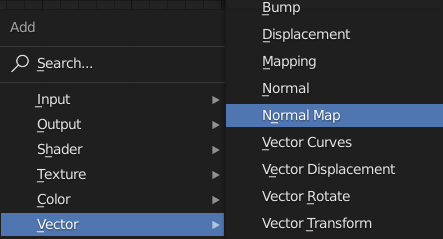
Now add another Image Texture node, we are going to add Normal Map node.
Click Add > Vector > Normal Map.
Set the Color Space of the normal map image texture to Non-Color.
Connect Color to the Color of the Normal Map, and connect Normal node of the Normal Map to the Normal of the Principled BSDF.
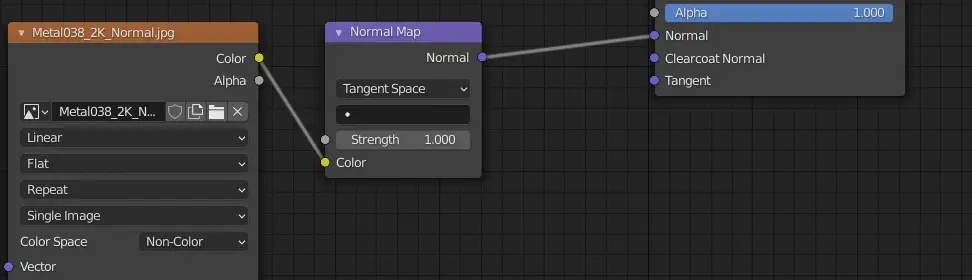
The Normal map determines fakes bumps and dents.
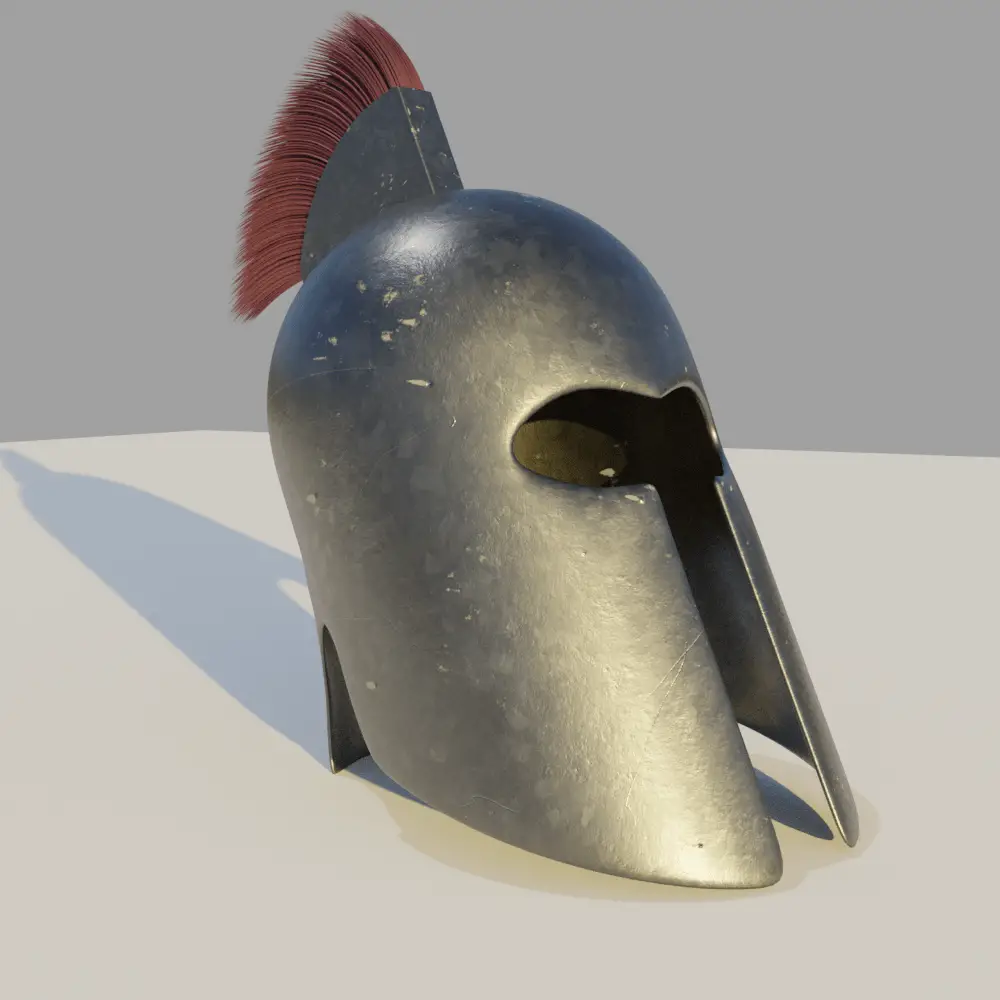
Fixing Stretching of the texture using Smart UV project
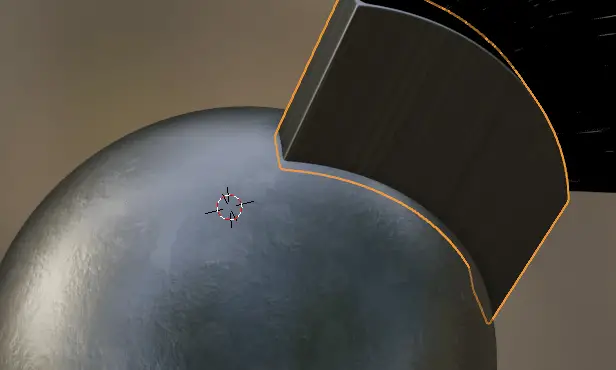
After applying all the textures, you may see stretching of the textures in some models.
The following model has stretched the texture.
To fix this, we will UV unwrap it. UV mapping is the process of projecting 2D images to 3D project.
In this case, we will use Smart UV Project, this way, blender automatically, determines how to apply the texture. This works for simpler models but it does not usually work for complex models.
Go to Edit Mode by pressing Tab key, select all the vertices by pressing A key, press U key, UV mapping menu will appear and Click Smart UV project.
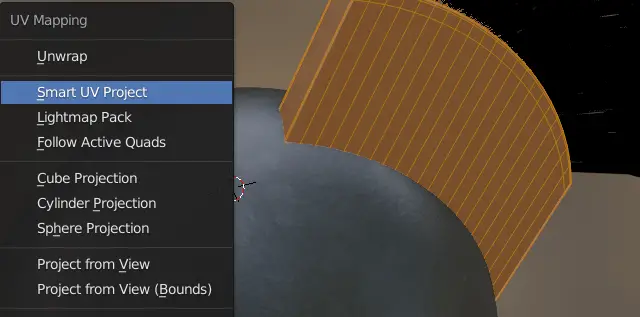
A menu will appear, click OK.
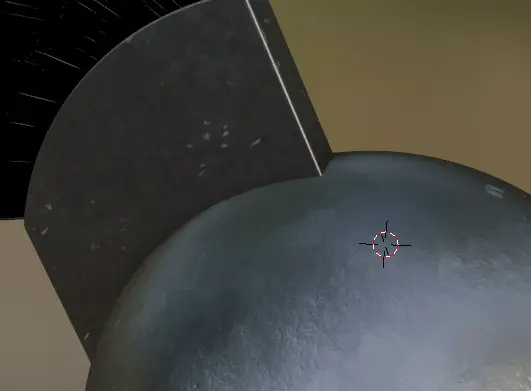
Model shall now be fixed.
Rendering the image
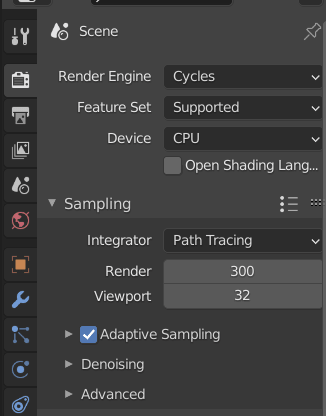
Now, we render it in Cycles. In the Render Properties, choose the Render Engine to Cycles, and get at at least 300 samples to render and turn on Adaptive Sampling.
Click Render > Render Image.