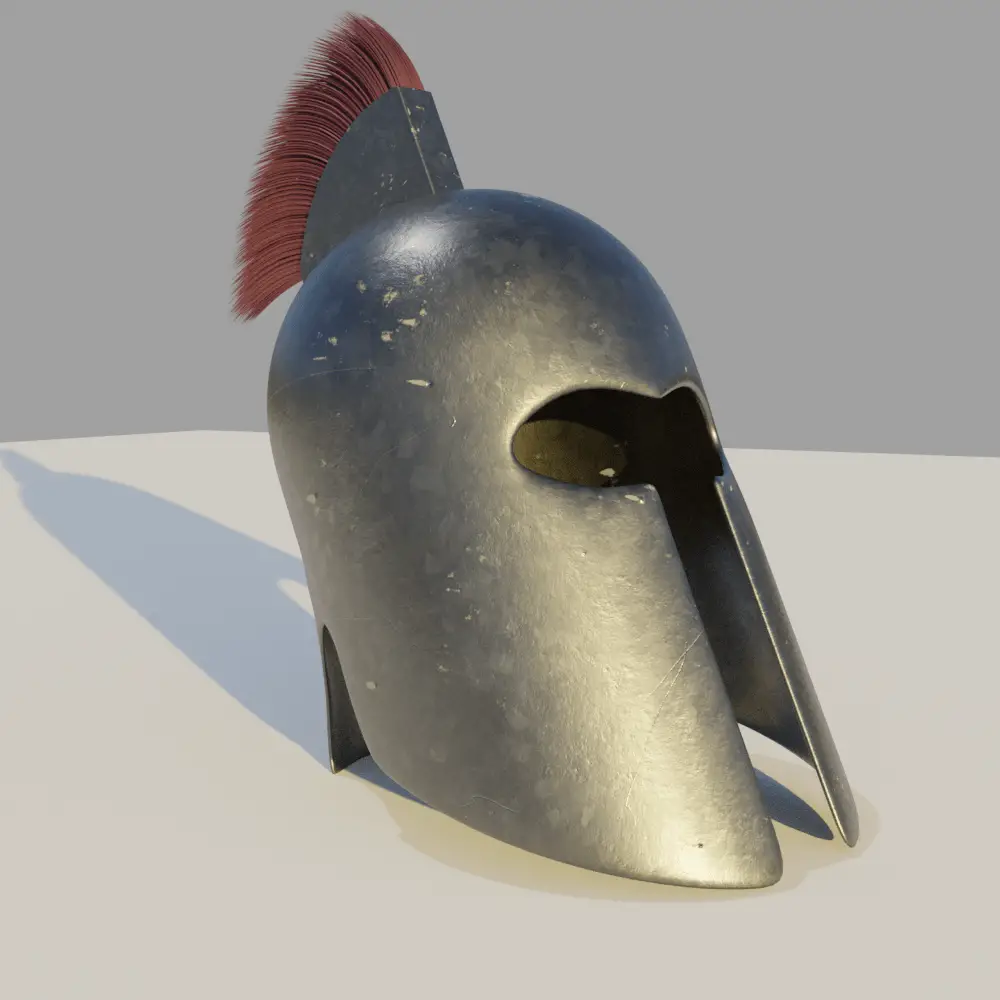
In this tutorial, we are going to apply Textures on the pre made Medieval Helmet. We are going to apply Color, Metallic, Roughness and Normal Map and after that we are going render it in cycles. Blender 2.92 is used.
PBR stand for Physically Based Rendering, it aims to stimulate how light reflects of off different materials. This is done to achieve realistic results in rendering.
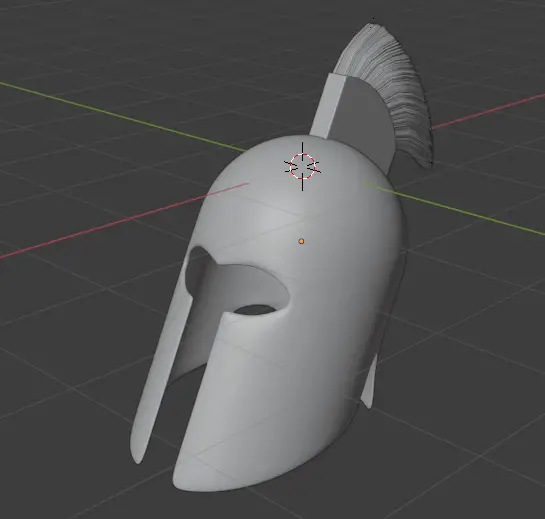
We are going to use the Helmet that we made in previous tutorial, you may use any model you like.
Link for modeling of Medieval Helmet tutorial.
Open the model.
Apply a new material to the model.
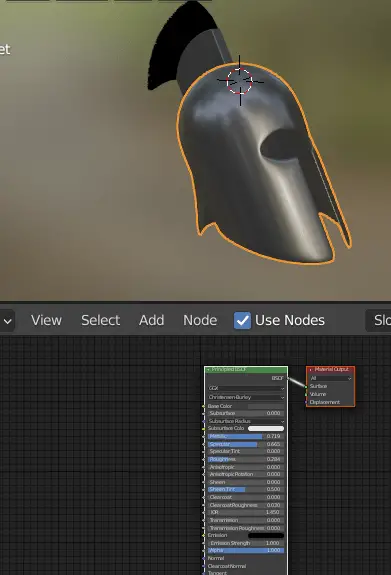
Switch to the Shading tab from the ribbon on top of 3D Viewport.

The Shading Tab is split into two windows, one is 3D Viewport with Material preview and the other is Nodes Editor. We use Nodes Editor for Materials of the Models. Right now, we have a simple black shiny metal look. We can enhance it use texture maps.
The textures can be downloaded by clicking here.
These textures will be applied to the model, these are PBR materials that contain Color, Normal, Roughness and Metallic textures.
After downloading, we can load the images in blender.
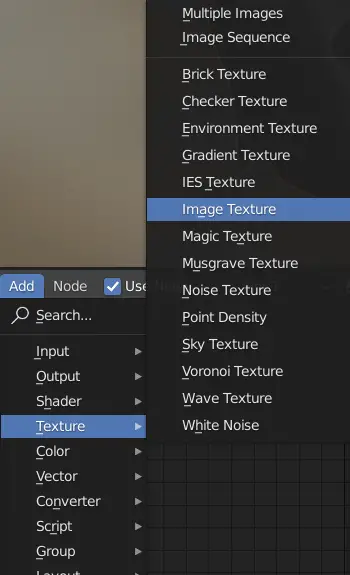
Applying a Color Texture to the Model
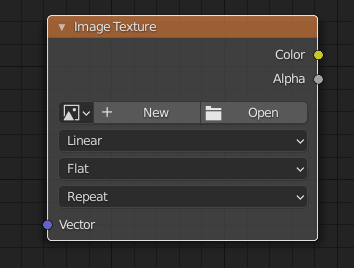
In the Node Editor, click Add > Texture > Image Texture.
We need to open a new Image, click Open. and Load the color image.
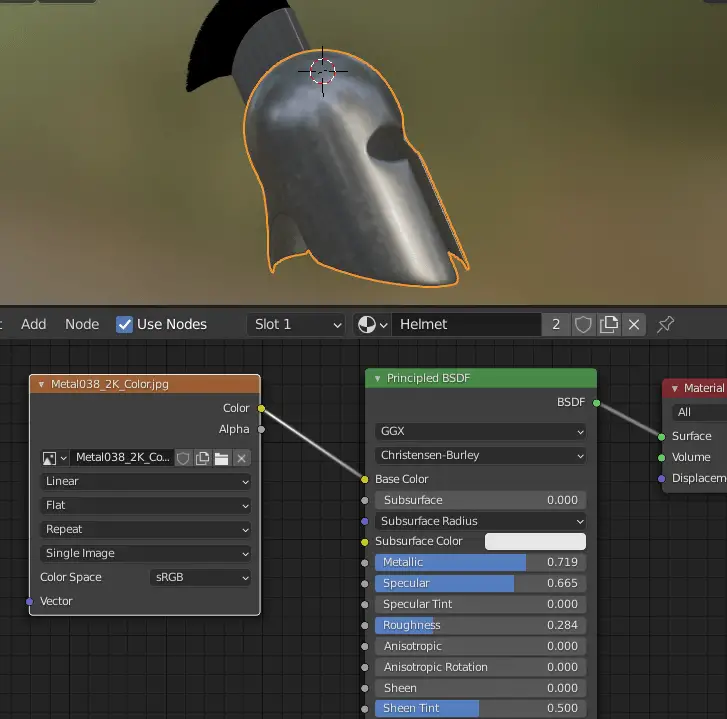
The Color texture map determines the base color of the object.
Connect Color of the Image Texture Node to the Base Color of the Principled BSDF node.
Applying a Metallic Texture to the Model
Now add another Image Texture Node and open the Metalness or Metallic map.
Choose the Color Space to Non-color, since this is a non color data.
Connect Color to the Metallic of Principled BSDF.
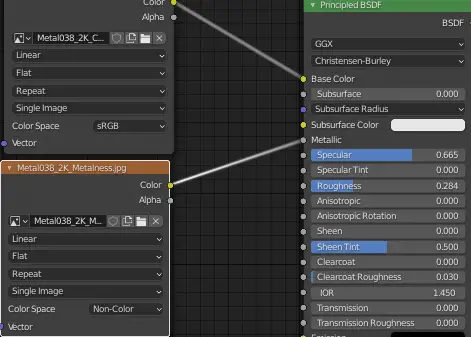
The Metallic texture map determines which part of the surface is going to have more metallic look than the other.