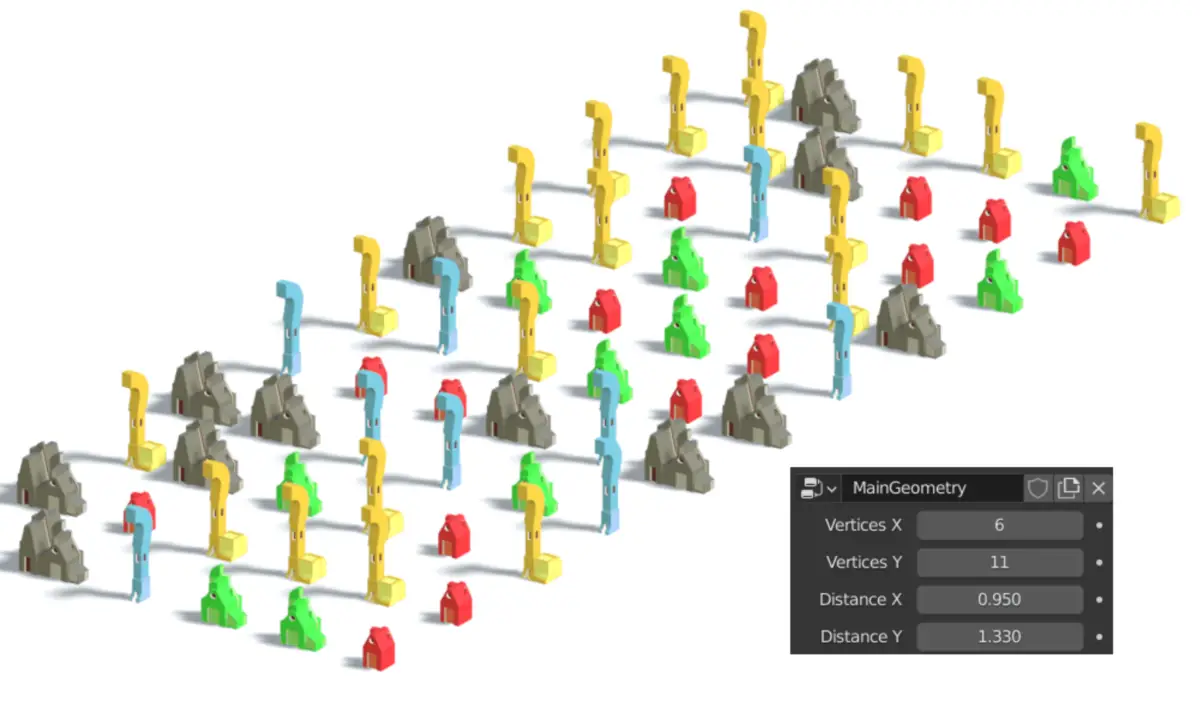
In this tutorial, we will change the origin point of the instance objects. Originally, the instance objects are duplicated from the center and they instance to left and right sides. In our case, we want the instance object to increment on one side and not on the other just like the Array modifier. We want to change their instance origin. Blender version 2.93 is used.
In the previous tutorial, we made a distance parameter for changing the distance between instance objects: Add a Distance parameter to set the distance between instance objects
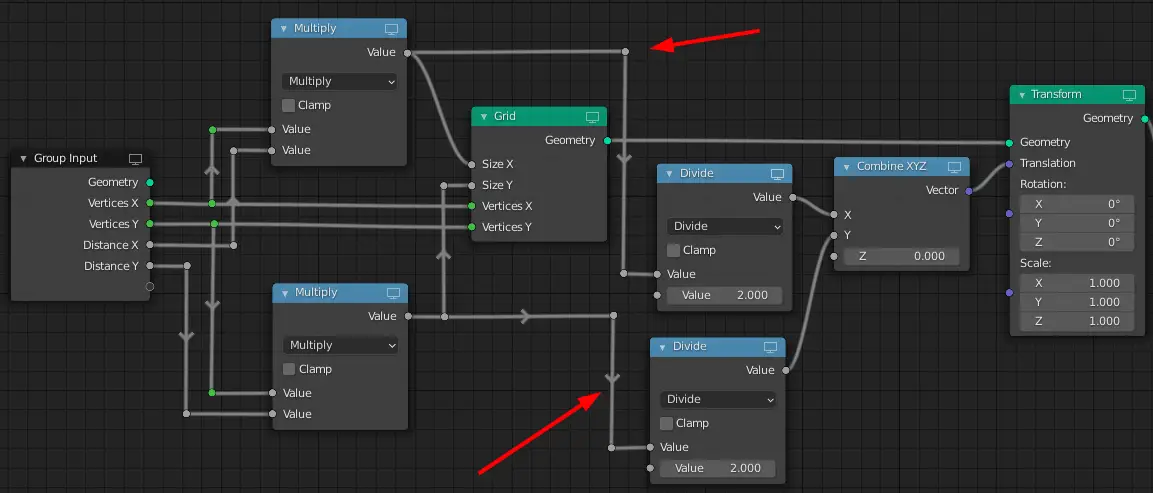
To do this, we just have to divide the their dimensions by 2 and the resultant will be the value they have to translate on the respective axis. Considering a single axis, when multiple instances are made, they are distributed equally on the both sides of origin, so , dividing by 2 will give us the value of how much translation is needed.
Adding Transform node for Translation
Add a Transform node by clicking Add > Geometry > Transform. Transform node is needed for translation.
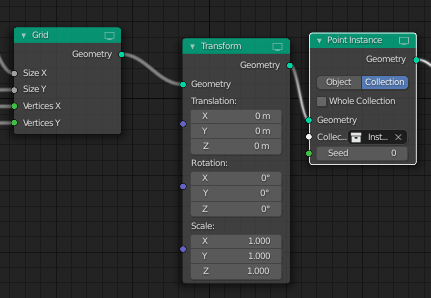
Adding Combine XYZ to separate XYZ.
Add a Combine XYZ node by clicking Add > Vector > Combine XYZ. This node lets us deal with X,Y and Z separately.
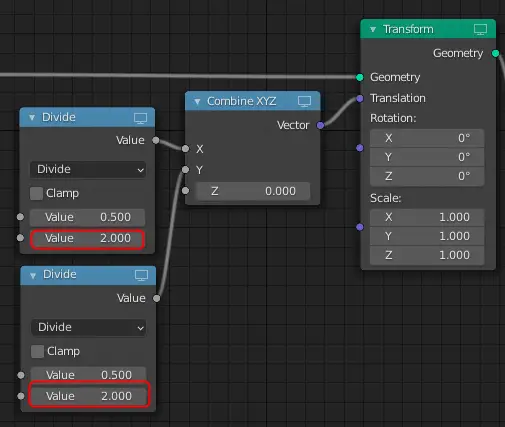
Using Math Divide node to change Instance Origin
Add a Math node, change the Operation to Divide and change the second value to 2. Connect its output to the X input of Combine XYZ. Repeat for Y axis.
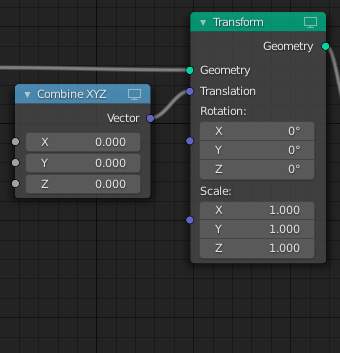
Now, we can deal with X and Y separately.
Note that, the final size of the grid is calculated in Math (Multiply) node from previous tutorial as shown in image below. The final size of the grid is the product Vertices and Distance in the respective axes.
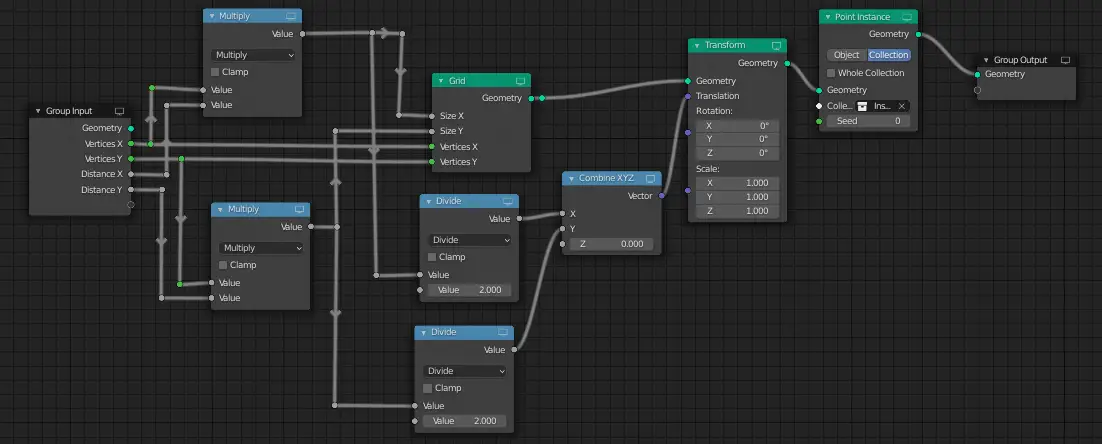
The result will be similar to this.
This is the Geometry node Setup up to this point.
In the next part, we are going to combine the nodes into a group: Combine nodes into a group.
Further next part : Adjust the distance between vertices or instance objects.
The previous parts of the tutorial series: