In this tutorial, we are going to combine some nodes into group. The benefit of doing this, is that our node system looks more organized this way. Blender version 2.93 is used.
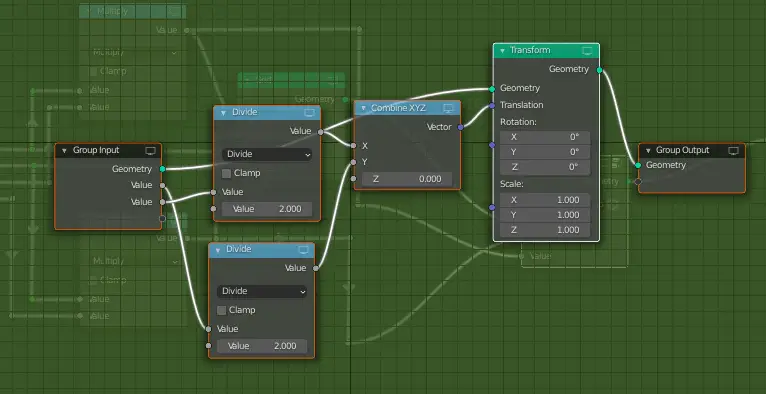
Take a look at theses nodes below, they can be organized more efficiently, select the Transform, Combine XYZ, and two Math(Divide) nodes.
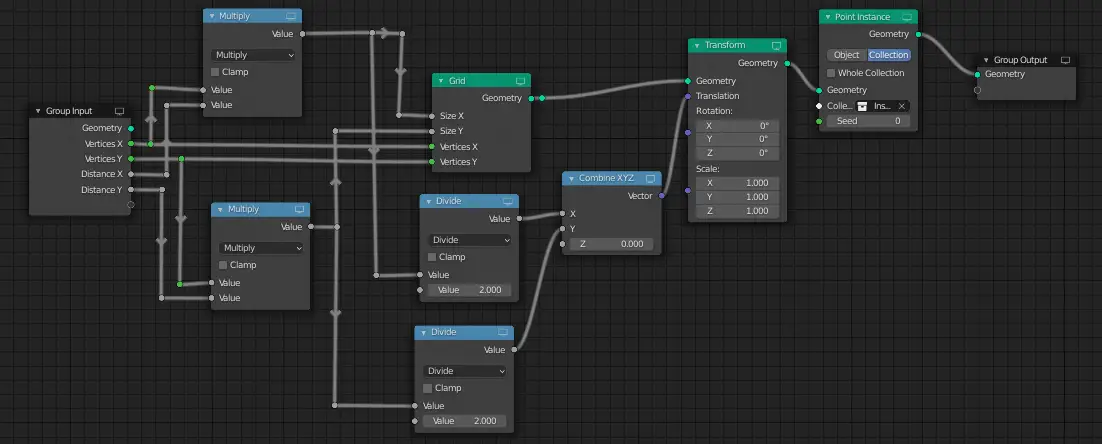
These nodes are responsible for changing instance origin.
Press Ctrl + G to group them. You will notice that even in a Group node, there is Group Input and Group Output.
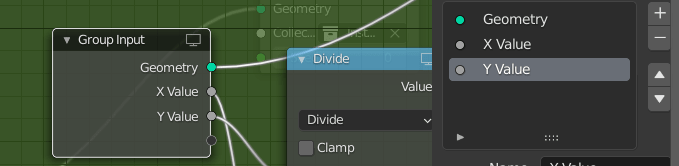
For our own convenience, we can change the name of the Node parameters, select the Group Input node and press N key. Change the name of the parameters.
In our case, we have named the group node Positioning_Node.
Press Tab key to switch to the Node Group and the MainNode.
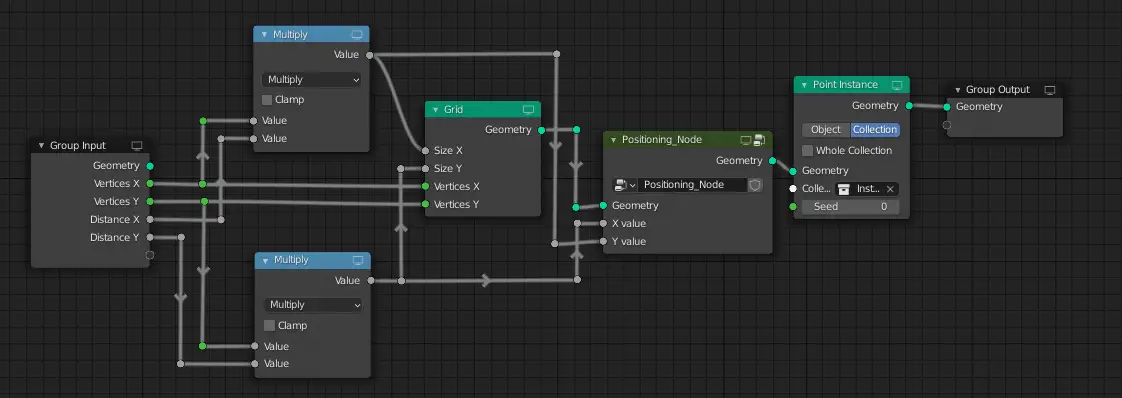
In the next part, we are going to adjust the distance between vertices, right now, increasing the number of vertices decreases the distance between instance objects. Adjust the distance between vertices or instance objects
The previous parts :