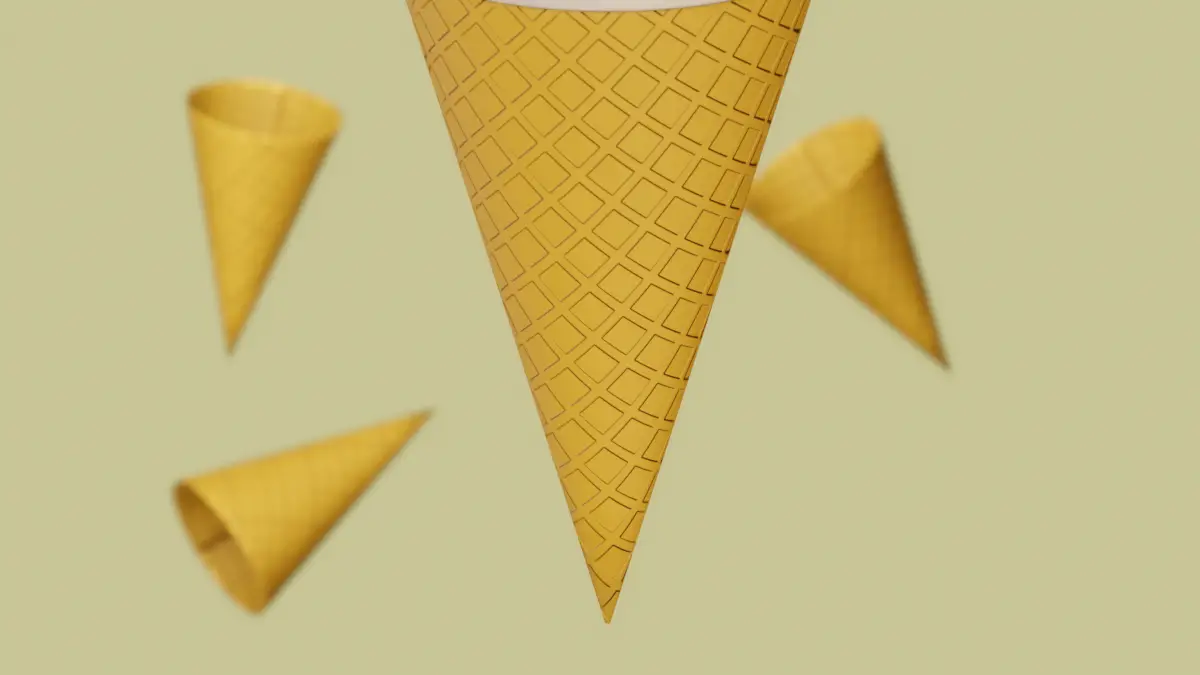
In this tutorial, we will make the Cone part of Ice-cream. We will use simple technique for modeling and then add Normal map for bump.
Step by step guide as follows:
- Make basic shape using Cylinder.
- Add Normal as Bumpy texture.
- Scale the Texture.
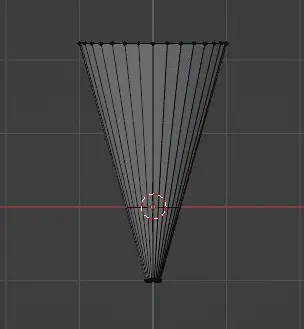
First of all, we will start by adding a Cylinder in our scene. and then scaling down its bottom vertices using the S key in Edit mode.
For the cone, we can choose to leave the shape as it is, or we may add Cone shaped like features to it by making the cone go inside of itself.
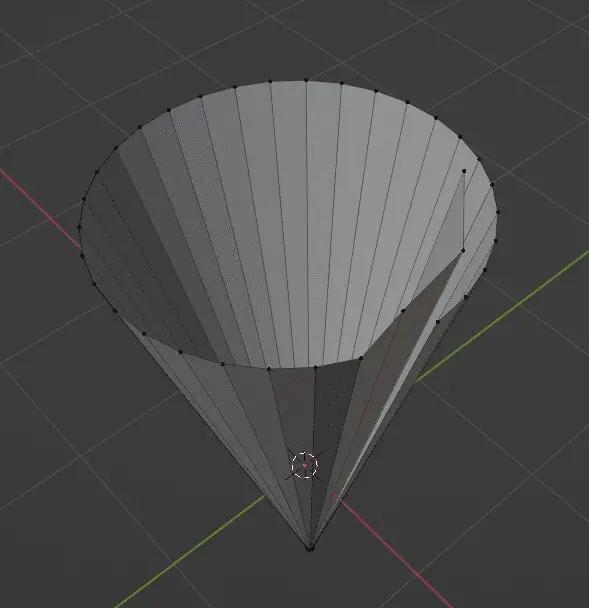
To do the above, we just deleted one edge and then manipulated the vertices in way that the edge extrudes inwards of cone.
Applying texture
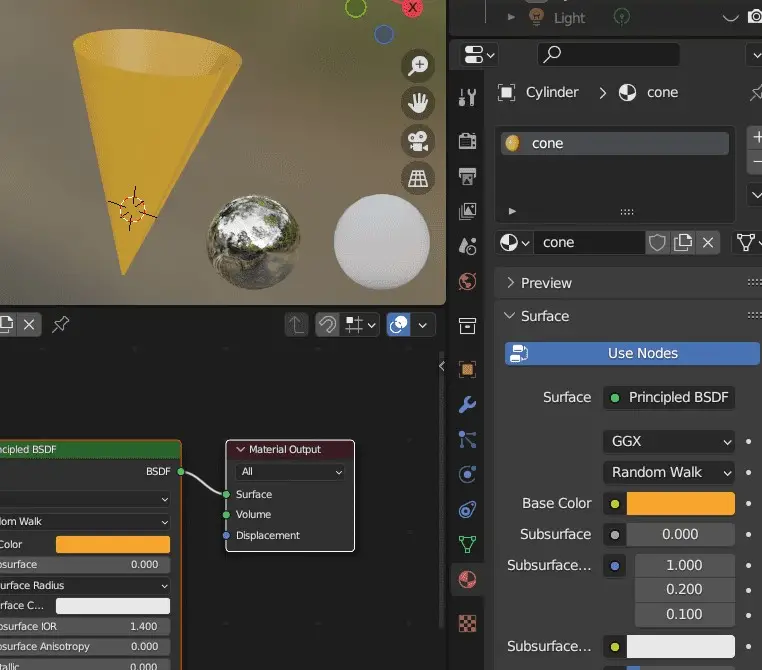
In the next step, we go to the Shading Editor, and then add a new material for the cone. You will notice that we are currently working with Principled BSDF node.
Use Normal Map
But the cone has rectangular texture on it, that sorts of look like its coming out of it. To make that sort of texture, we can use normal map.
Download the file for Ice-cream cone normal image.
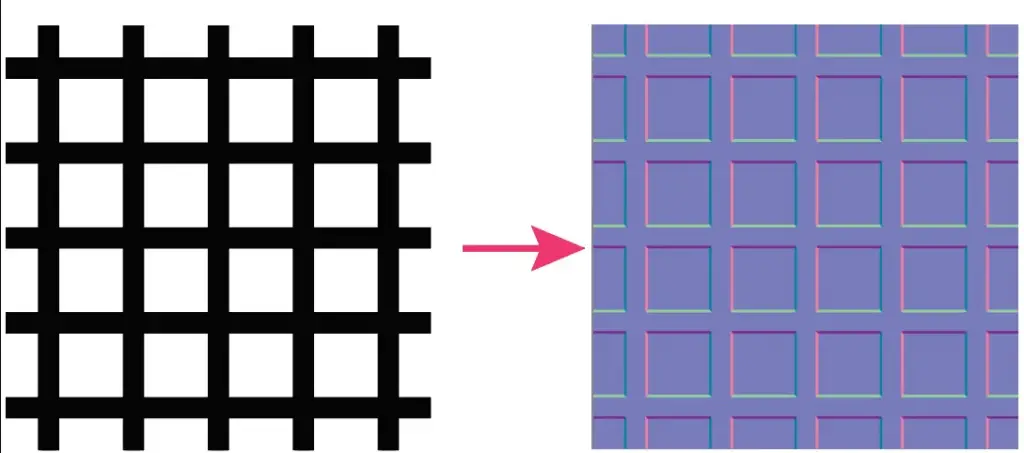
As you can see, I have made a very simple texture using Adobe Illustrator, and then using the online Normal Map generator, I made the map.
After that Connect the Normal Map and Image Texture nodes to the Principled BSDF Node as shown. Learn more.
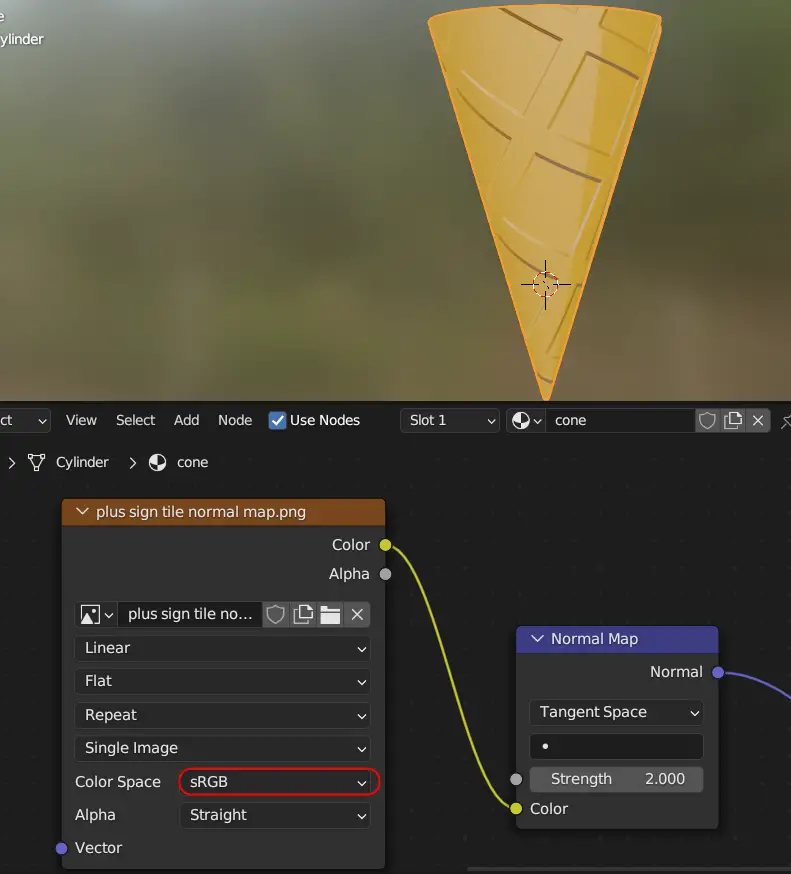
Make sure to change the Color Space in Image texture from sRGB to Non-Color.
More on how to apply textures.
UV Unwrap
Add Seams to the cone, so that we can Unwrap it in a better way.
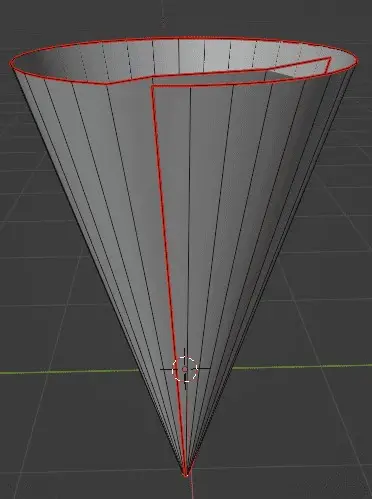
After adding Seams, Unwrap the mesh, by pressing U key and selecting Unwrap.
Scaling the Texture
Right now, the texture is large, we do not need this large texture, rather, we need it to look like smaller tillable texture.
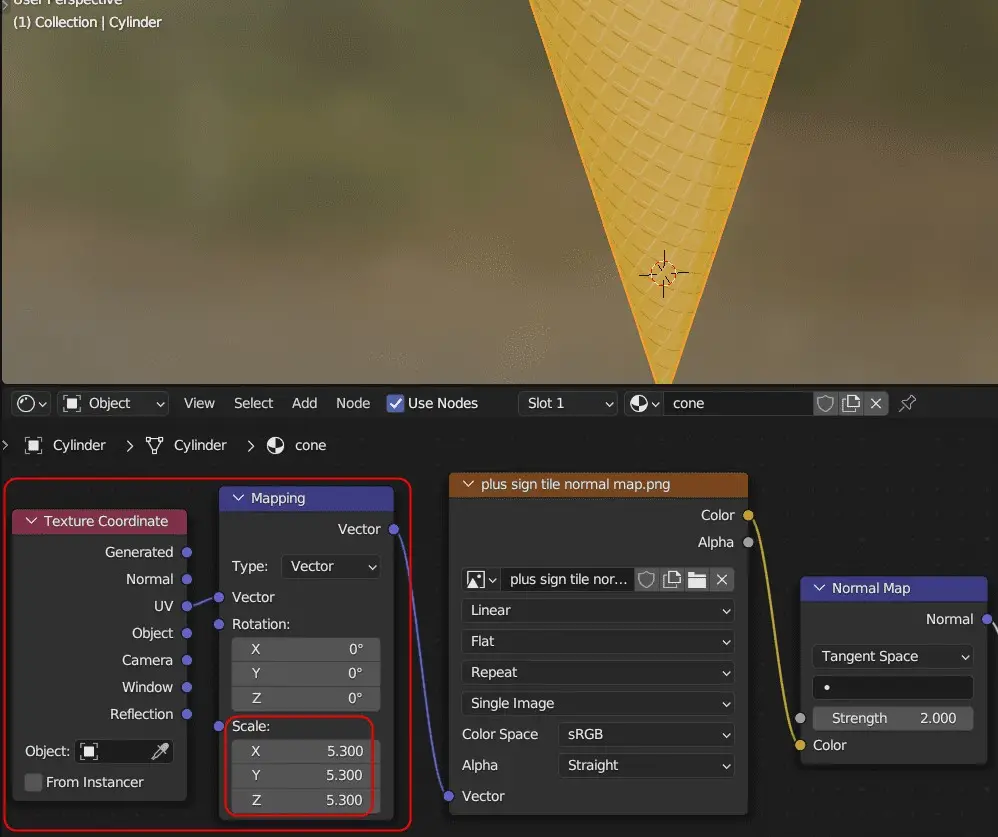
To do this, we can add Mapping node and Texture Coordinate. Mapping node, can transform your texture, e.g., it can Rotate or scale it. And texture node provides input Coordinate for texture, it determines, if the node is going to have Generated or Normal or UV textures.
Mapping node for Scaling
Click Add > Vector Mapping to add Mapping node, change the Scale and plug in the Vector input of Image Texture.
Texture Coordinate for UVs
Add Texture Coordinate by clicking Add > Input > Texture Coordinate. This will apply texture using the UV Map.
In our case, we want the UV Texture, so, we connect UV from Texture Coordinate to the Vector of Mapping node. Increase the Scale in Mapping Node. And finally, Mapping node should
Summary of Modeling the Ice-cream. Detailed tutorials are as follows.