Using an External Graphics Editor, we can make UV maps for our model.
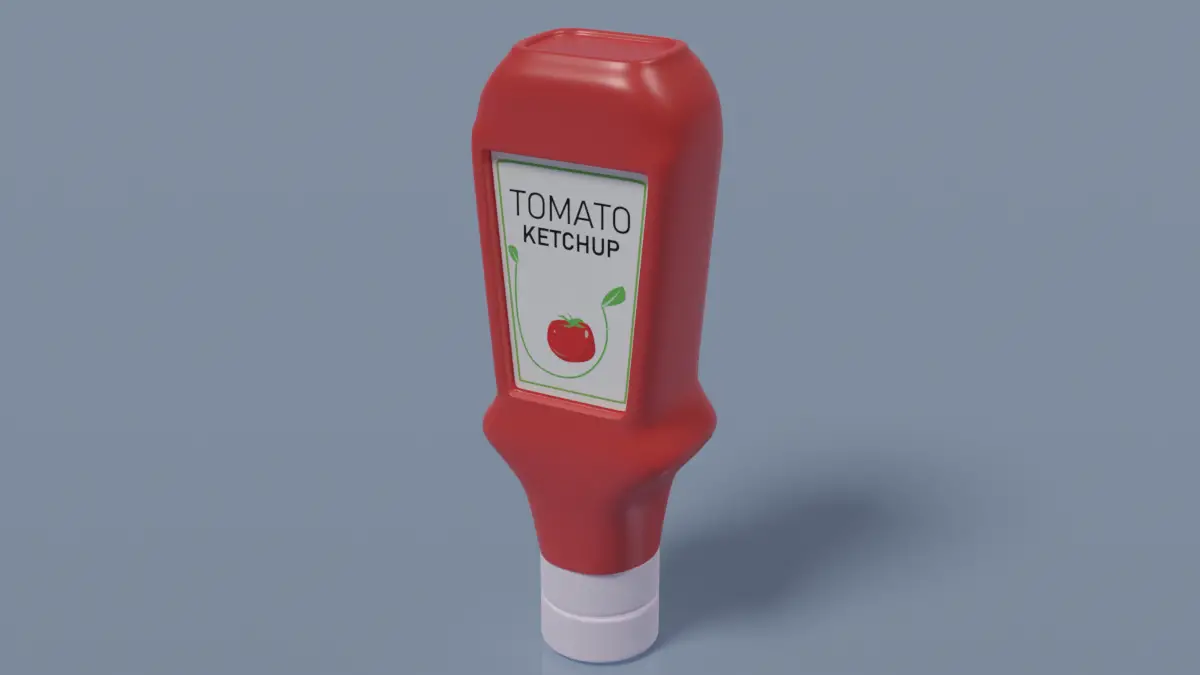

Using an External Graphics Editor, we can make UV maps for our model.
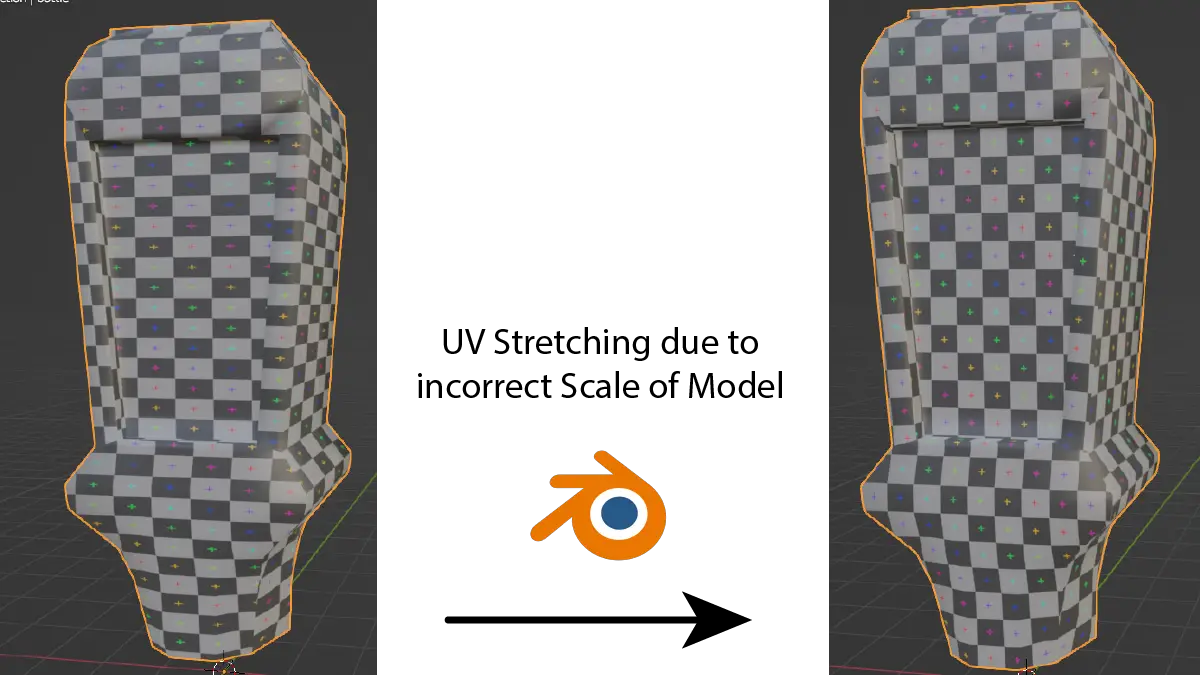
Fixed UVs which maybe along a single axis can make the texture look stretched along a single direction.
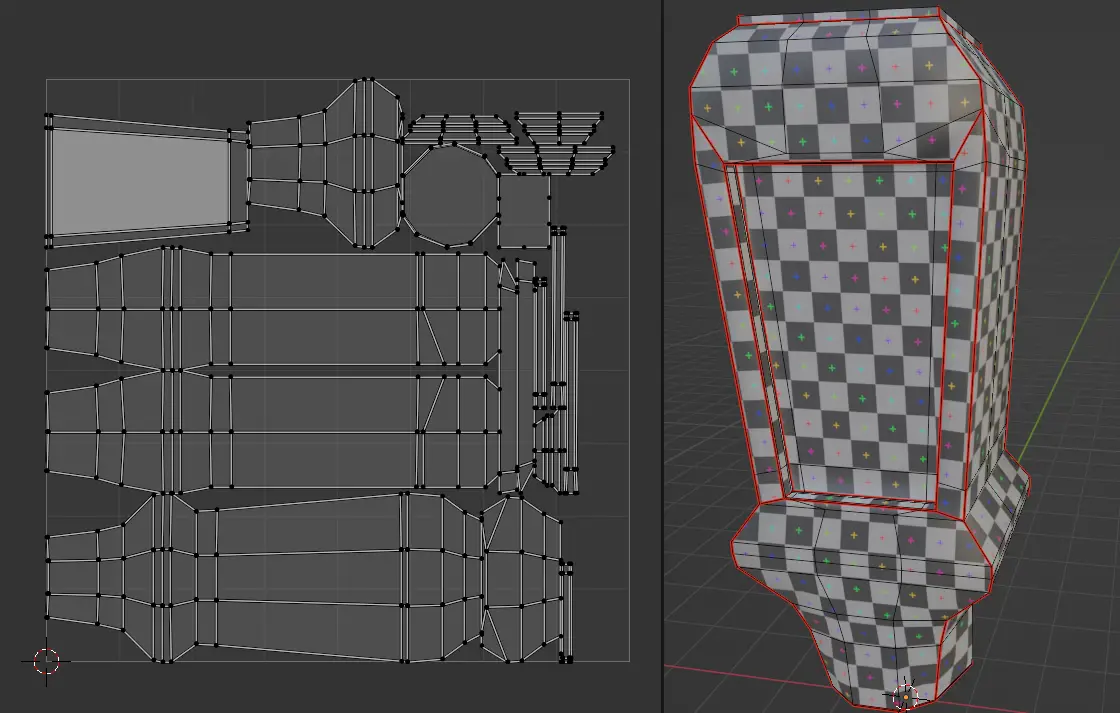
A step by step tutorial, how to UV unwrap any object, with various methods to check the stretched textures.

You can learn step by step how to UV unwrap any model and then how we may UV Map it using any External Graphics Editor.
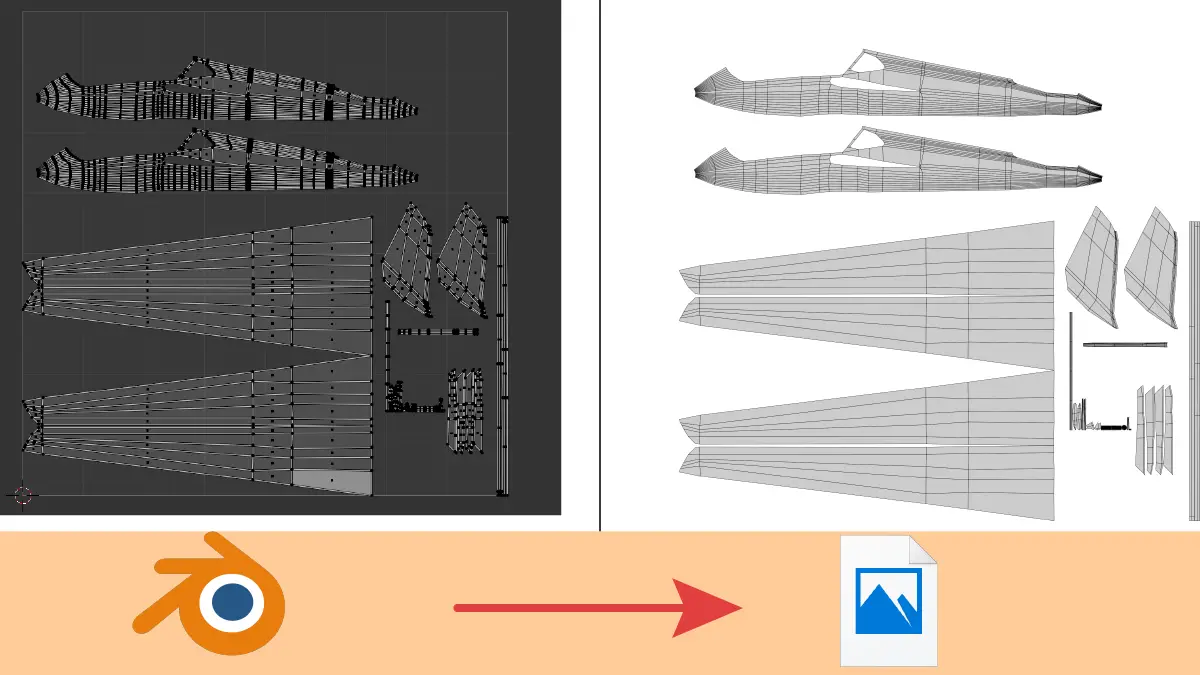
By exporting UV layout of any 3D model, we can make UV texture for it. And then we can apply that UV texture to the 3D model.
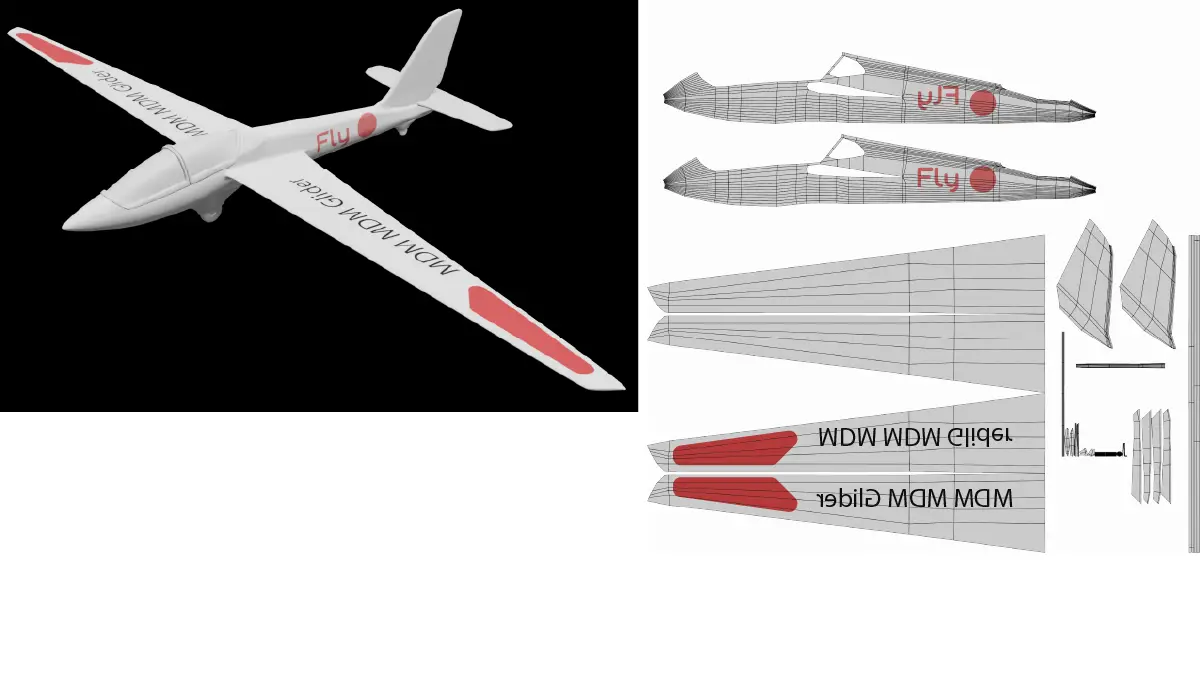
In 3d modelling, UV unwrapping and UV mapping are important for texturing. Almost every 3d model, UV unwrapped and then UV mapped. The process of creating a UV layout is called UV unwrapping.
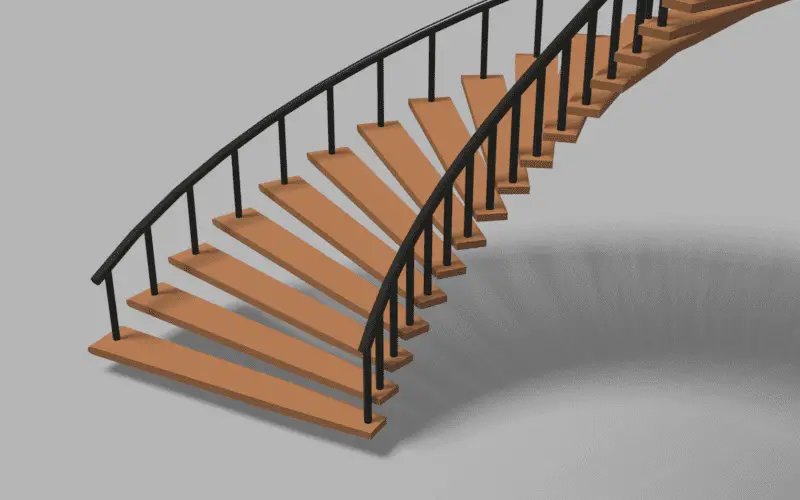
In this tutorial, we will learn how can we duplicate the instance objects by duplicating the nodes and adjusting them with the Group Inputs. Blender version 3.0 is used.
In this tutorial, we will learn how to fix the incomplete ends of the handrail from the previous tutorial. First, the handrail will be moved back along its path to fix the lower end and then the length of curve will be increased to fix the upper end. Blender version 3.0 is used.
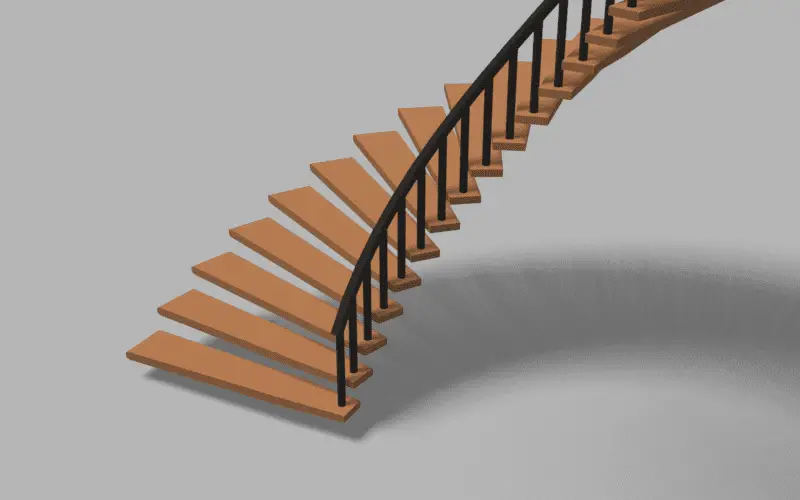
In this tutorial, we will learn how to extrude a profile along a curve using Geometry Nodes. Handrail will be made using this technique. Blender version 3.0 is used.
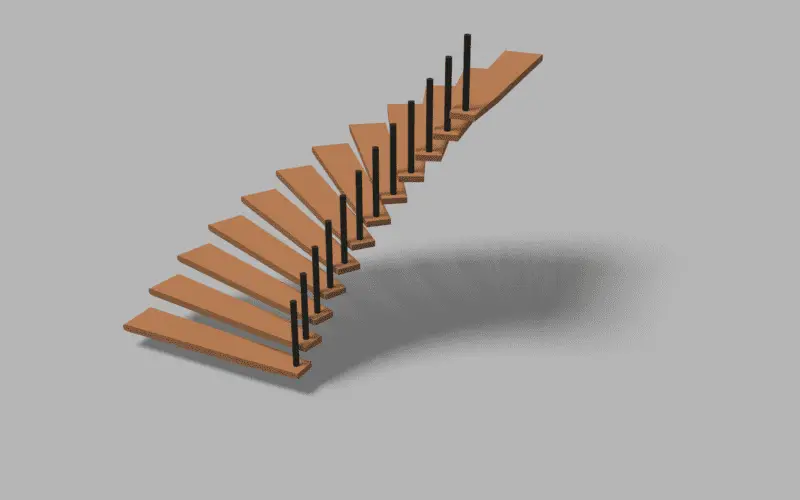
In this tutorial, we will learn how to add baluster or support for the staircase using Geometry Nodes. New Geometry will be added and then joined with the previous geometry. Blender version 3.0 is used. This is the fifth tutorial of the Procedrual Spiral Staircase tutorial series. In the previous tutorial, width parameter was added […]