In this tutorial, we will learn how can we UV unwrap any object, we will be UV unwrapping a Ketchup bottle. We will UV unwrap with keeping in mind that we will UV Map the layout with an External Graphics Editor. Blender 3.3.1 is used.
This is the first part of the tutorial series:
- UV unwrap anything.
- Fixing Stretched UVs due to scaling problem.
- UV mapping using External Graphics Editor.
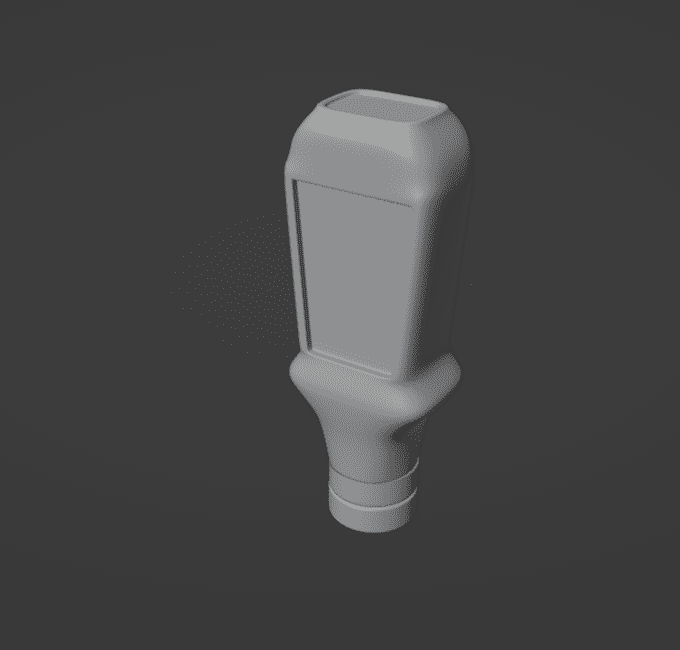
We will be using a Ketchup bottle, first we will UV unwrap it and then apply textures to the model. We will apply an Image Label in the center and the rest of the Ketchup will be red.
For this model, we will only be UV unwrapping the ketchup bottle and not the bottle cap under it.
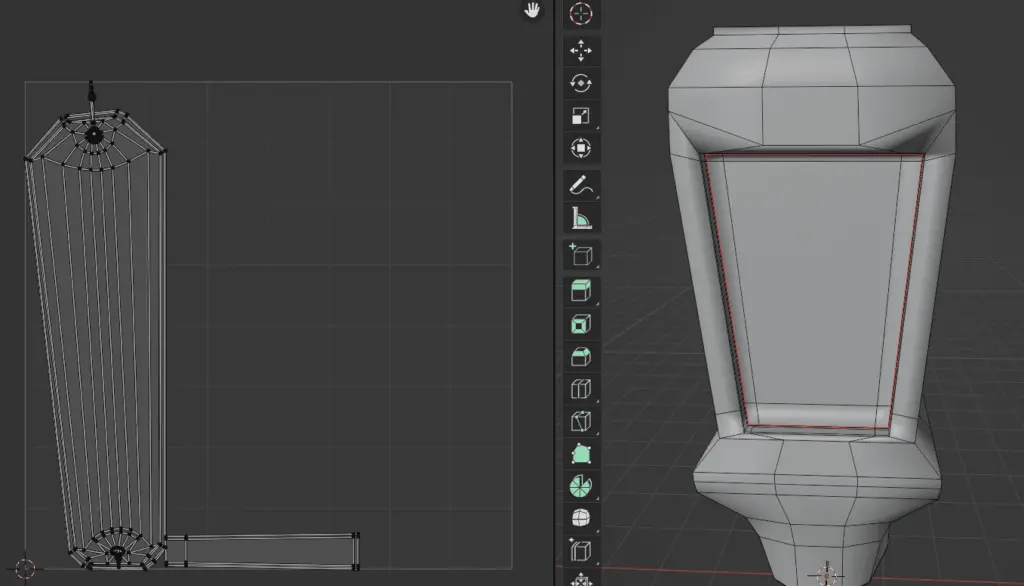
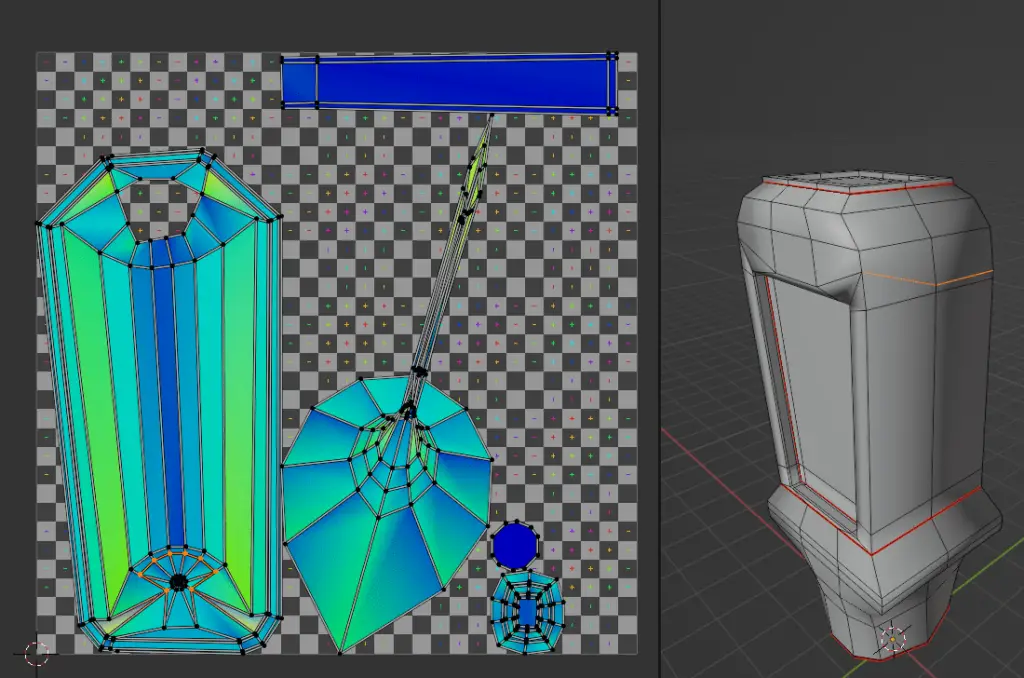
Go to the UV Editing tab from the top. This tab has two windows, UV Editor and 3D viewport. UV layout of the selected object is shown in UV Editor.
Select the bottle and press Tab key to go to Edit mode.
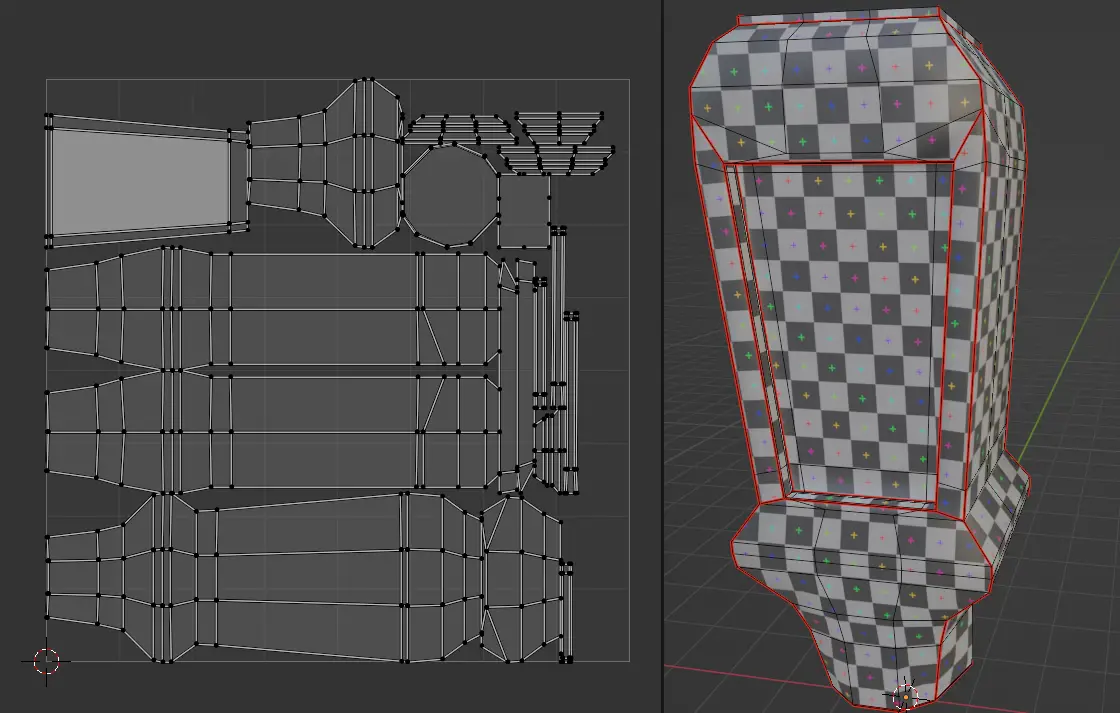
In the Edit mode, select all Faces by press A key. You can see the UV layout of the model. But as you can see it is not a practical UV layout, we cannot apply textures to it, because the applied texture will stretched and may have different orientation than we need.
UV Sync Selection
For better UV unwrapping, we may enable UV Sync Selection. Now, if we select any face on the 3D Viewport, that face will be highlighted in the UV Editor.
Now, if we select the middle faces of the Bottle, they are highlighted in the UV Editor. This is very helpful in UV Unwrapping and identification of the areas that need to be fixed. This is the part, where we want an image texture to appear, but we just cannot apply an image texture to it, as it is not square. But this can easily be done by UV Unwrapping.
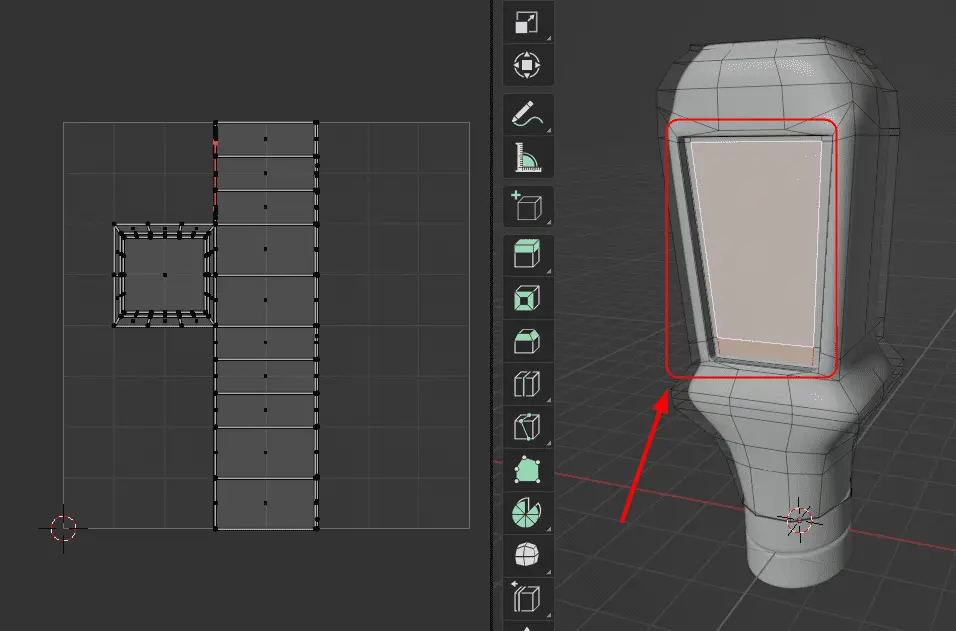
Adding Seams
We are going to add Seams for UV unwrapping, Seams add partitions in the UV layout, that is very helpful for texturing.
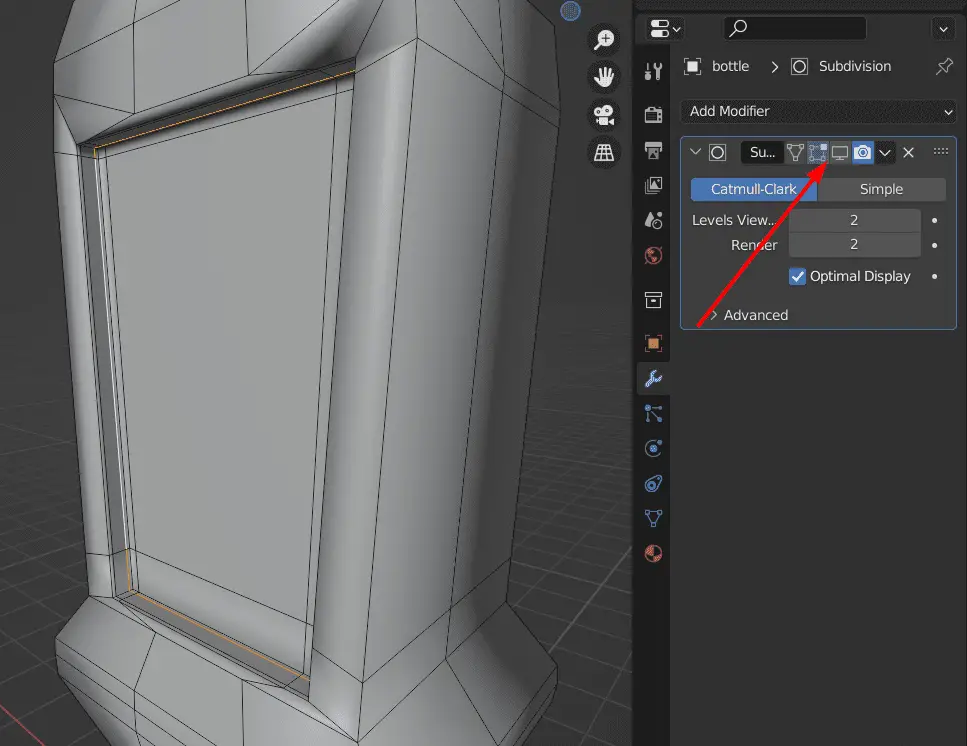
For some of the modifiers, we need may need to disable Realtime on the modifier. In the case of Subdivision Surface, it hides Edges vertices.
Now, we can add Seams to the model. You should add Seam to the part, that needs to isolated, or that are being stretched.
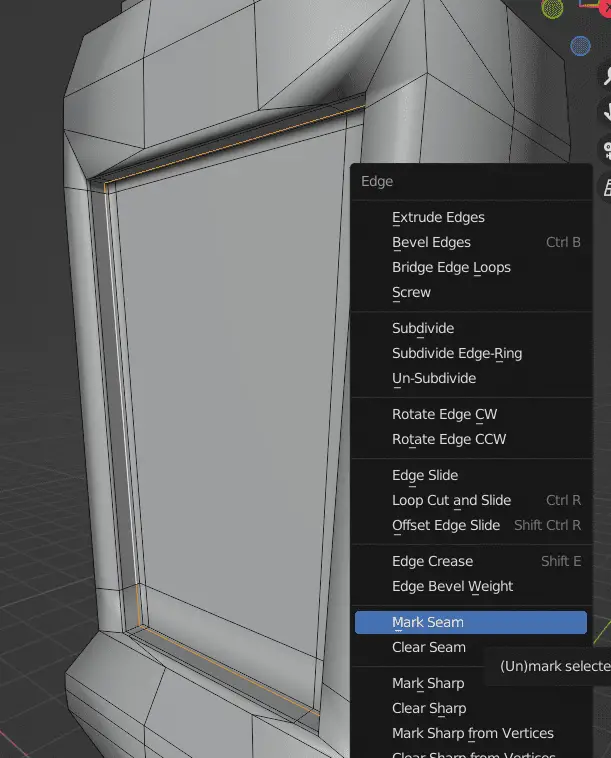
Press 2 key to go to Edge selection. Select the edges, in this case, middle of the Bottle, where the Label will be added.
Press Right Mouse Button and click Mark Seam.
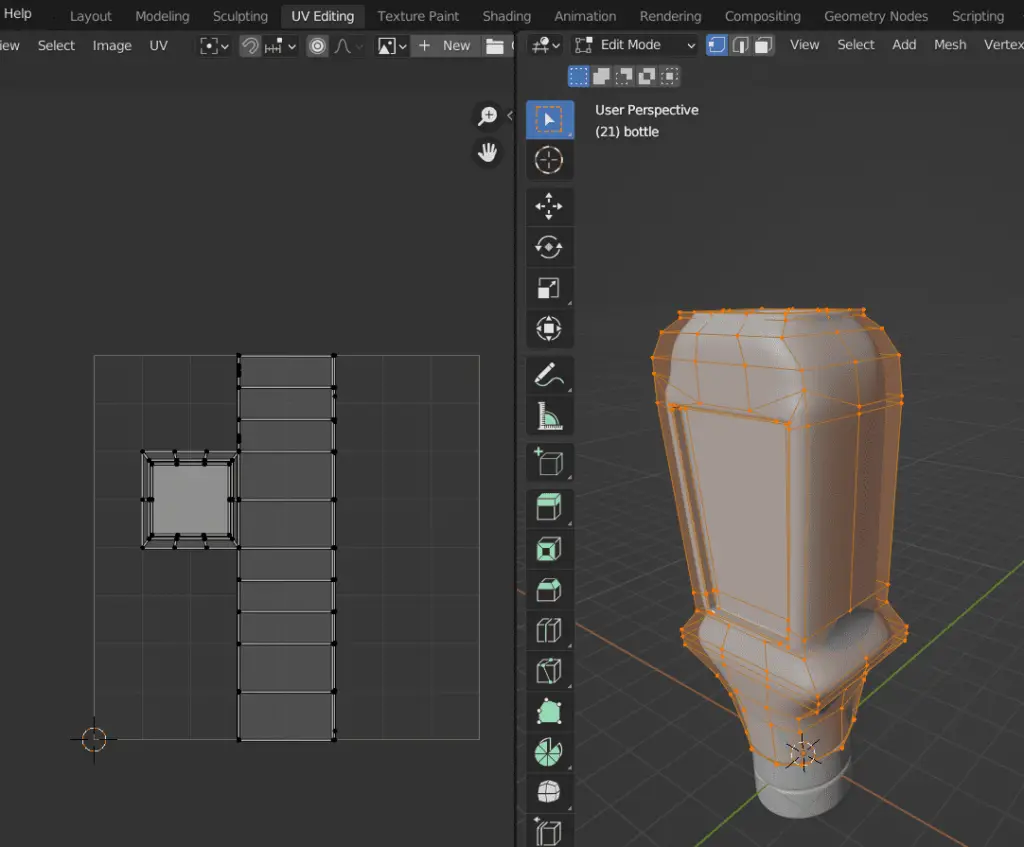
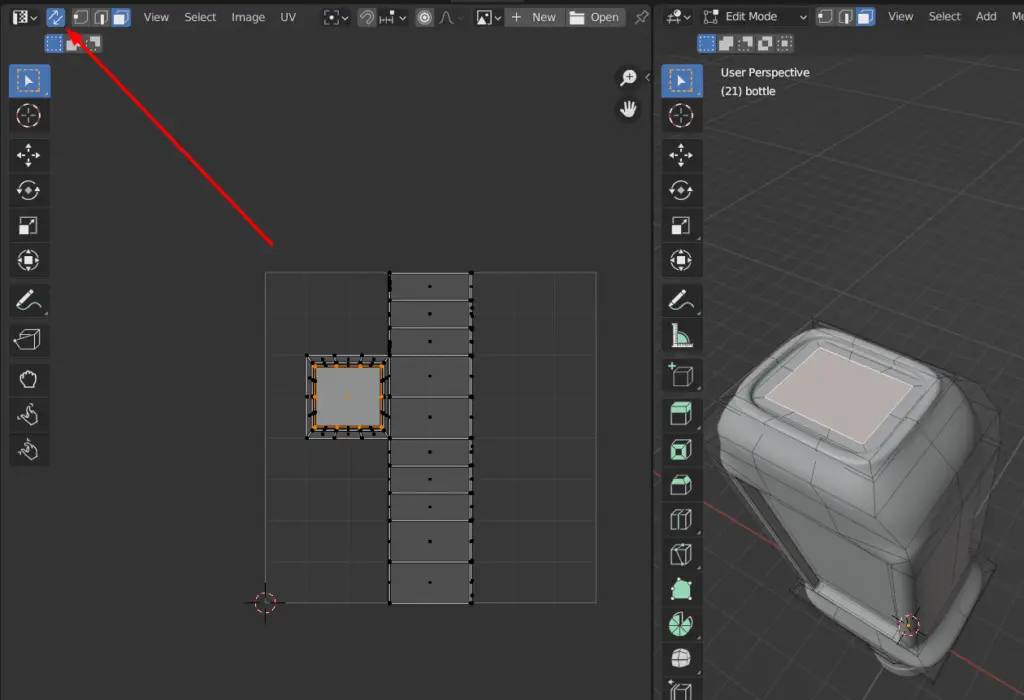
UV unwrap the model again, by selecting the whole mode, press U key, click Unwrap.
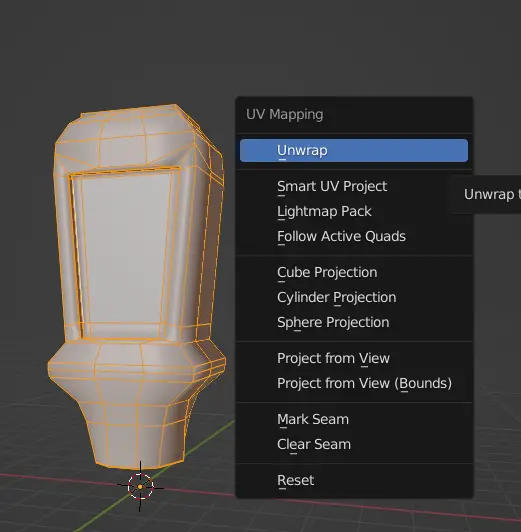
In the UV Editor, a new UV layout will be seen.
We can see that the model has been UV unwrapped, but this model is Stretched. We can check it.
We can check the Stretching by two methods.
- Display Stretch in UV Editor.
- Adding a UV Grid to the model.
Displaying Stretch of UVs
In the UV Editor, click Overlays > Display Stretch
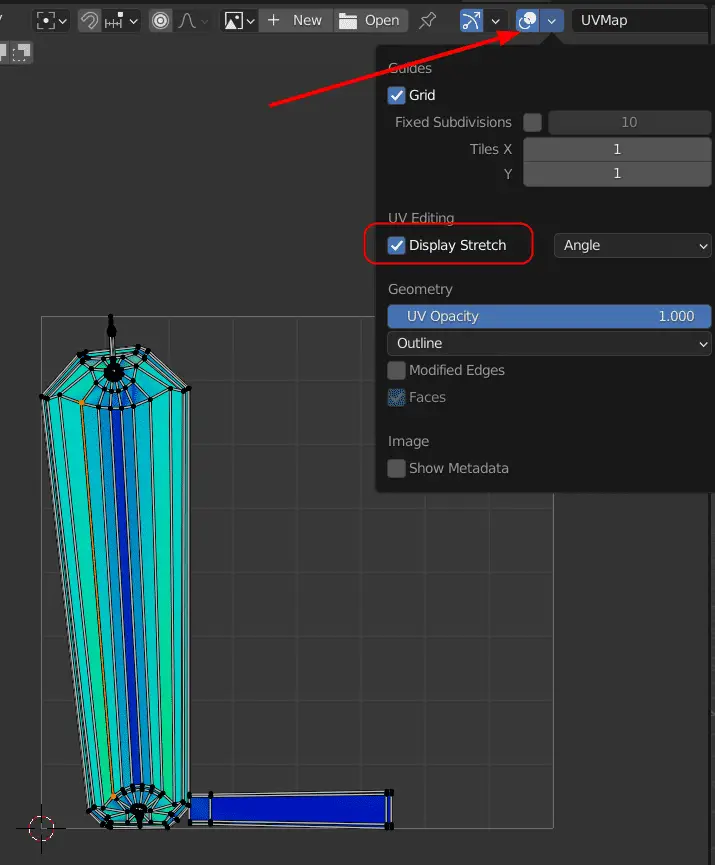
Stretching in the model is now visible. The dark blue areas do not have any stretching. The faces that have Yellowish color have stretching, by selecting the Stretched faces in the UV Editor, we can identify, which of these areas need to be fixed.
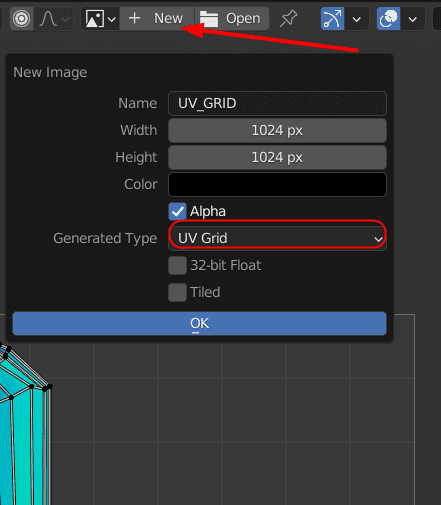
Adding a UV Grid is another way to check the Model for stretching, and to see the if it is appropriately scaled.
Adding a UV grid
Add a New image in UV Editor, by clicking +New from the top of UV Editor, change the Generated Type to UV Grid, this will make a UV Grid image.
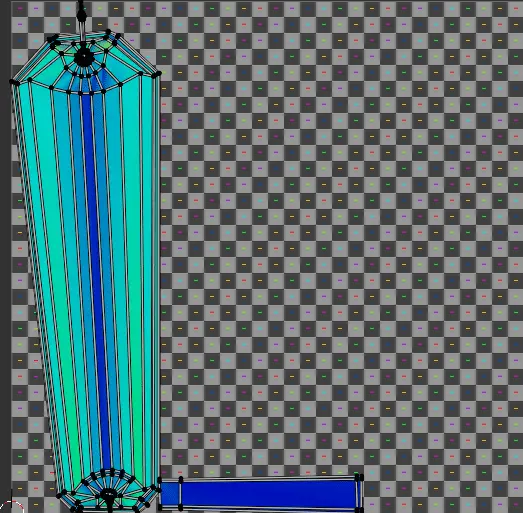
The UV Editor will look like this.
But still, we have not applied the UV Grid to the model.
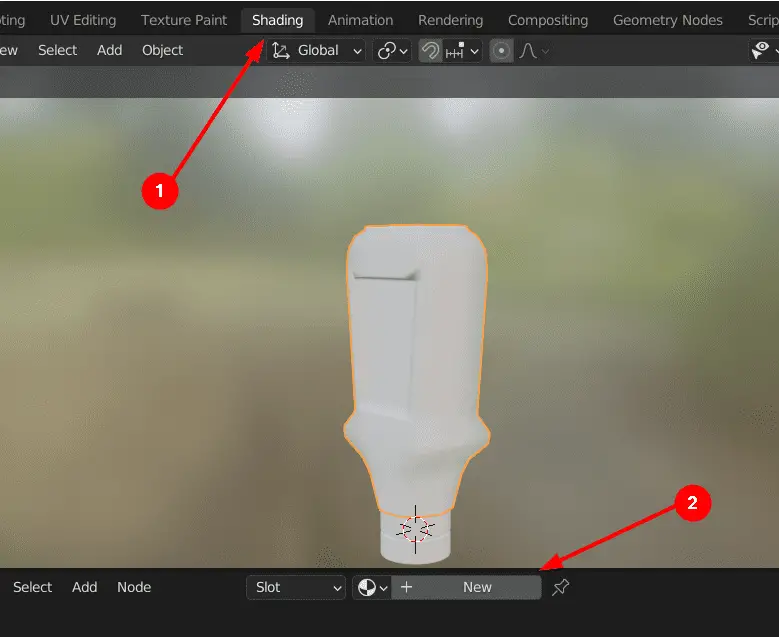
Applying image texture to the Model
To do this, Go to Shading Tab, add a New Material to the Ketchup model, from the Shading Editor.
Click Add > Texture > Image Texture.
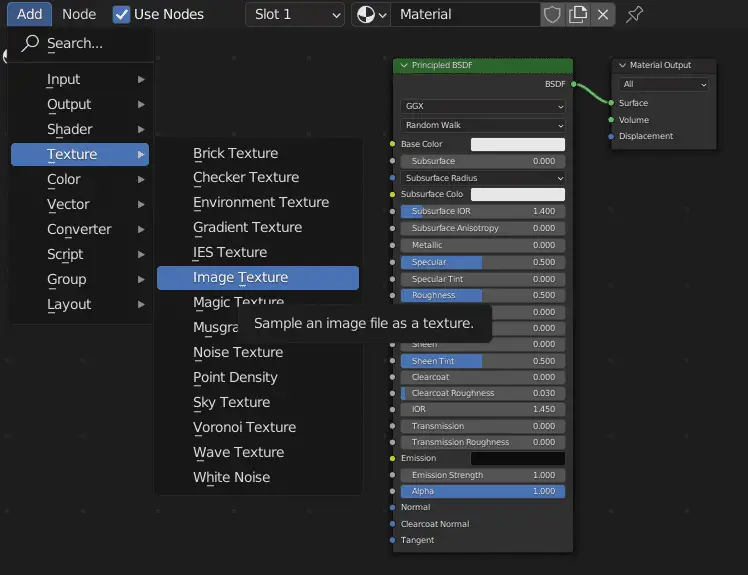
Select the UV Grid image that we created in the UV Editor, connect the Color output of the image texture to the Base Color input of the Principled Shader node.
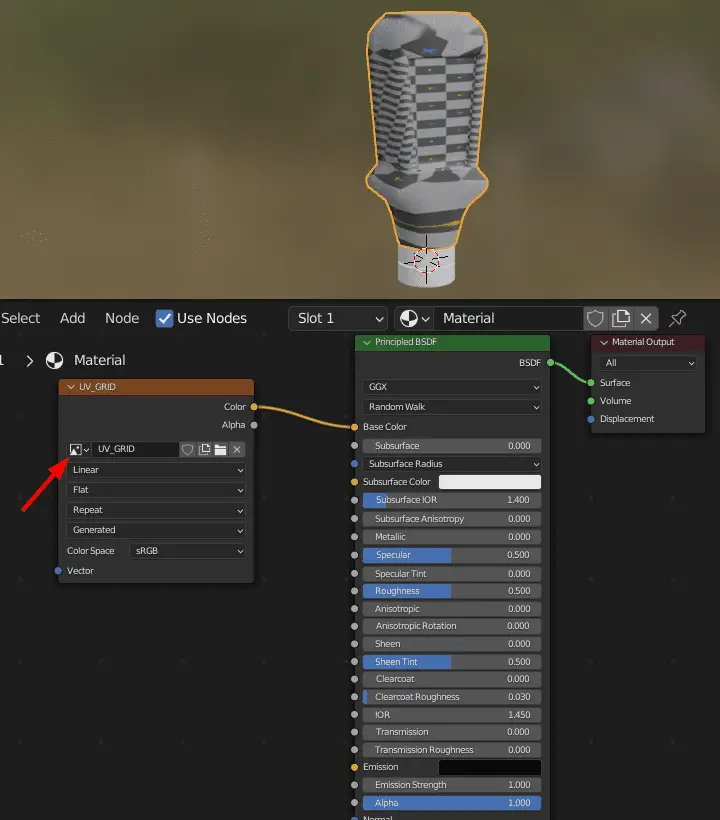
As we can see that we have very stretched UVs, this is evident from both UV Grid and the color of the UV layout.
To fix this we can add Seams. The Seams are added to the areas with stretching, for example in our case, we can add seam to the bottom and top of the Ketchup bottle.
We have added the Seams, but it does not have had much effect, which means we have to add more seams.
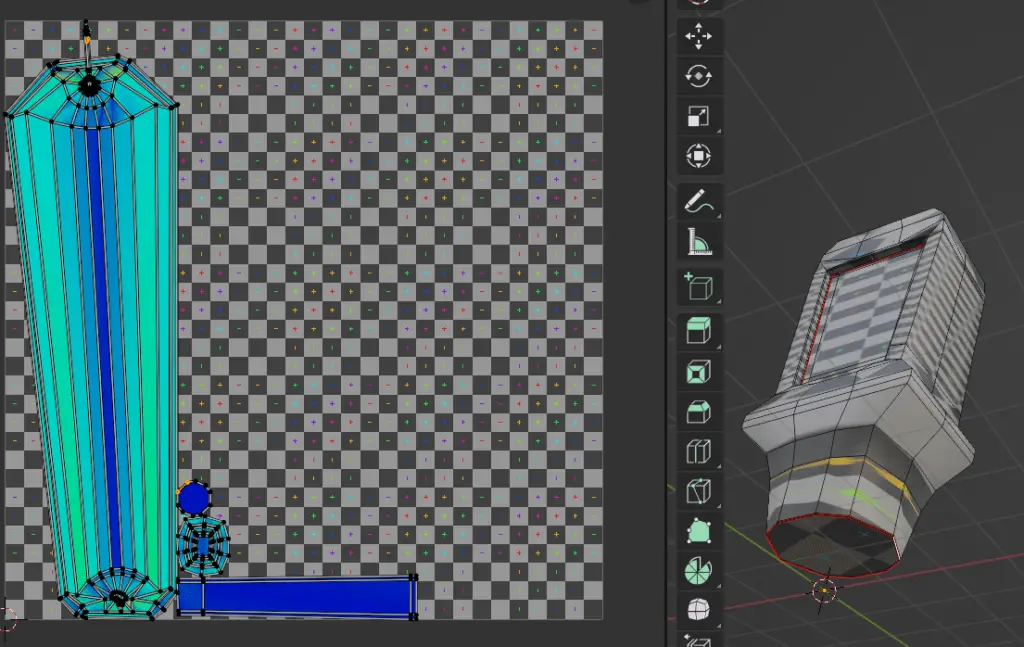
From the UV Grid, we can see that the areas with Stretching will have very strange Grid layout.
We add more Seams to the middle, but still, the problem pertains.
We can see that most of the texture still has Stretching. This is because of the incorrect scale of the model.
Remember that, Edges, Bends or Curves are the reason for most of Stretching in the Model.
The stretching of the model can be fixed if we add Seams to the Sides of the bottle.
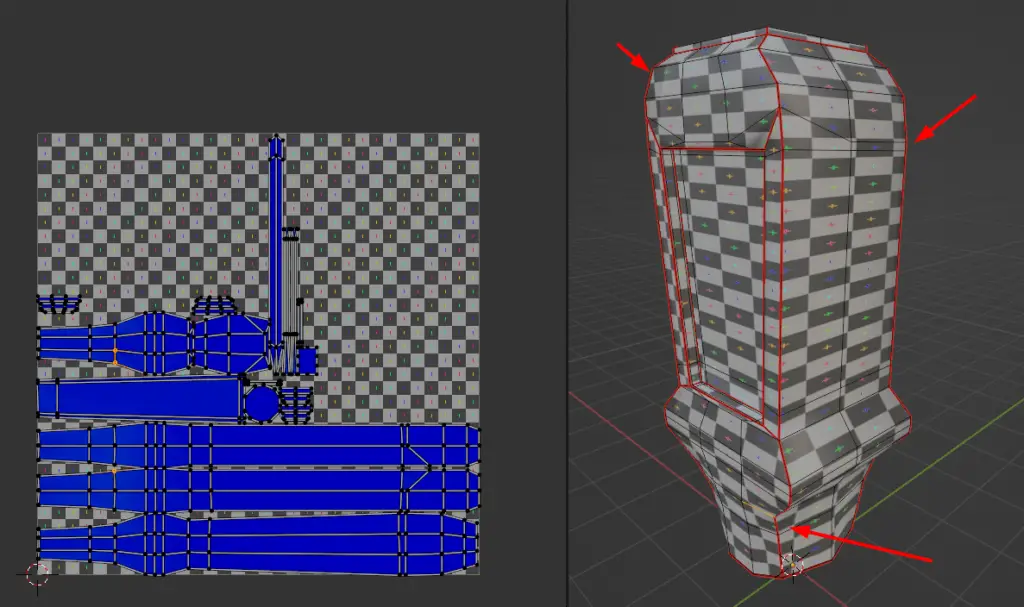
But even after that, we see that the model is particularly stretched along a single coordinate, this is because the model is not properly scaled.
In the next tutorial, we will fix the UVs stretched due to scale of the model.
More parts of the tutorial series: