Make ice cream using Basic Cylinder, and then adding Swirls by using Extrude command.
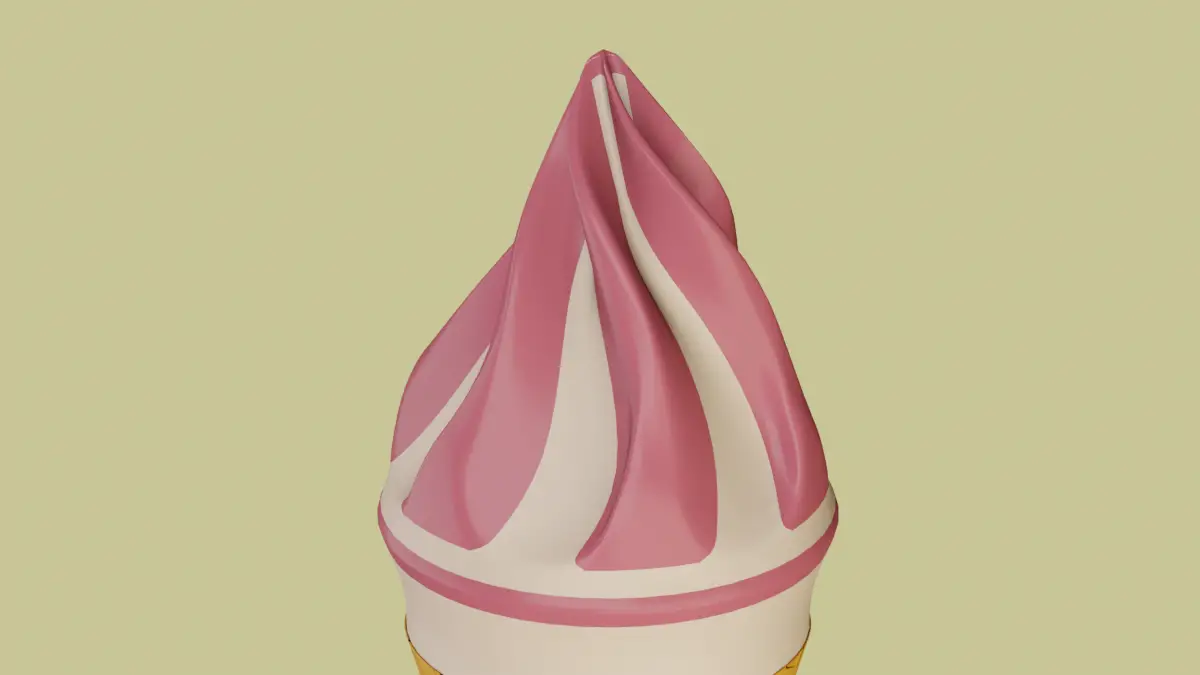
Make ice cream using Basic Cylinder, and then adding Swirls by using Extrude command.
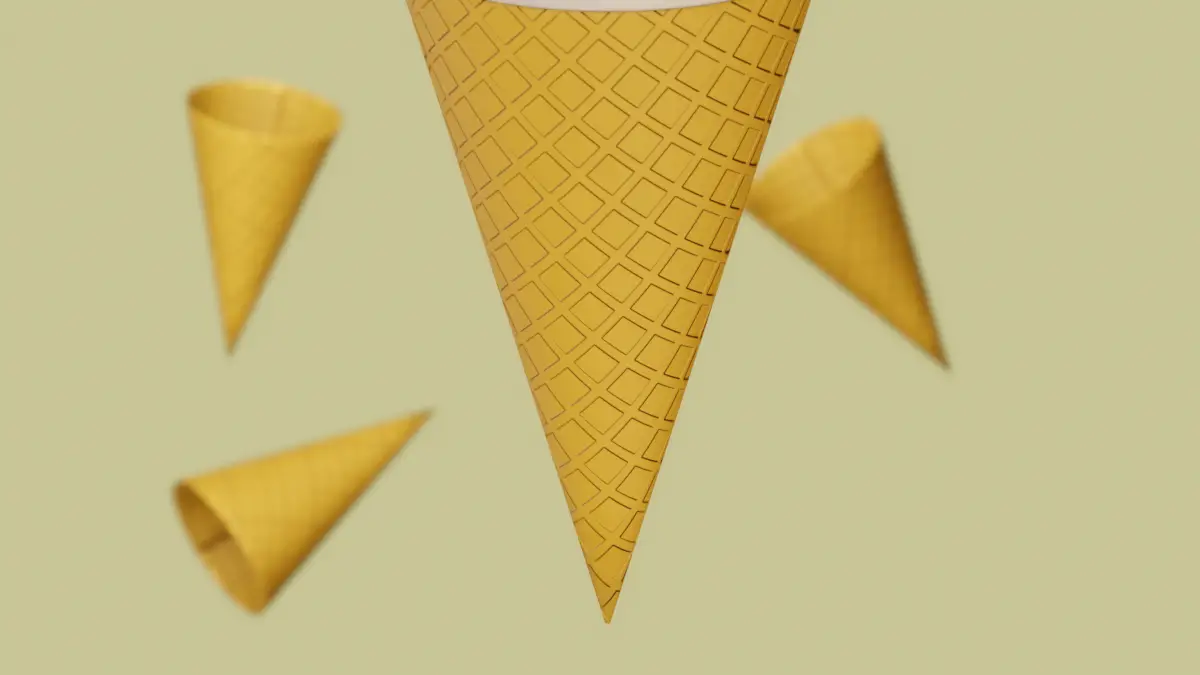
Make cone for ice-cream using Cylinder and then adding Bump using Normal Map.
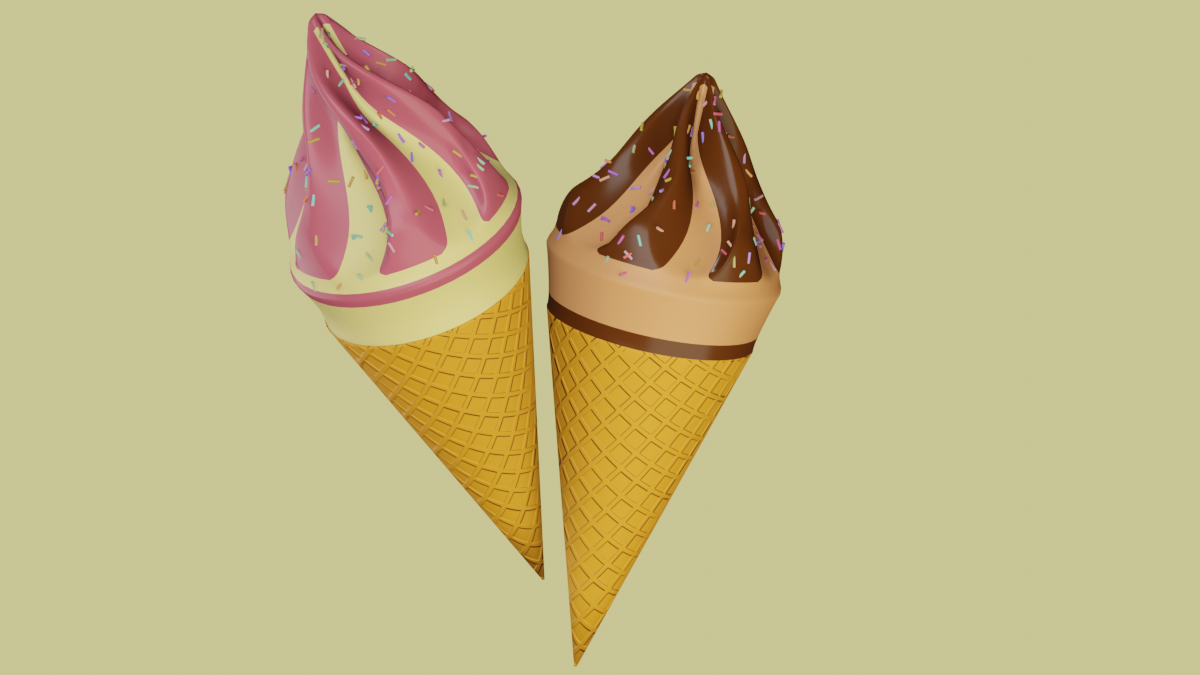
Learn how to make an Ice-Cream. Use Basic shape and some modeling techniques, and then use Shading to enhance the look of ice-cream.
Change the World’s settings, we will use a Shader for background color, while the other for Environment lighting.
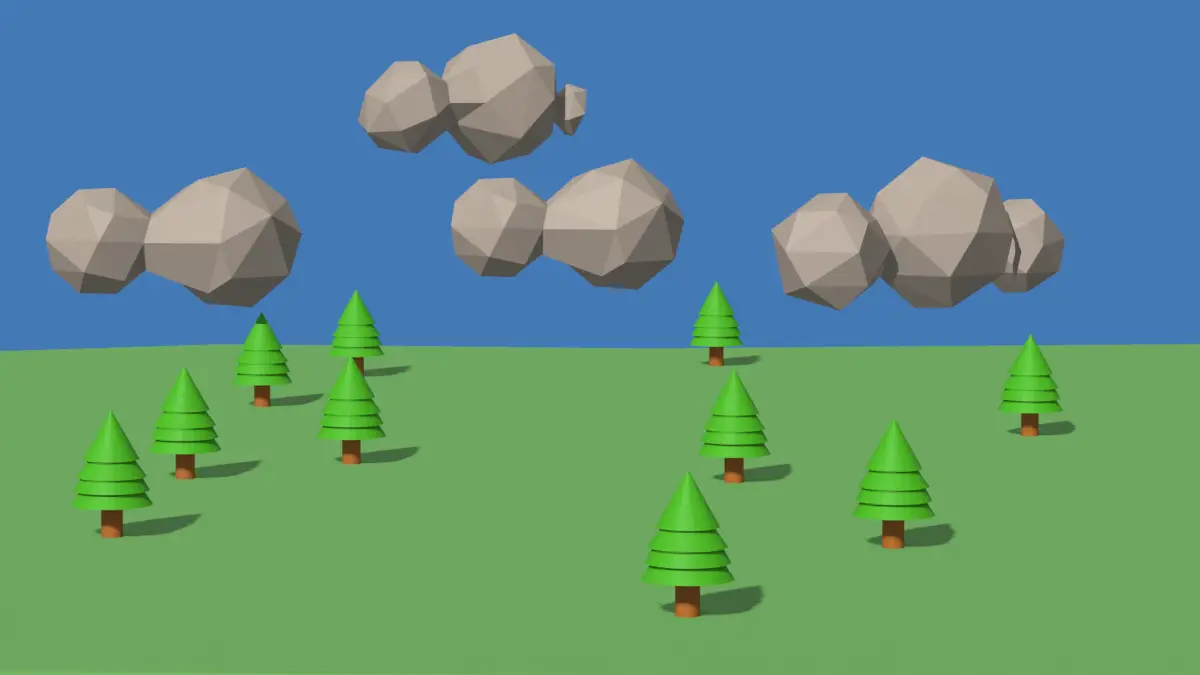
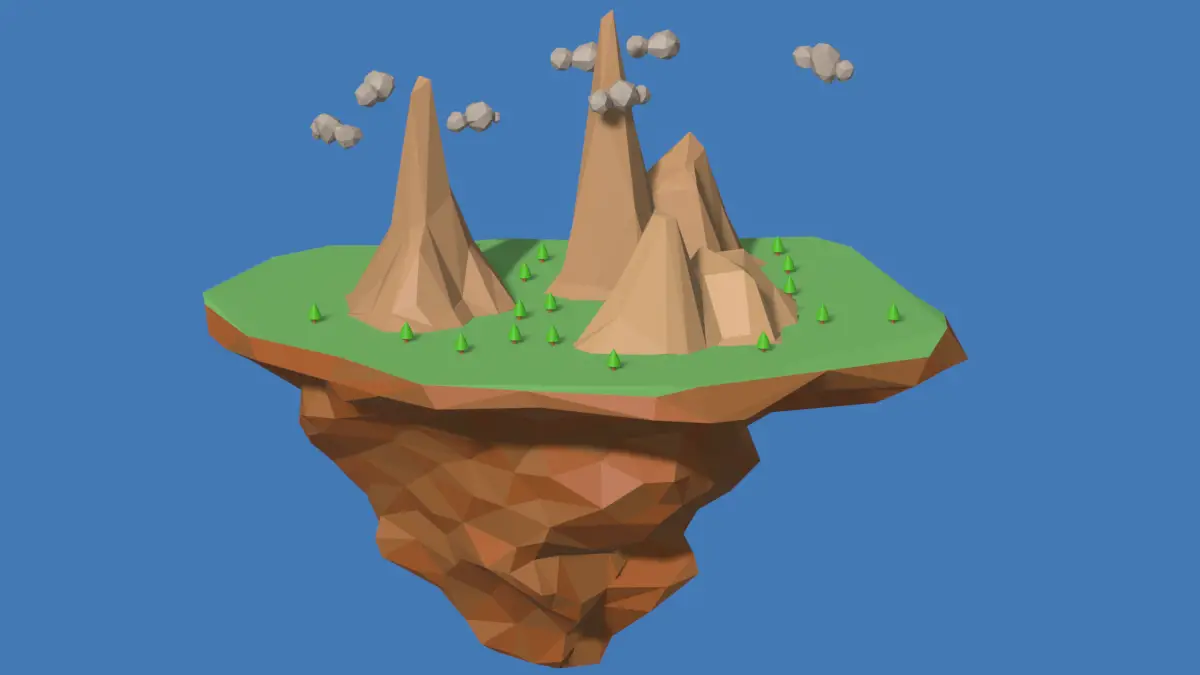
Using Decimate modifier and primitive shapes, we will make low poly props like Clouds and Trees.
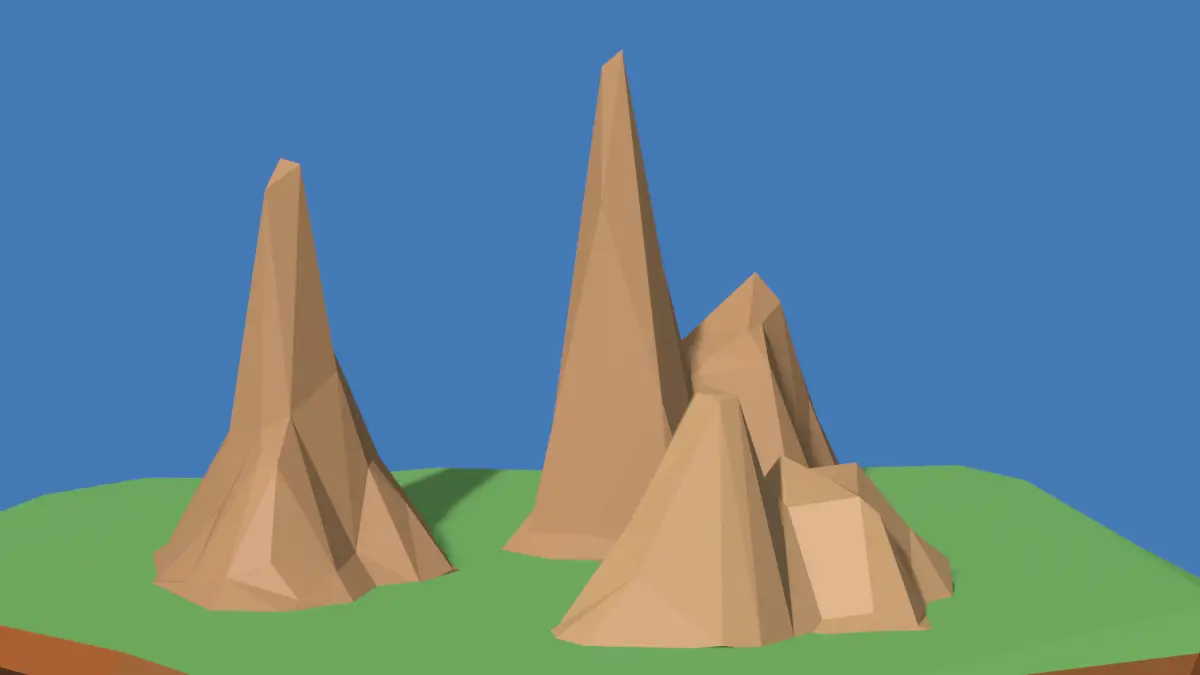
Make Low Poly Mountains, using plane and using Proportional Editing.
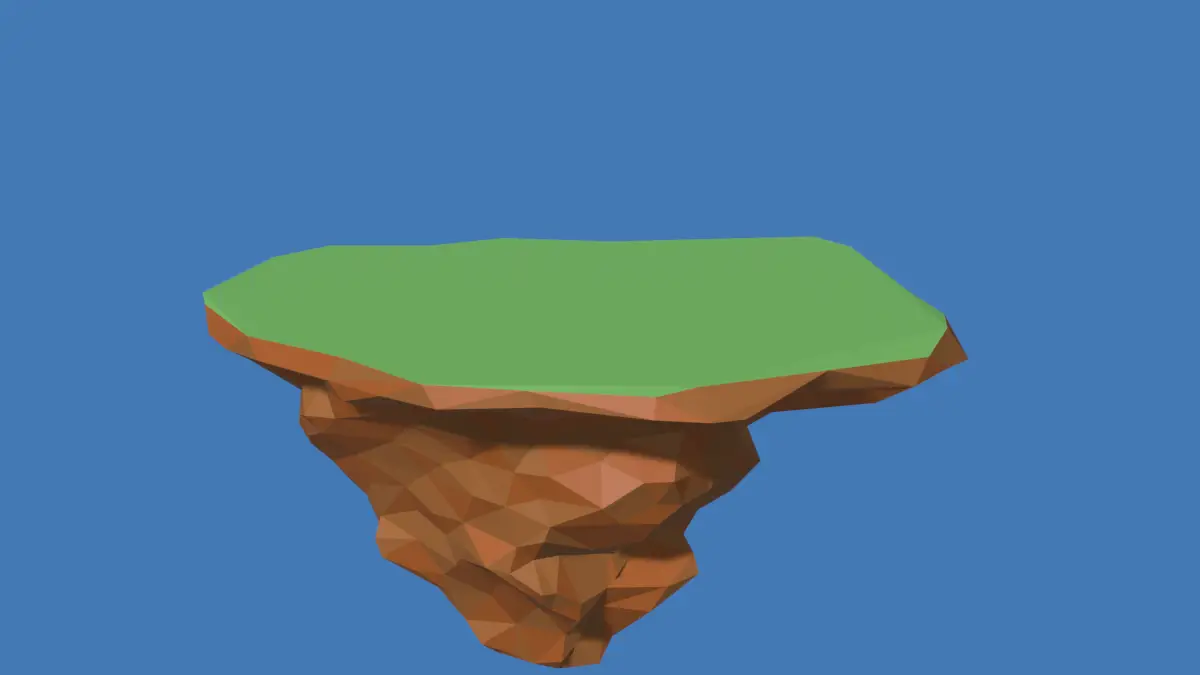
We will learn, how can we texture a Low Poly Island, with each face having different color using Voronoi Pattern.
Making a Low Poly island, we will be using Proportional Editing, and manipulation of vertices with Decimate modifiers, to make the mesh Low Poly.
We will make a Low Poly Floating Island scene, we will add low poly clouds, mountains and trees.

In this tutorial, we will UV unwrap a table and see how do we deal with Stretching and how we can UV unwrap circular surface.