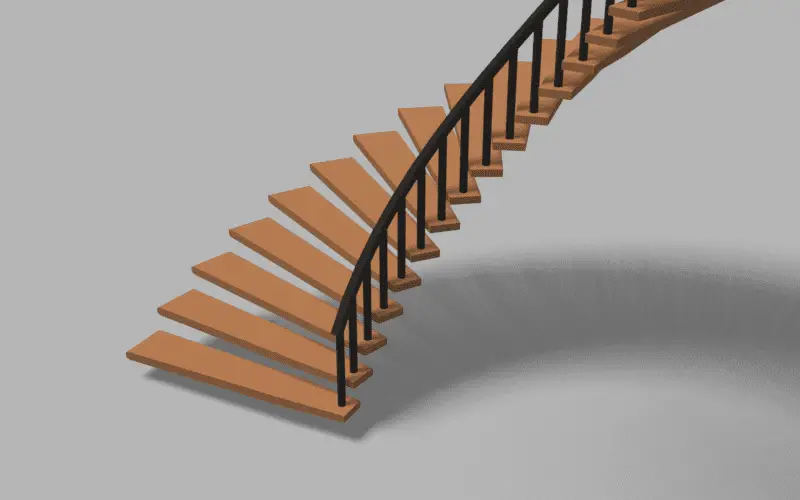
In this tutorial, we will learn how to extrude a profile along a curve using Geometry Nodes. Handrail will be made using this technique. Blender version 3.0 is used.
This is the sixth tutorial of the Procedural Spiral Staircase tutorial series. In the previous tutorial of the Spiral Staircase tutorial series, baluster was added for the staircase.
Add Curve to Mesh
For extruding a profile using a curve in Geometry nodes, Curve to Mesh node is used.
Add the node by clicking Add > Curve > Curve to Mesh.
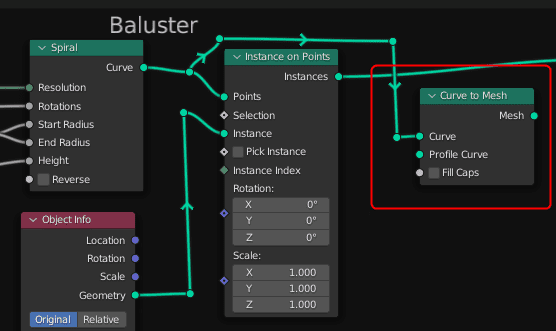
The spiral curve node used for baluster is also used for handrail for now.
Add Curve Circle for Profile Curve
For the Profile curve, we add a new Curve Circle node, click Add > Curve Primitives > Curve Circle. Connect them to Join Geometry.
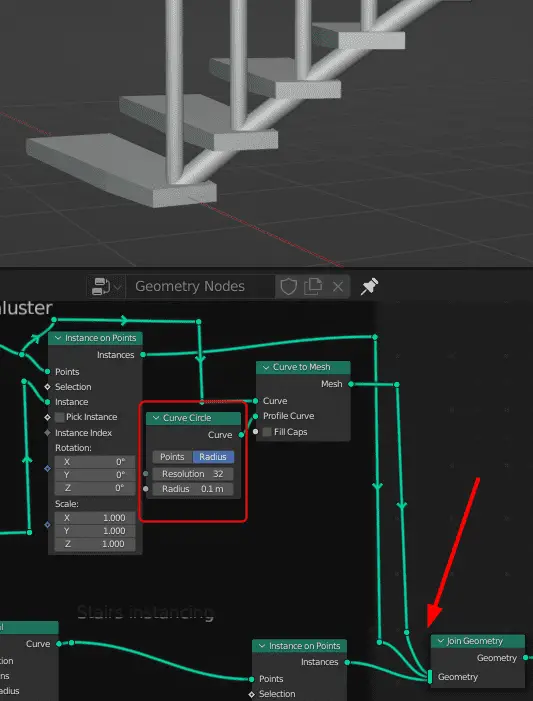
Change the parameters of the Curve Circle node so that its scale is appropriate to the staircase.
Translating on Z axis using Transform node
The handrail should be higher than the baluster and the stairs, not at the bottom of the baluster. Add a Transform node, after the Curve to Mesh node by clicking Add > Geometry > Transform.
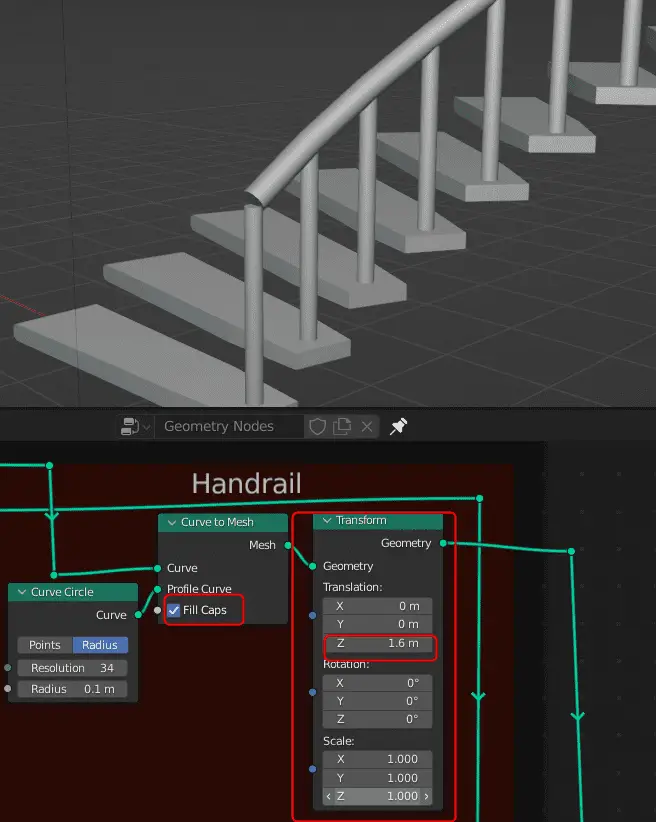
Also enable Fill Caps in the Curve to Mesh node so that the ends of the handrail are filled.
This is how all of the Geometry Nodes setup looks like.

The ends of the curve are not properly fitting.
In the next tutorial, the handrail will be moved back along the curve and the length of the curve will be increased: Move the curve along its path for adjusting and increasing the length of the curve.
All the parts of the tutorial series in order:
- Instancing the objects using Instance on Points.
- Aligning the instance objects towards the center.
- Adding Count Group Input to control the number of Control points and Instance Objects.
- Adding Width as a Group Input.
- Adding Baluster or staircase support.
- Extrude a profile curve in Geometry Nodes.
- Move the curve along its path for adjusting and increasing the length of the curve.
- Adding another set of Baluster and handrail in the Geometry Node.