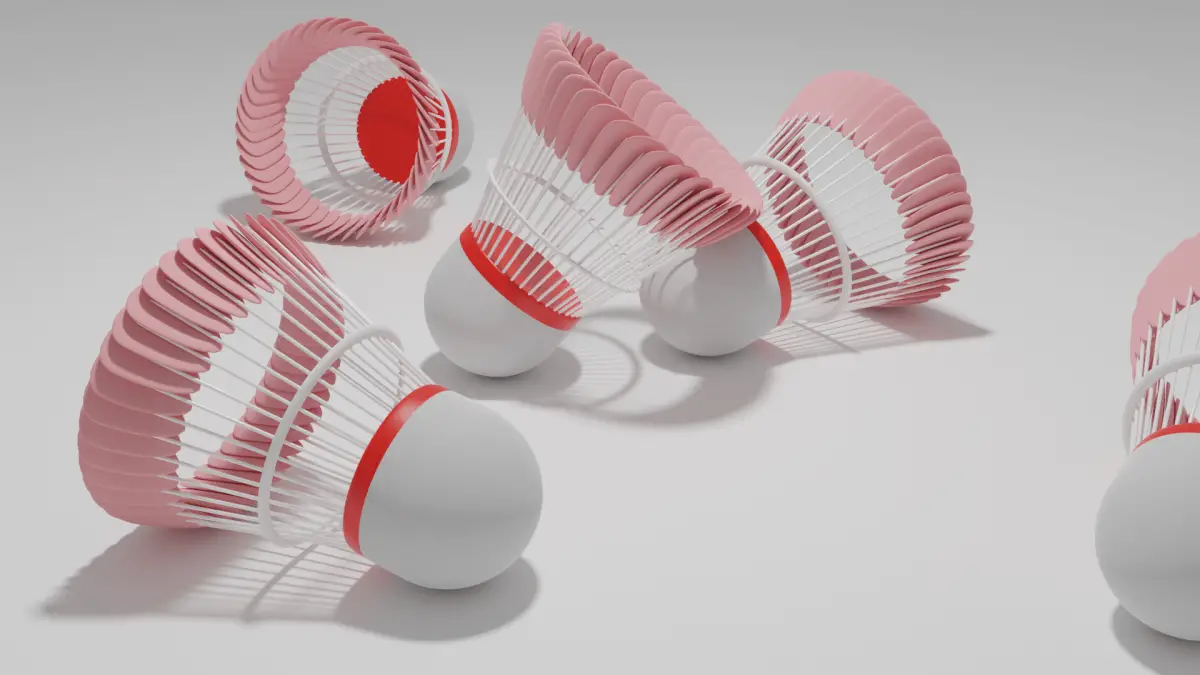
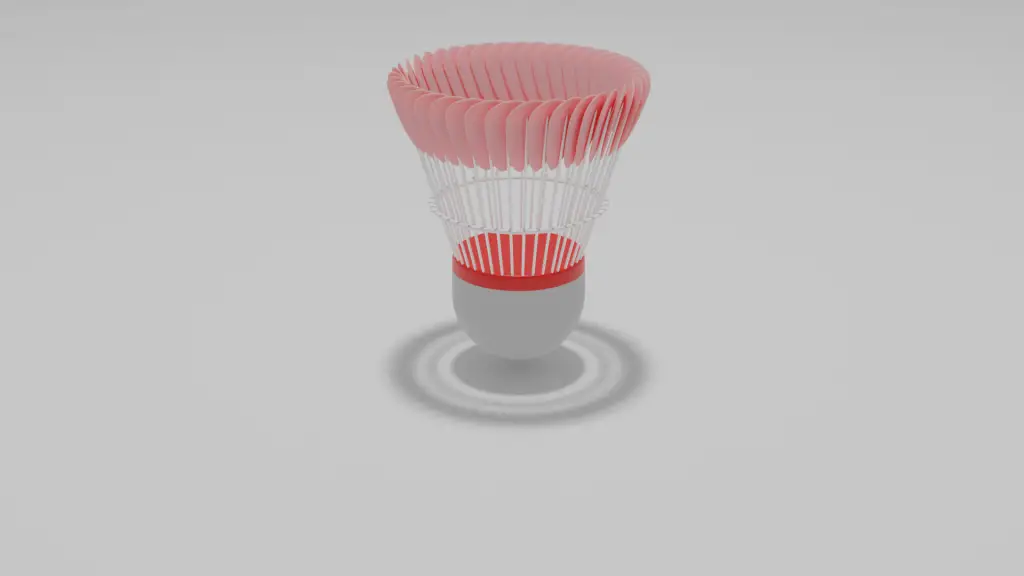
We will model a shuttlecock using the Array modifier in this tutorial. The nose can be modeled using the UV sphere, while the rod and feathers can be modeled using Array modifier. Blender version 2.90 is used.
We will model the shuttlecock in following parts.
- Nose
- Feather Sticks or Sturdy Feather Frame
- Feathers
It is recommended to look at References images from the internet to help speed up the modeling process.
Modeling the Nose
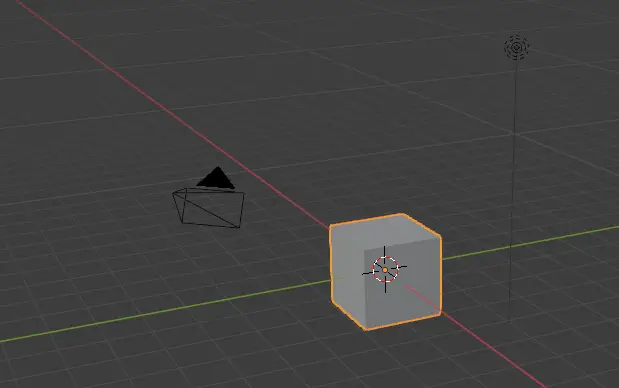
Open the default scene in Blender. Delete the cube by selecting it and pressing the Delete key.
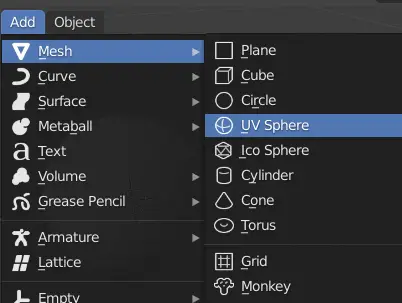
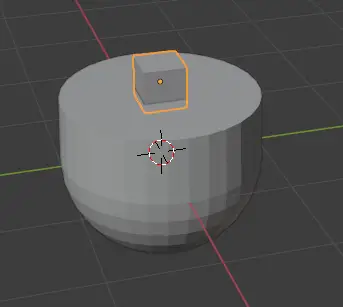
We are going to start with the nose of the shuttlecock, the best available geometry for the nose is UV sphere.
Add a UV sphere by clicking Add > Mesh > UV Sphere.
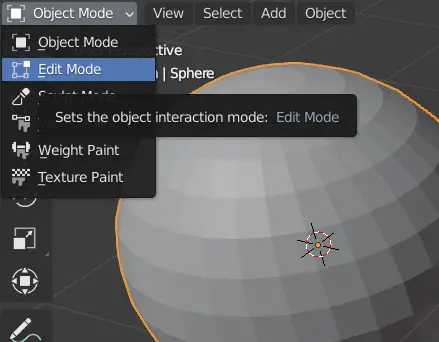
Select the sphere, and go to Edit mode from the top left or press Tab key.
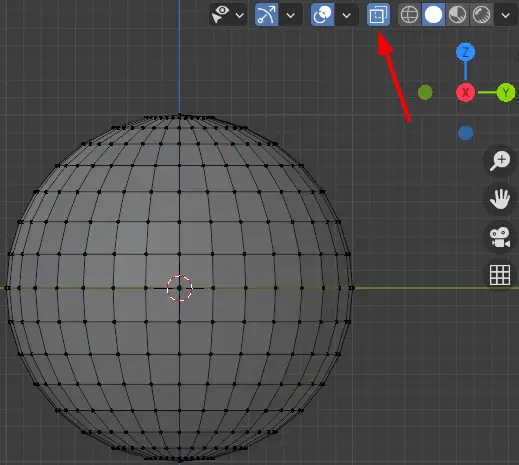
Now, we want the upper half of the sphere to be flat. To do that, we need to go to X ray mode and select upper half of the vertices.
While in the Edit mode, go to side view by clicking X axis on the Coordinate and click Toggle X-ray or press ALT + Z.
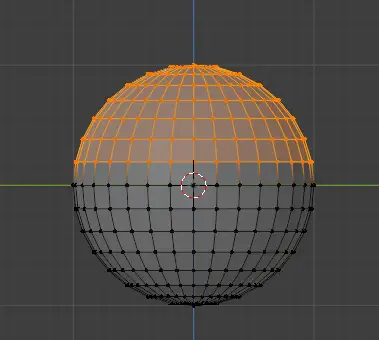
Turning on the X-ray will show the vertices that are behind the mesh, by doing this, we can select the vertices behind the mesh.
Select upper half of the vertices.
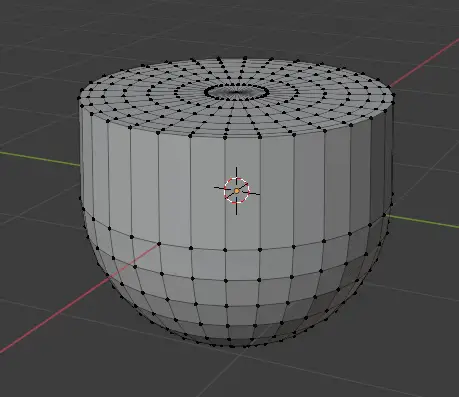
Now, we want these vertices to be flat.
Press S key, then press Z key , then press 0 and finally press Enter.

Explanation :When we pressed S key, we chose the Scale tool, after that we pressed Z key which means to scale in Z axis and finally when we pressed 0 key, we assigned the value of Z scale to 0 for the selected vertices.
Press ALT +Z to turn the X ray off. The nose will look similar to this.
Now, we need to add feather rods or sticks.
Go to Object Mode.
Modeling the Feather Sticks
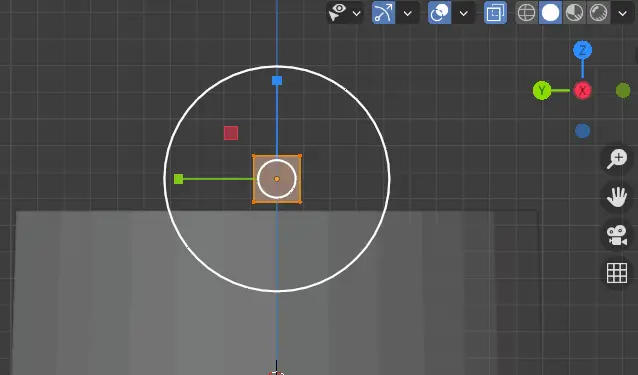
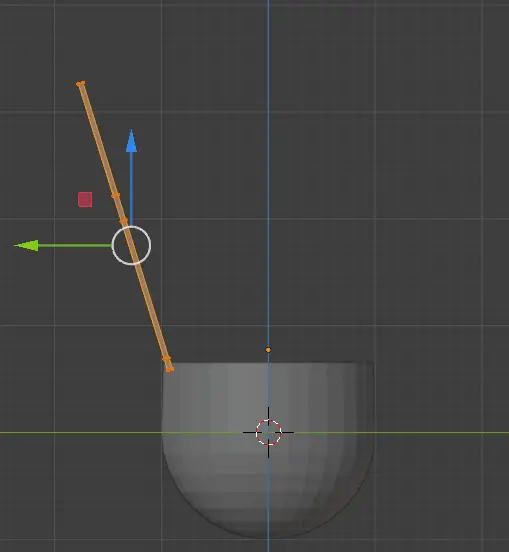
Add a cube by clicking Add > Mesh > Cube. Place that cube on top of the nose using the Move tool from the left toolbar.
Scale the cube down using the Scale tool from the left toolbar, as we want the rod to be very thin.
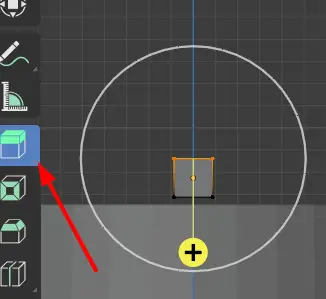
Go to Edit mode by pressing Tab key. And then go to side view by clicking X axis on the Coordinate on top right.
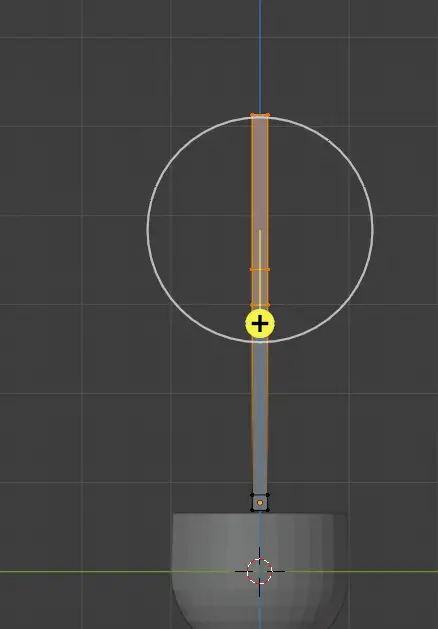
Now, we want to elongate the feather stick, we will use the extrude region tool.
Enable X ray by pressing ALT + Z.
Click the Extrude Region tool, select the vertices that need to be extruded, in this case the top two. Click the + sign on the cursor and drag it upwards.
You may extrude more than one time, thus increasing the number of edge loops.
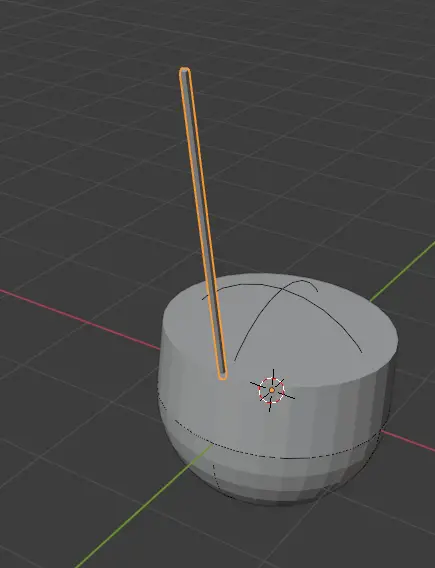
After extruding, we need to set the rotation of the feather stick, to do this select the mesh, and choose the Rotation tool from the left toolbar. Rotate it by clicking and dragging the Red Circle ( X-axis).
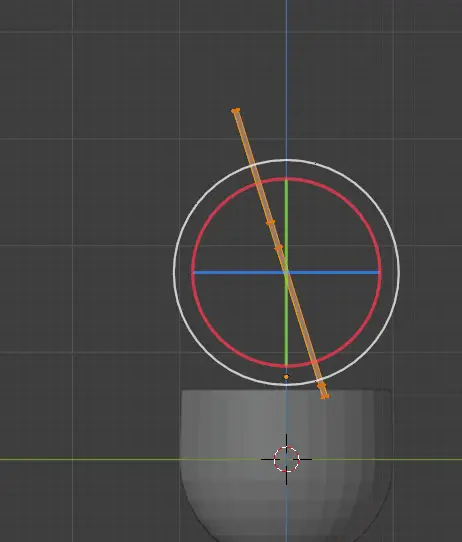
Then using the Move tool, move it to the desired position.
We have prepared one feather stick, we will use Array modifier to make more of them.
Go to Object Mode by pressing Tab key.
Using Array Modifier to make multiple Sticks.
We will use Empty as Object Offset in Array modifer.
Click Add > Empty > Sphere.
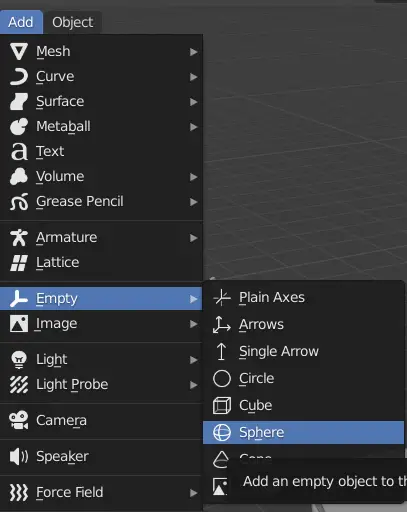
The empty shall be added.
Now select the feather stick, go to Modifier properties and click Add Modifier.
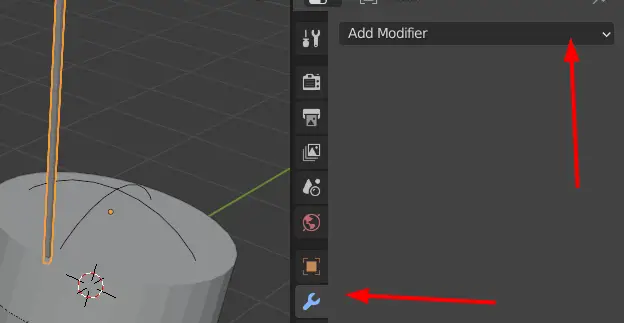
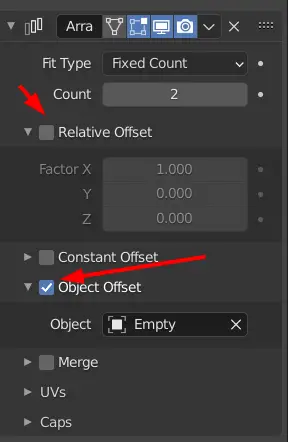
Disable Relative Offset and Enable Object Offset, choose the Object to be Empty.
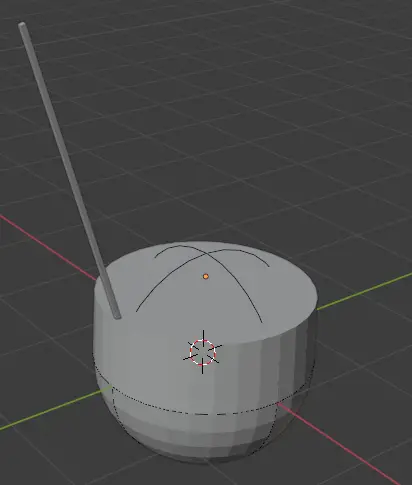
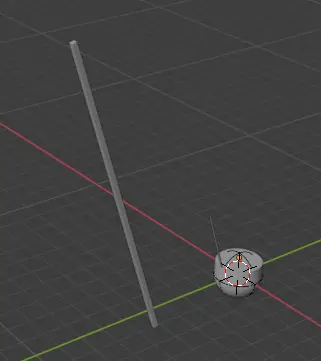
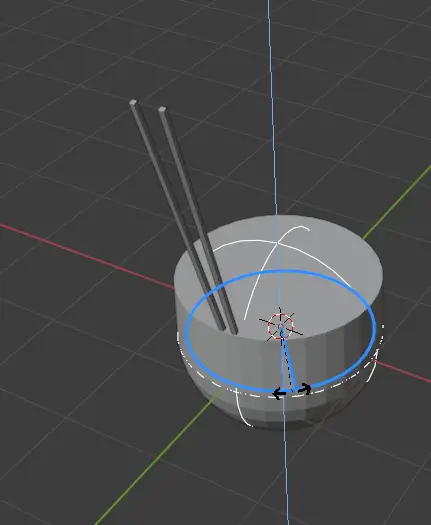
You might notice another feather stick has appeared with a larger scale.
This problem has occurred because the scale of the feather stick is not 1. When we added the plane for the feather stick, we changed its size in the Object mode, this changed the Scale of the Feather stick. To fix this, we need to apply the “All Transforms”. The ” All Transforms” will change the position, rotation and scale of the object to 1, and it will solve our problem.
Select the Feather stick and press CTRL + A, a menu will appear , click All Transforms.
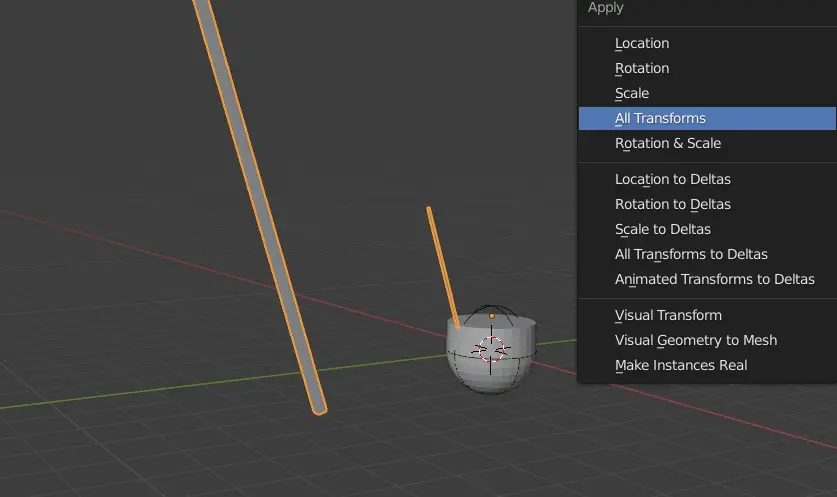
The problem will now be resolved.
Select the empty, choose the Rotate tool from the left toolbar.
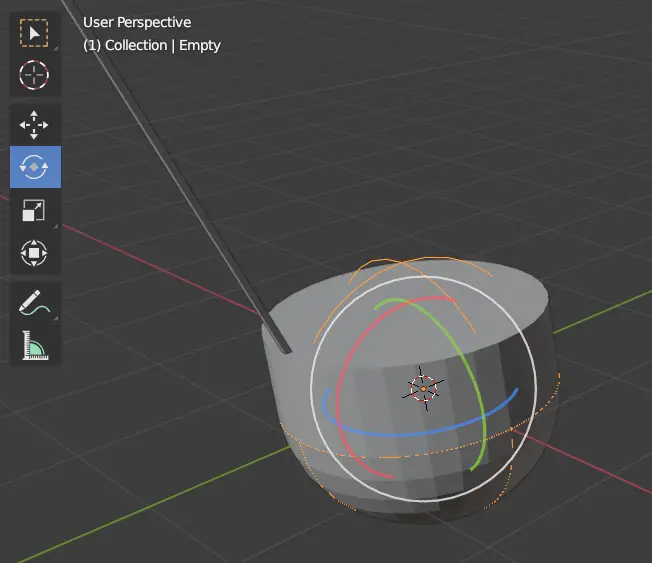
Click and hold on to the Blue Circle to rotate the empty. Rotate it until you think the distance between two feather stick is enough.
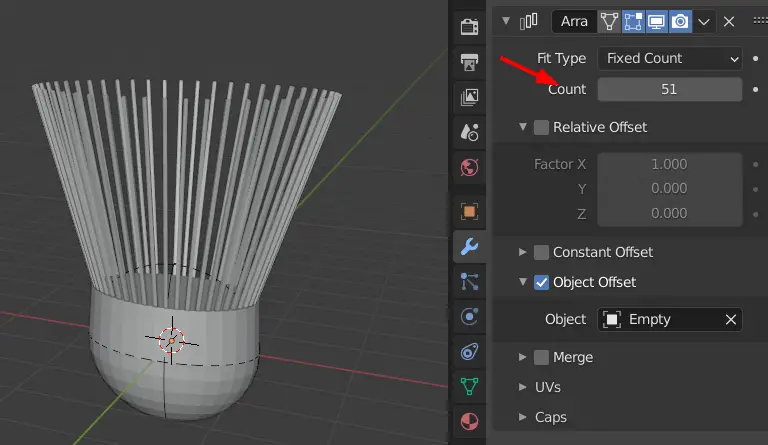
From the Array Modifier increase the Count, so that the feather sticks form a circular shape.
It is recommended to look at references photos when modeling something.