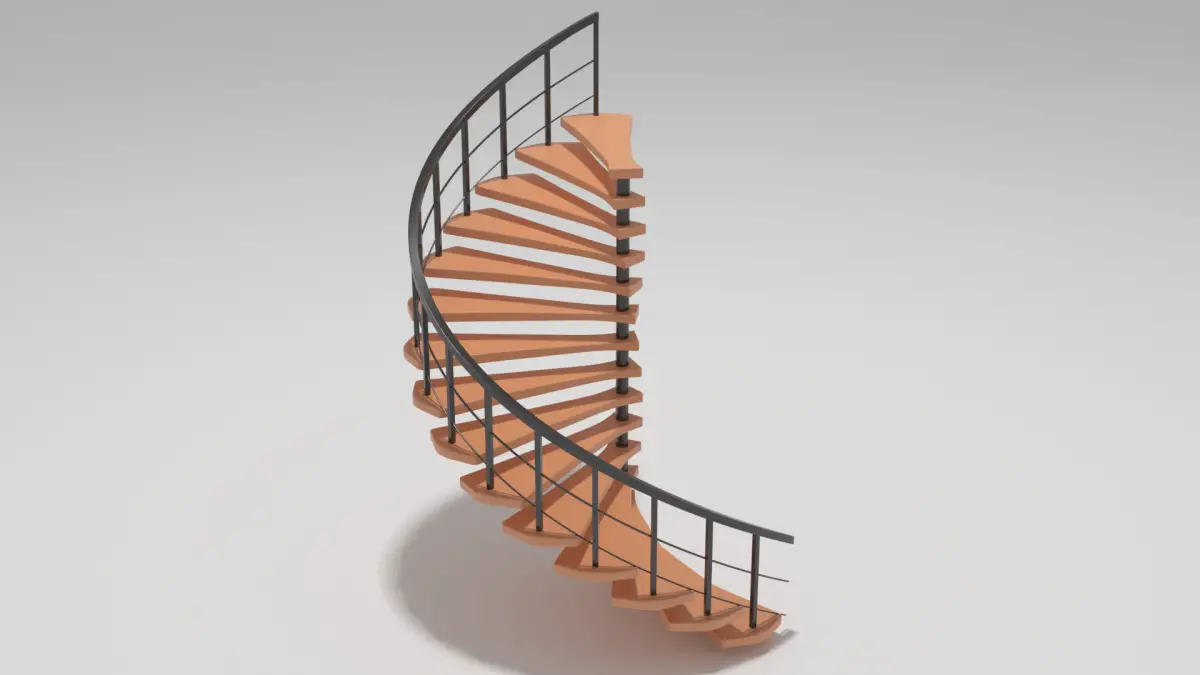
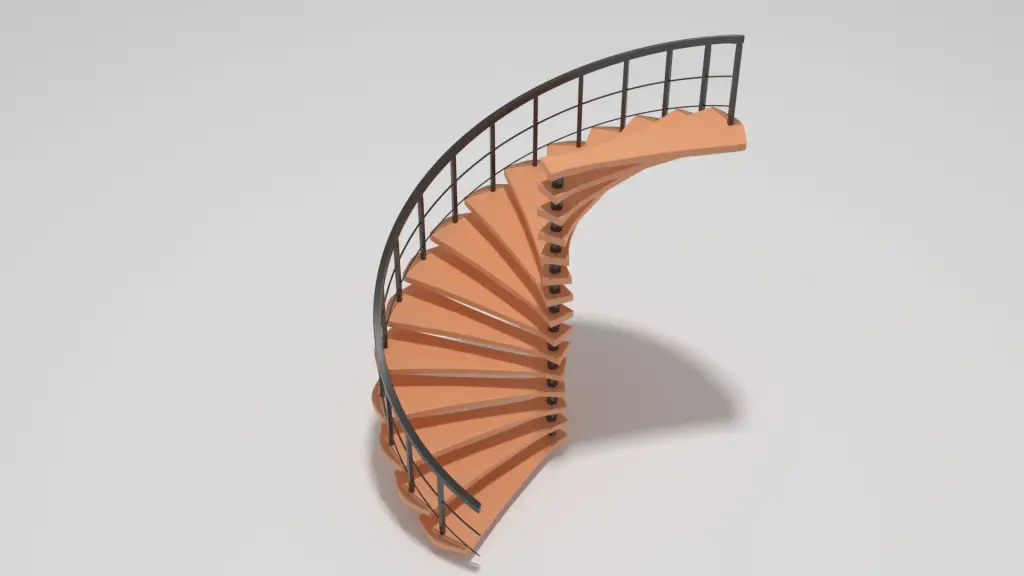
In this tutorial, we have modeled Spiral Staircase using Array Modifier. And then, we model a handrail. Blender version 2.90 is used.
We will model the staircase in three parts.
- Central Column
- Stairs
- Handrail
Making the Central Support
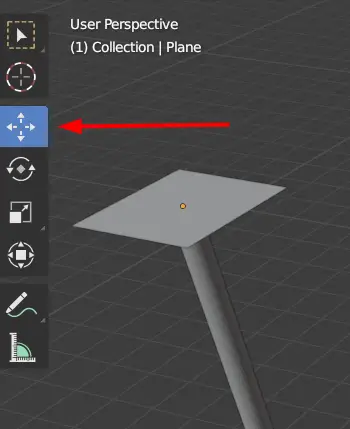
First of all, we will model the Central Column.
Open Blender with the default scene.
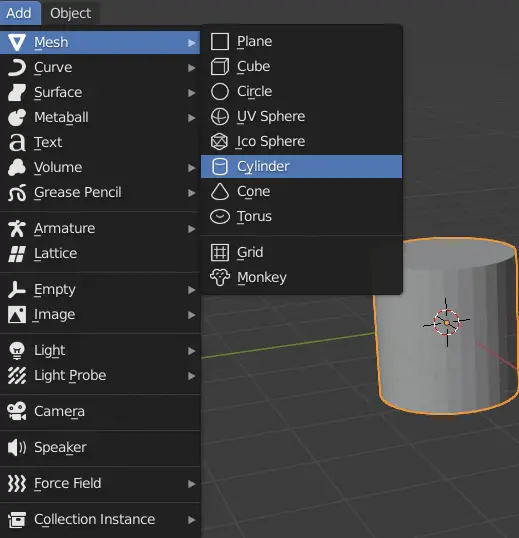
Delete the cube by pressing Delete key. Add a Cube by clicking Add > Mesh > Cylinder.
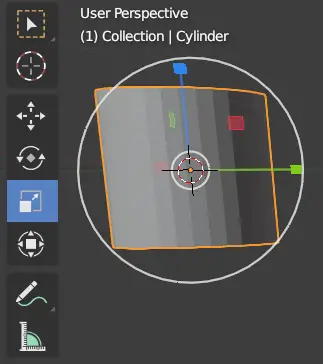
Using the Scale tool on the left Toolbar, make it as a long bar by increasing its size in Z-axis (Blue Cursor).
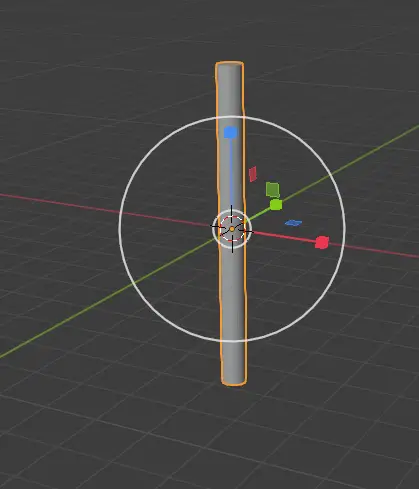
The cylinder should look similar to the following image.
Modeling the Stairs
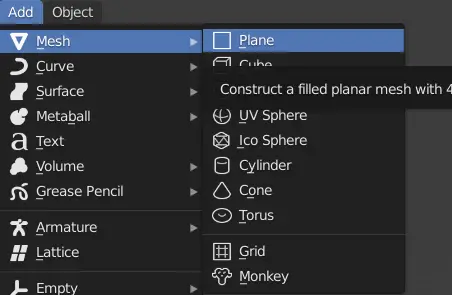
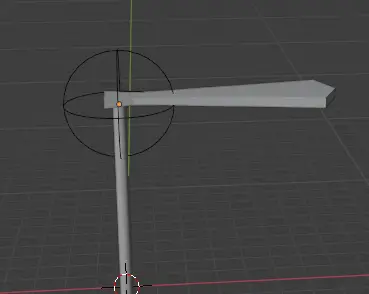
Add a plane by clicking Add > Mesh > Plane.
Using the Move tool from the left toolbar, place the Plane on top of the cylinder.
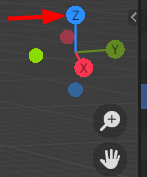
Now, we will edit the plane to make it into a stair. For that, we will switch to the top view by clicking Z axis from the coordinate.
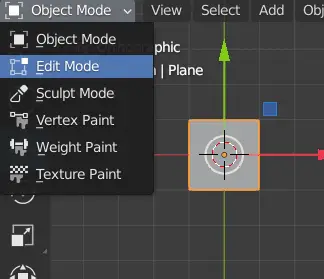
Go to Edit Mode by pressing Tab key.
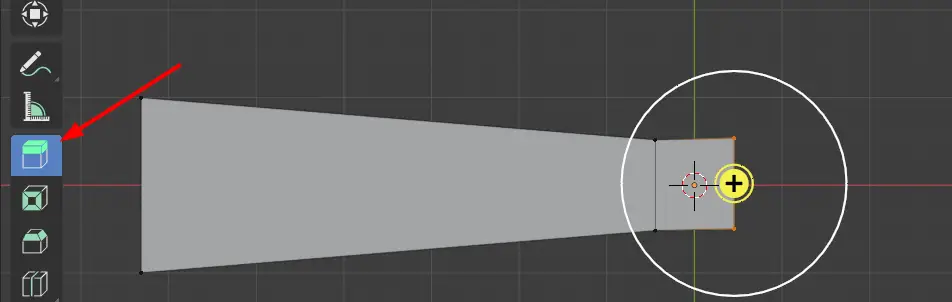
Extrude the edges using the Extrude Region tool from left Toolbar. Click on the + cursor shown to extrude, and make it as the shape of a stair. You should use the Scale tool or Move tool after extrusion.
Adding Edge Loop Cuts can create a better geometry. Press CTRL + R, and scrolling the Mouse Wheel will add Loop Cuts.
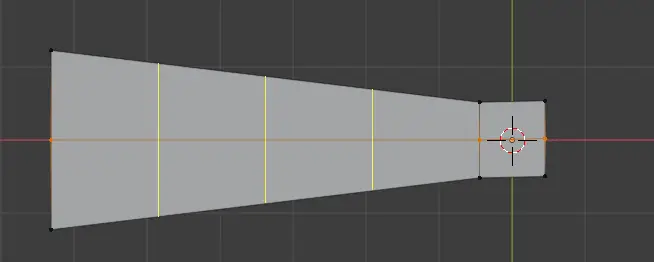
Now select all the geometry by pressing A, and extrude it.
Applying Array Modifier using Empty
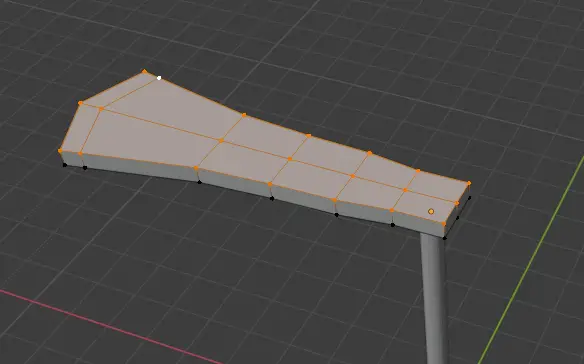
Now go to Object Mode by pressing Tab key.
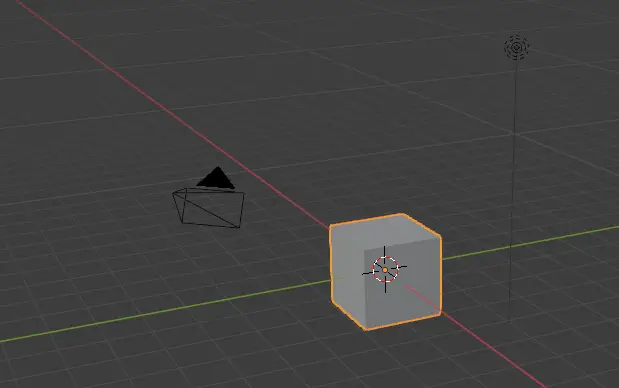
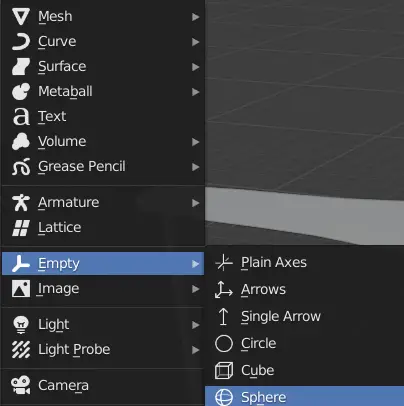
Add an empty by clicking Add > Empty > Sphere.
The origin of the Stair geometry and the empty should be same. To do this, first select empty sphere, then the stair and press Shift + S, a menu will appear, click Selection to Active.
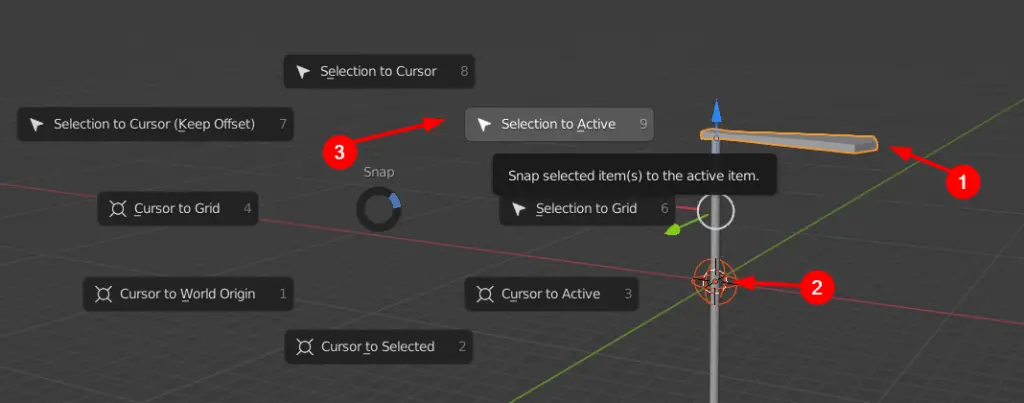
This will move the sphere to the stair’s origin.
Now, we want to increase the number of stairs, to do this, we will use the Array Modifier. We are going to use Object Offset to rotate the stairs.
Select the stair, go to Modifier properties on the right and click Add Modifier.
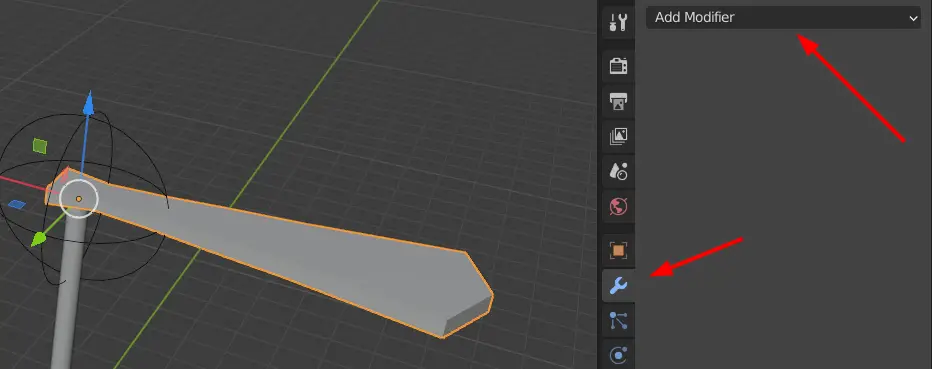
Click Array.
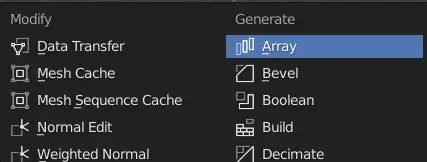
Array modifier is used to make multiple copies of a single object.
In the Array Modifier properties, we can choose the Count of our choosing, in this case 15, disable Relative Offset and enable Object Offset. Choose the Object to be Empty.

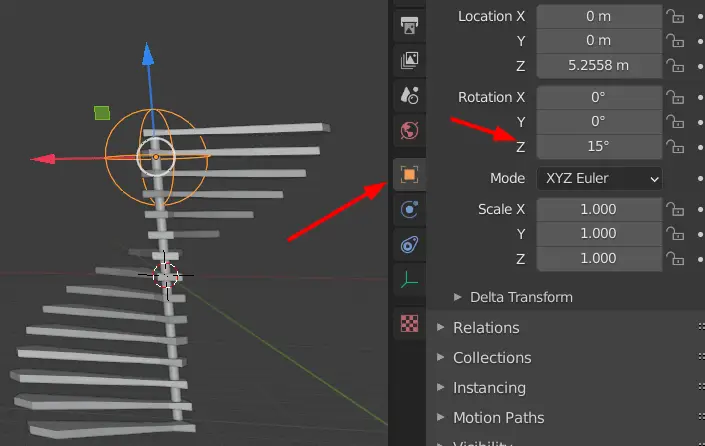
Now, if we change the transform properties such as Location, Size and Orientation of the empty, this will automatically affect the stair.
Select the empty, using the Move tool, drag it down a little bit until the other stairs appear and the distance between them is appropriate.
Keeping the empty selected, go to Object Properties on the right and change its Z rotation to 15 degrees. This will rotate every next object by 15 degrees.