Modeling Coil for Shuttlecock
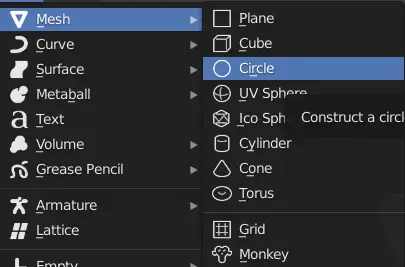
While in the Object Mode, click Add > Mesh > Circle.
Move it upwards, and scale it till it touches the edges of feather sticks.
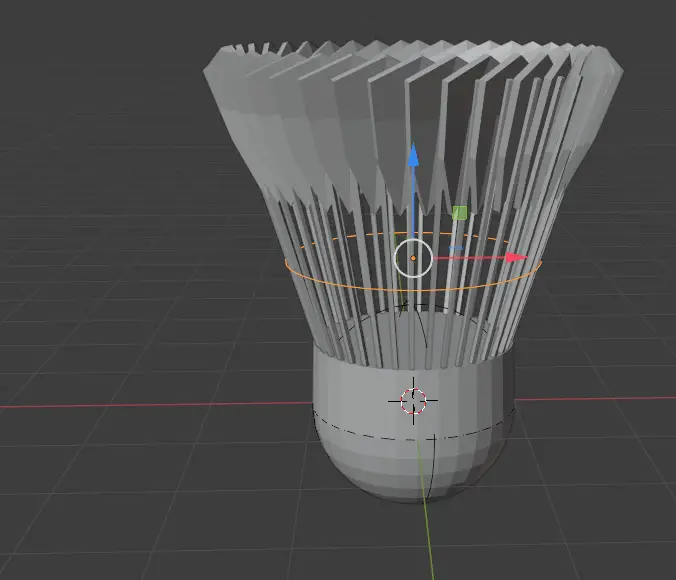
Go to Edit Mode, extrude it by pressing E key.
Scale it by pressing S key.

Then select the whole mesh by pressing A key. Then extrude it downwards.

Go to Object Mode by pressing Tab key.
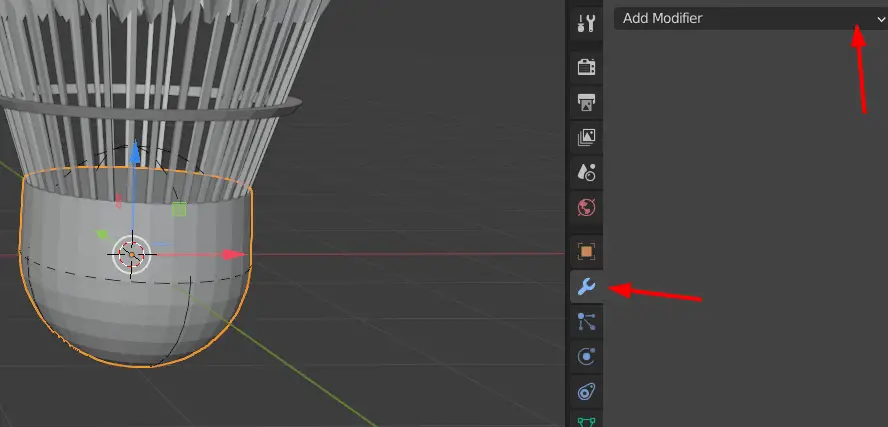
Making the Mesh Smooth
Select the nose, go to Modifier properties and add a Subdivision Surface modifier.
Press Right Mouse Button, in the Object Context Menu, click Shade Smooth.
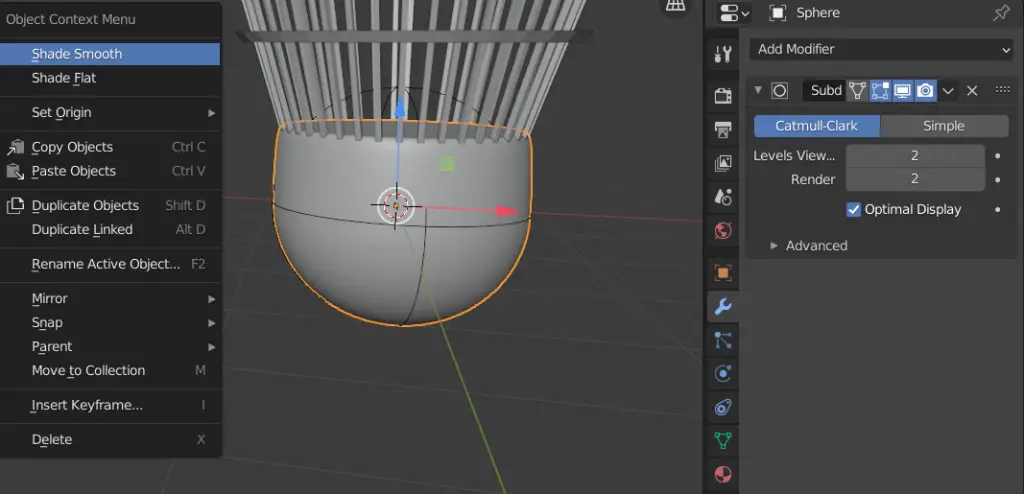
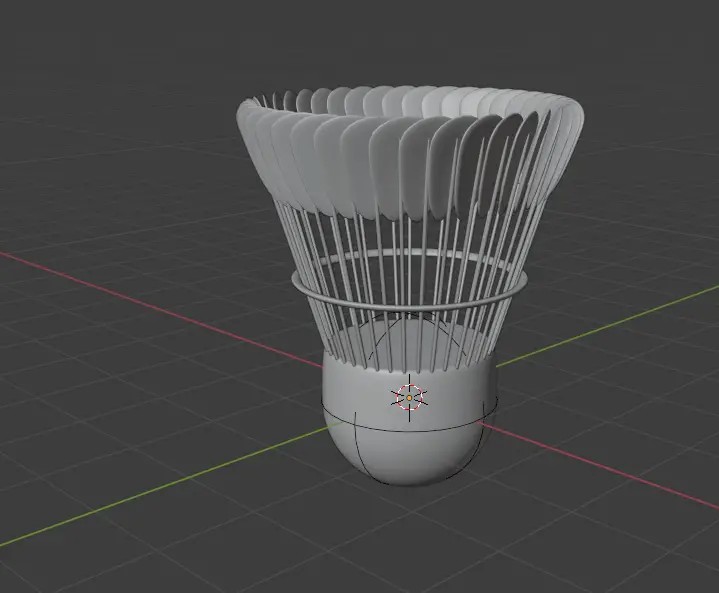
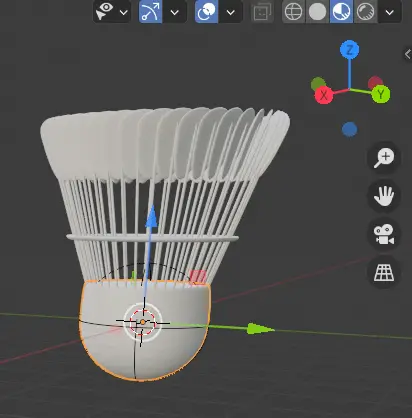
Do this for all the objects.
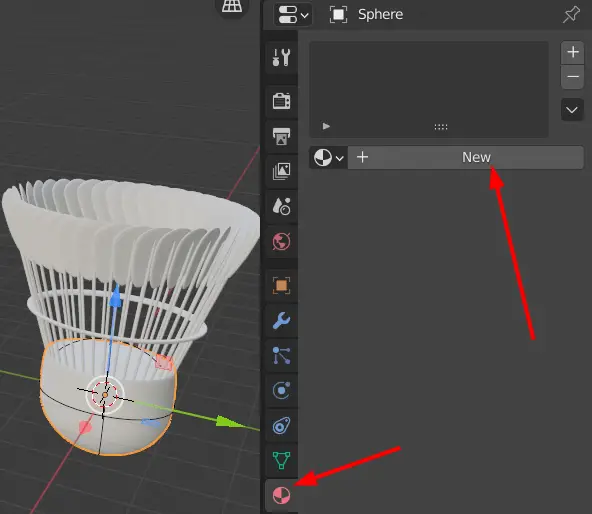
Adding Materials
Go to Material Preview by clicking Material Preview from top right above the Coordinate gizmo.
Select the Nose, click Material Properties and Click New to add new material.
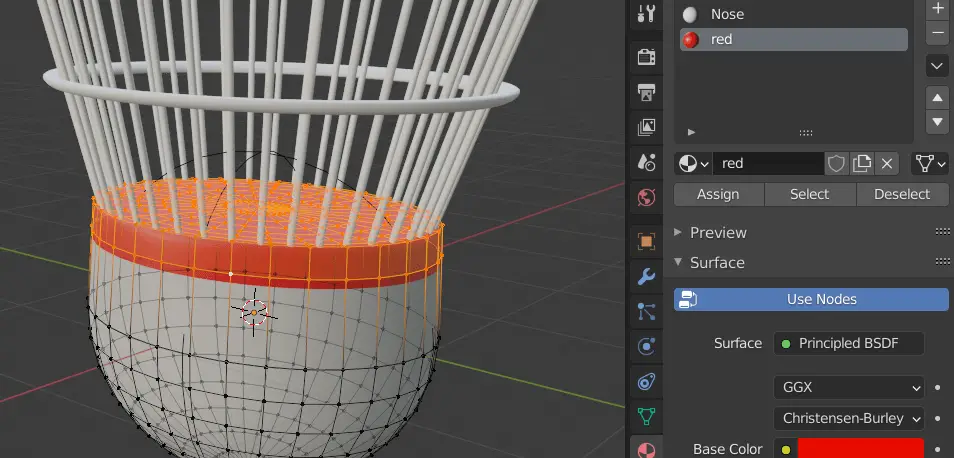
Add Material for the nose and its upper region by selecting the vertices and clicking assign for the new material.
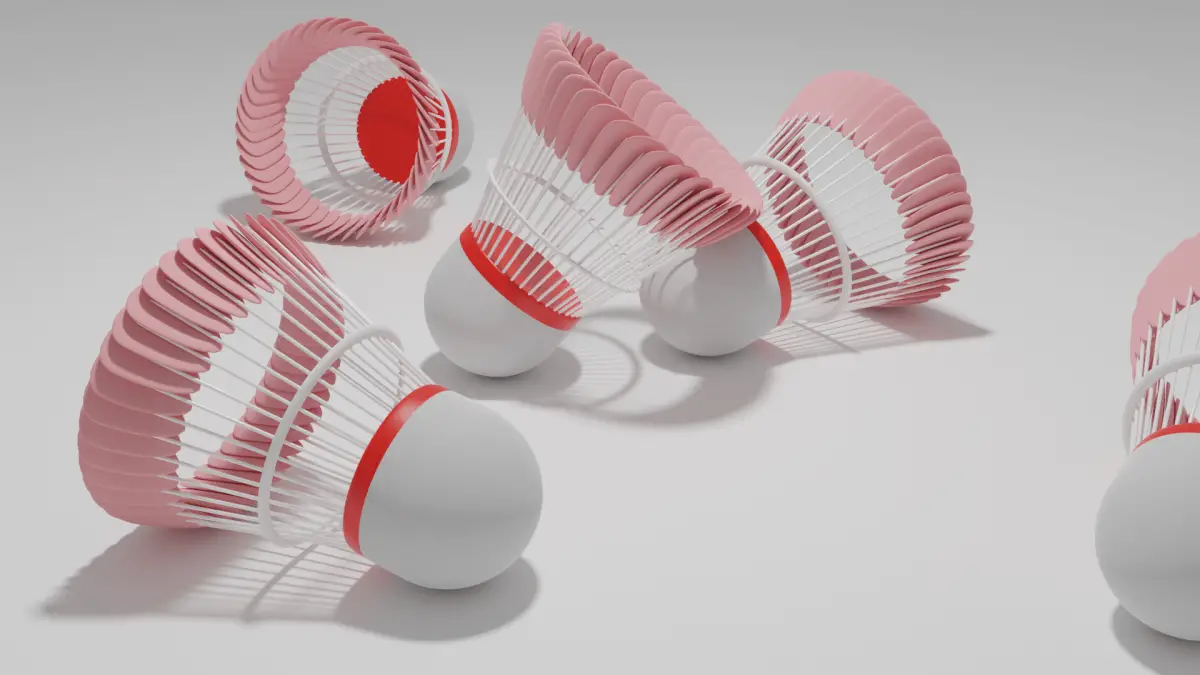
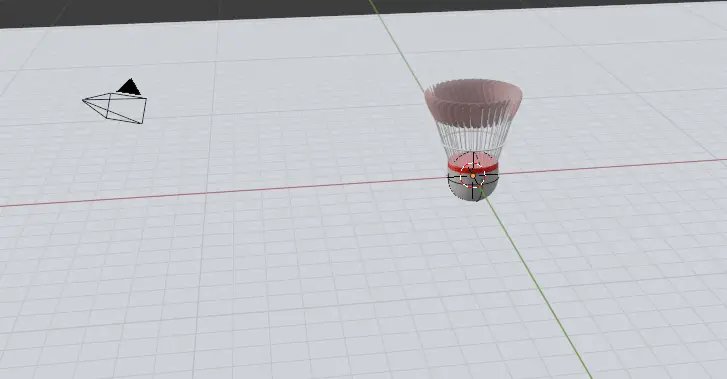
Add a ground, adjust the camera position.
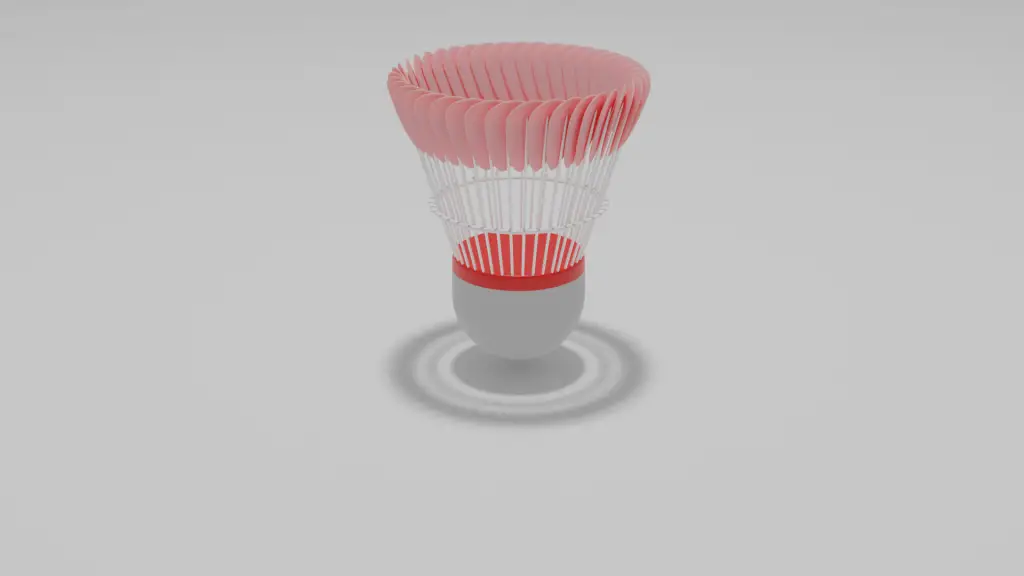
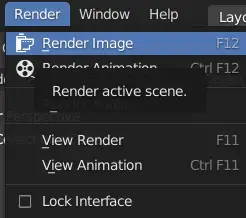
Rendering the final image.
Now Render the image, by clicking Render > Render Image.
Your rendered image will look similar to this.