In this tutorial, we are going to use Volume to make fog and animate it. We have chosen a scene that has already been made. The scene is covered by a large Volumetric Cube, we change density inside different parts of cube using a texture, this makes it looks like fog and finally we use those parameters to animate it. Blender version 2.93 is used.
Volume rendering is used for the effects like smoke, fire and mist.
Click here for the tutorial of the scene that is used here.
Open a scene or Blender file that you would like to use.

Adding a Volume
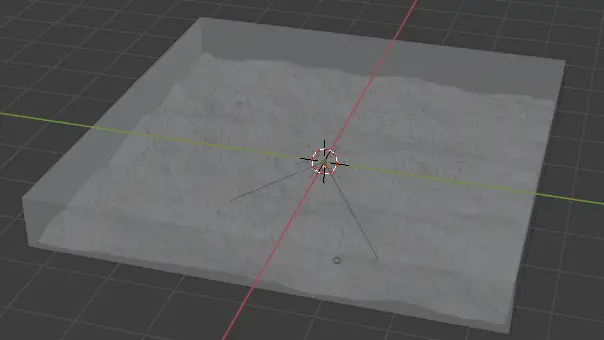
Add a Cube by clicking Add > Mesh > Cube.
Increase the size of the Cube so that it covers the scene. The cube can be resized using the Scale tool on the toolbar.
Press Alt + Z, so we can see through the mesh.
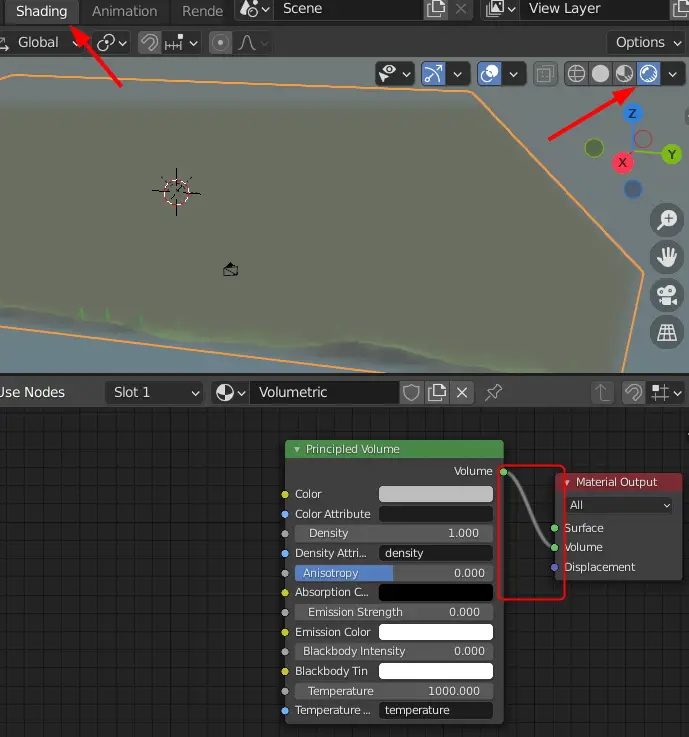
Switch to the Shading tab for the Ribbon. This tab has two windows, one is 3D viewport, which is the workspace and the other is Shader Editor, it is used to apply materials and textures onto a model.
Select the cube and add a New Material to it using Material properties from the right side.
In the Shader Editor, we can see, when a new material is added to a model, it is usually not a volume material but a surface material. It has Principled BSDF connected to material output. Delete the Principled BSDF
Add a Principled Volume by clicking Add > Shader > Principled Volume. Connect the new node to the Volume input of the Material Output.
Also Enable the Rendered Shading for top right. The Rendered shading shows the rendered preview.
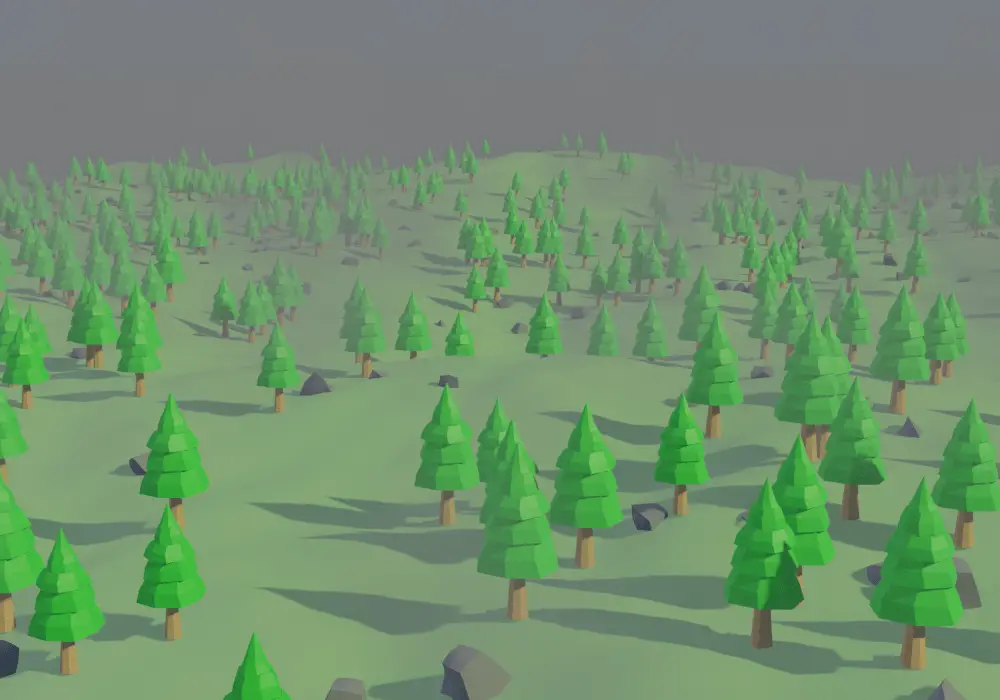
Now, you will see that the scene has become too foggy, we can fix that by adjusting the Density value on the Principled Volume.
Changing Density using texture to make the Volume look like fog
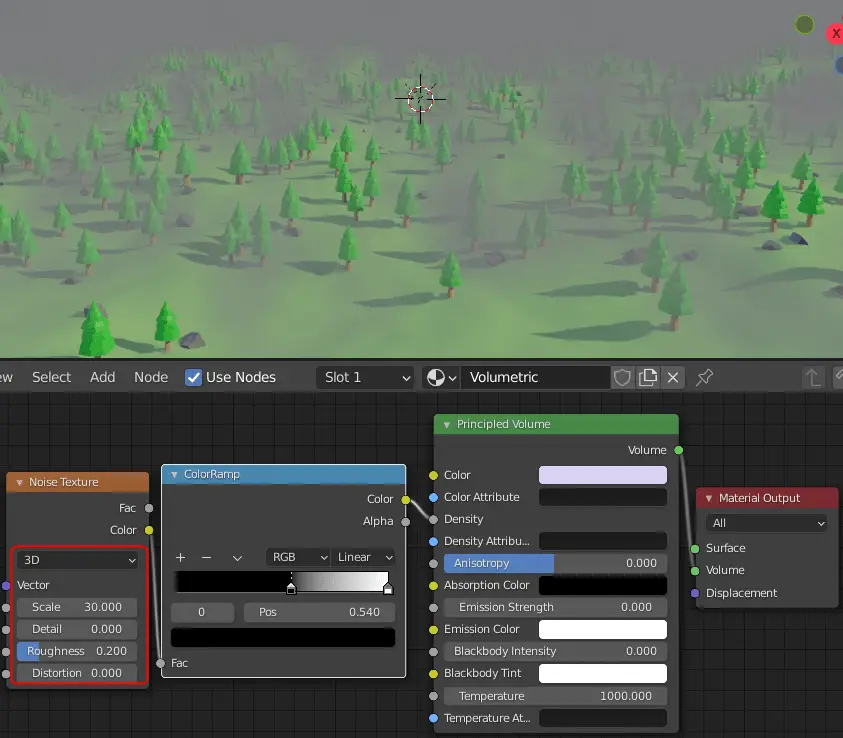
We want the scene to have a fog like effect, to do this, we are going to have some parts of the volume have higher density than the others. This can be done using a texture. To adjust the density of the fog we will use a ColorRamp node.
Add a ColorRamp node by clicking Add > Converter > ColorRamp. Connect the Color output to the Density input of the Principled Volume node.
We will add a Noise texture, click Add > Texture > Noise Texture. Connect the Color output to the Fac Input of the ColorRamp.
You will now see some patches of the fog on your screen. You may scale the texture appropriately using the Scale parameter on the Noise Texture.
Note that, to adjust the density of the fog, you will need to use color ramp. The black color represents the number 0 which means no fog. while the white presents the number 1, means thick fog.
You will need to adjust the slider of the both colors to achieve the desired result. You may also add more colors that are between black and white.