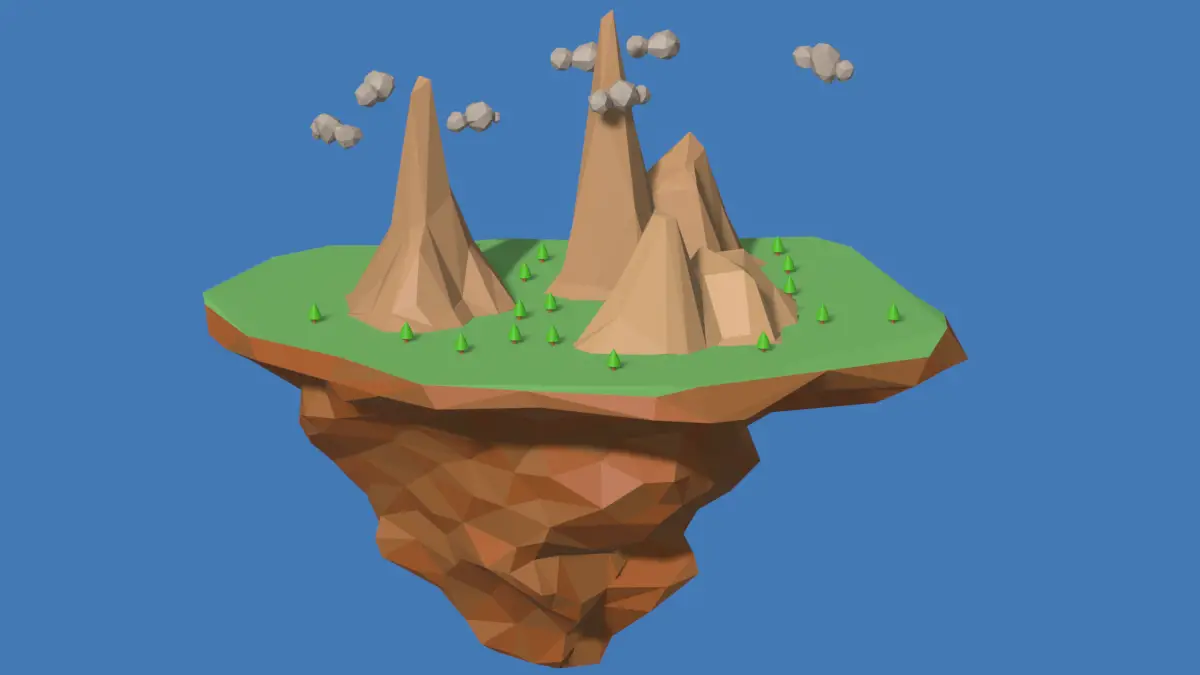
We will be setting up lighting for our Low Poly Floating Island. We will be changing the World’s settings. Blender 3.4 is used.
Time-lapse video of the TUTORIAL SERIES:
This is the fourth part of the tutorial series:
- Make a Low Poly Island.
- Adding Multi Color texture on Each face, on Low Poly Island.
- Make Low Poly Mountains.
- Make Low Poly Trees and Low Poly Clouds.
- Setting up Lighting and Environment for Low Poly Scene.
We are going to set up the lighting for our scene. First, we have deleted all the lights that were in the scene, so that we can start working on our scene from the scratch.
To see how our rendered scene, will look like, press and hold Z key, and select Rendered.
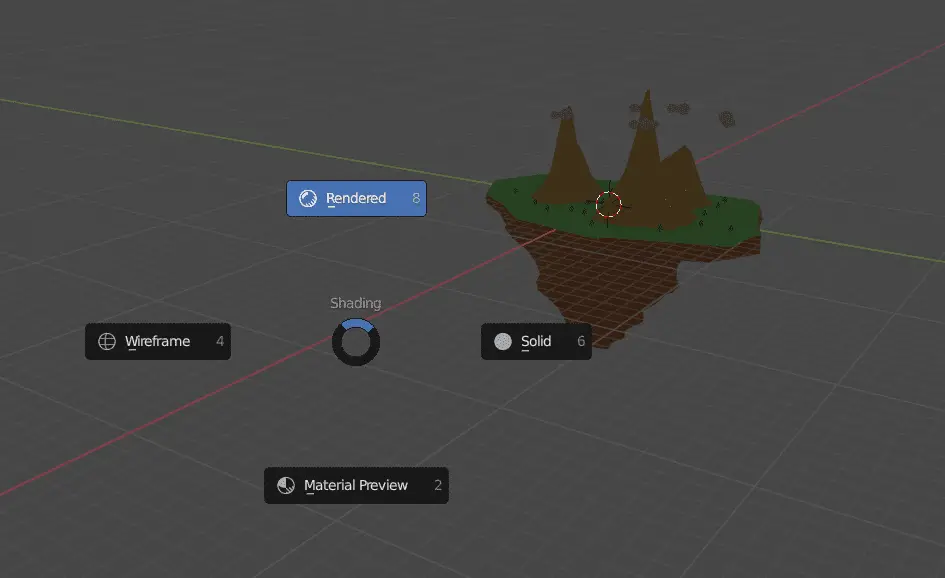
Since, we are showing an outdoor scene, with mountains and trees. It is logical to use Sun Light for our scene.
Add Sun Light for Nature Environment
Click Add > Light > Sun in the scene.
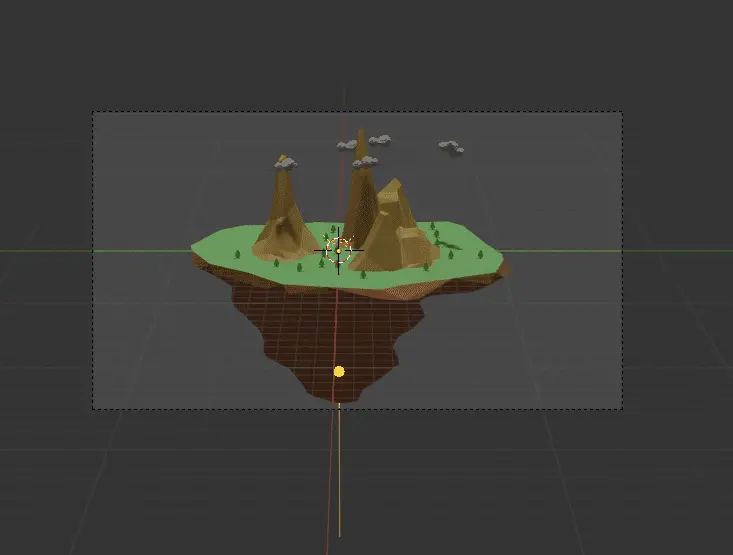
We see that the Sun is pointing direct below, and this not causing any prominent shadows, which is very unusual in general circumstances.
Setting Strength and Orientation of the Lights.
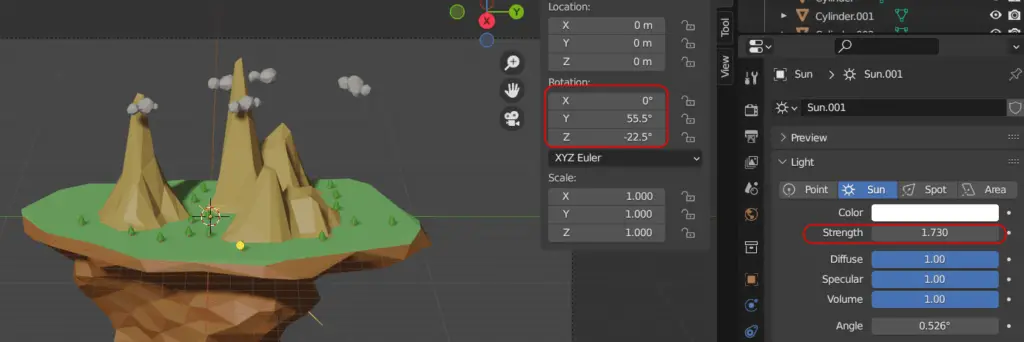
So, we change the angle of the light manually by pressing R key to rotate the light OR we can press N key and in the item menu we can enter the values for our Sun.
We can also set the strength of the light in the Object Data properties.
Adding Multiple Lights for the scene.
But, as we can see, the shadows are too dark. So, we can add another sun light, with less Strength and it will not cause any shadows. We will Disable Shadows option in it.
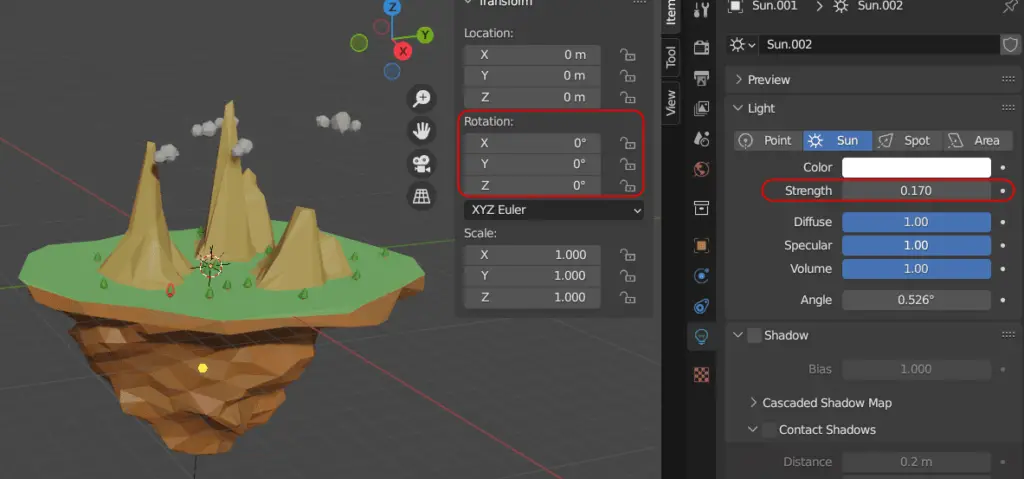
Now, we will change the background color of the Environment in Blender. We will use two background shader, one for color and the other for environment lighting.
Changing the World’s Setting for the scene.
Go to Shading tab, and choose Shader type to World.
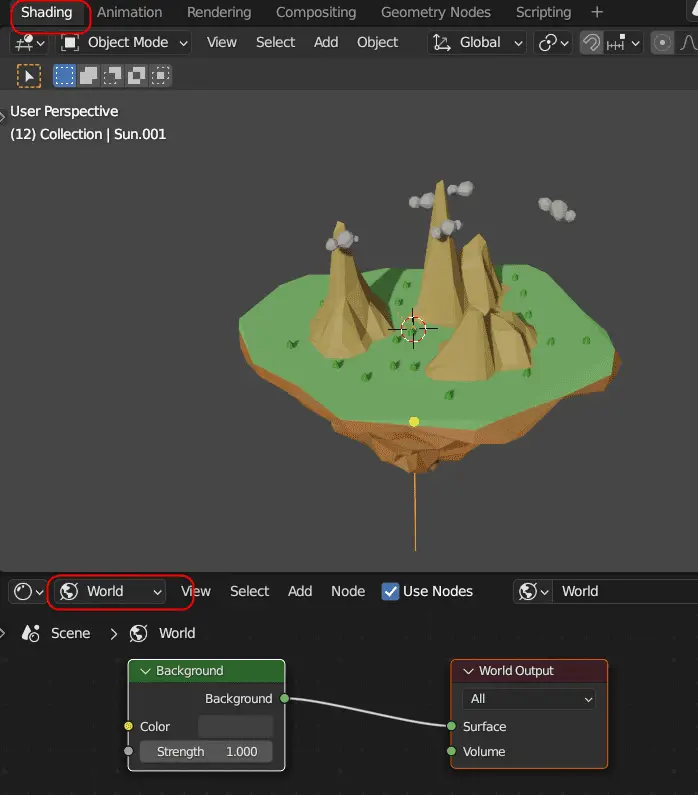
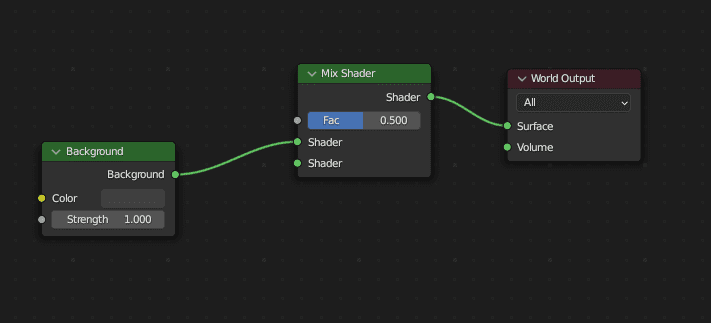
Mix Shader for using Two shader.
Since, we will be using two shaders, one for lighting and the other for Background Color. We will add a Mix Shader, by clicking Add > Shader > Mix Shader.
Adding Light Path node
Add a Light Path Node, by clicking Add > Input > Light Path.
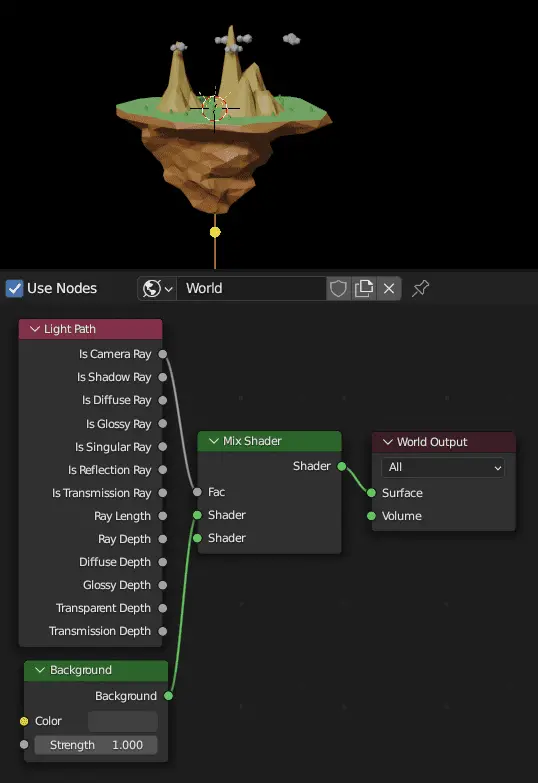
In our case, we have determined, for camera rays which shader should be executed that will affect the environment lighting, while we change the background color for the environment.
Add another Background Shader node and connect it to the Mix Shader, this will determine the background Color of the Environment.
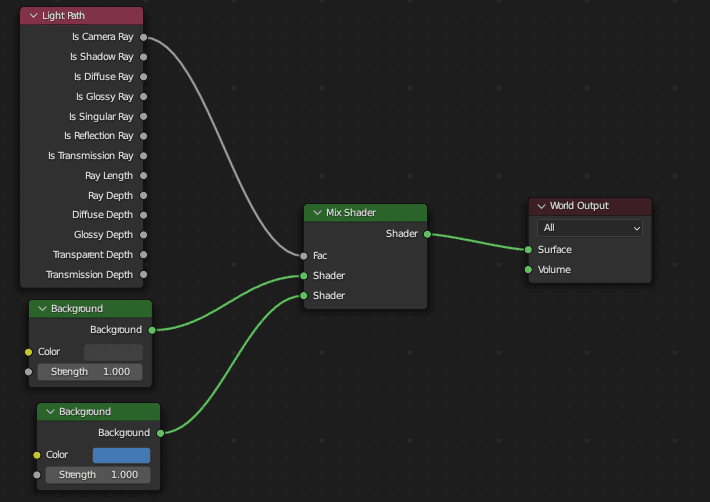
And, we can see that, how it affects the overall scene.


