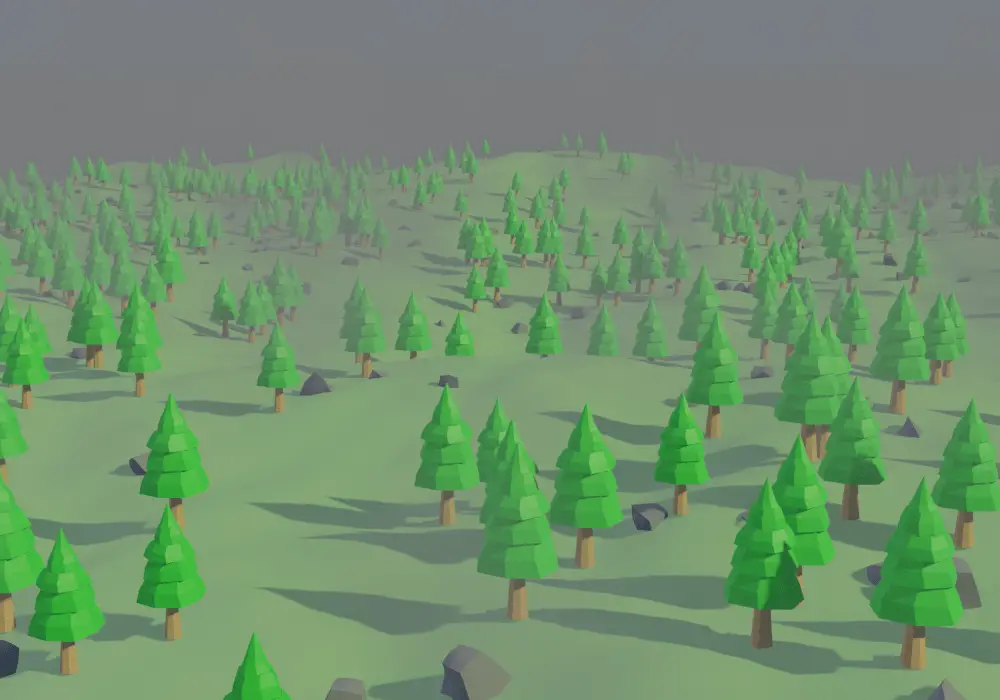
Animating the fog
To animate the fog, we will need to define a coordinate system and then move it. We are going to add two nodes for both of these.
Add a Mapping node by clicking Add > Vector > Mapping. Connect Vector output to the Vector input of the Noise Texture. This node will be used for animating.
Add a Texture Coordinate node by clicking Add > Input > Texture Coordinate. This node will define the coordinate type. We will use Generated. It generates coordinates without deforming mesh or the texture. Connect Generated output to the Vector input of the Mapping node.
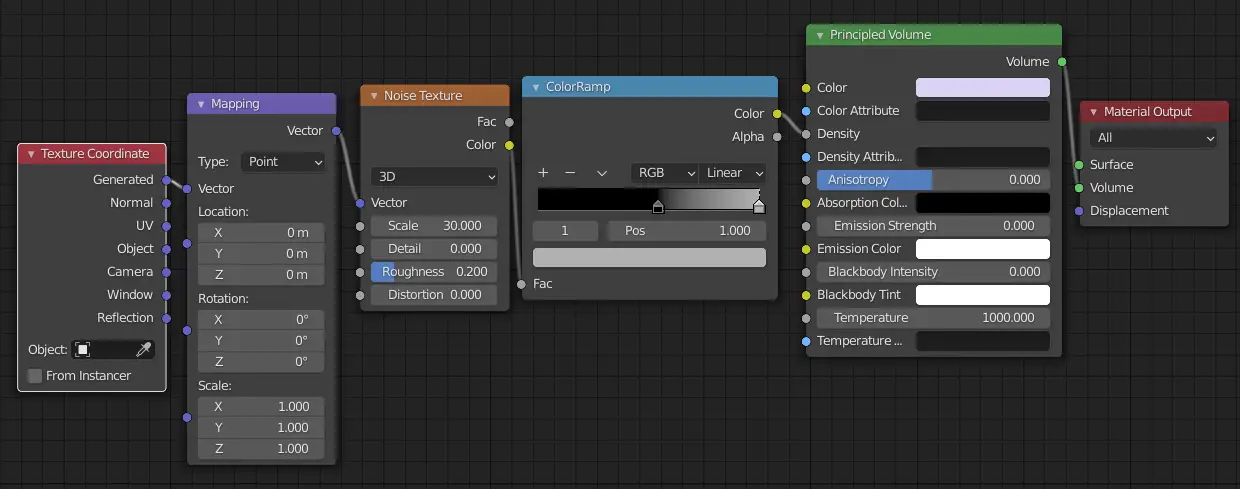
Switch to the Animation tab from the ribbon. There will be two 3D Viewports there, change one to the Shader Editor.
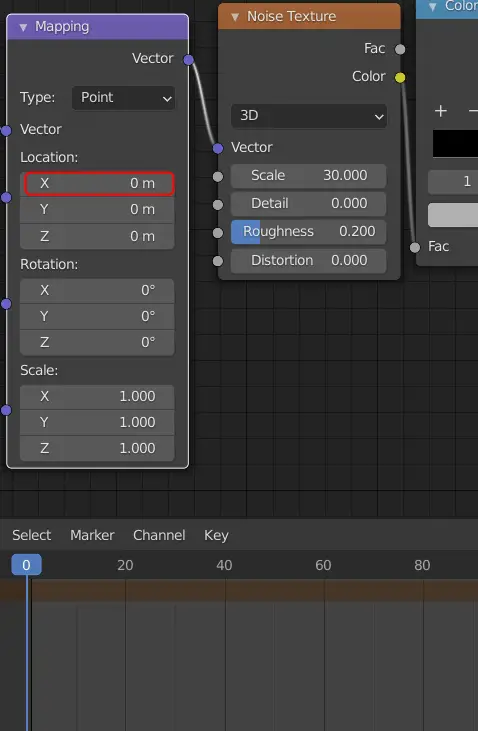
We are going to use Timeline to animate. For this tutorial, we have animated only upto 100 frames. But, the number can be increased.
Select the mapping node, and press Right Mouse Button on the X parameter under Location of the mapping node.
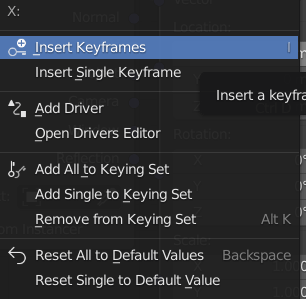
A menu will pop up, click Insert Single Keyframe. We have inserted a keyframe thus, the value is stored on this particular keyframe.
Now, drag the Timeline cursor to the end frame (in this case,100), and change the X location to 0.1 m, and then again insert a keyframe by pressing Right Mouse Button.
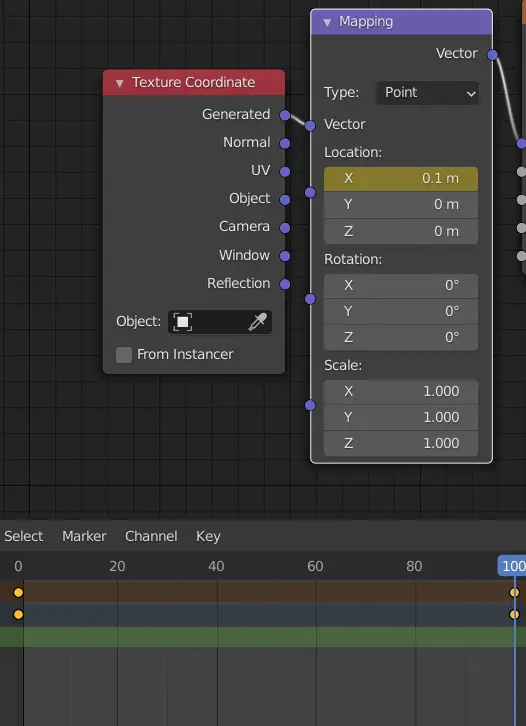
Similarly, the other parameters can also changed depending on what you need.
Rendering in Eevee
Now, we will render the scene, in Eevee. Make sure that the render engine is selected as Eevee in Render properties.
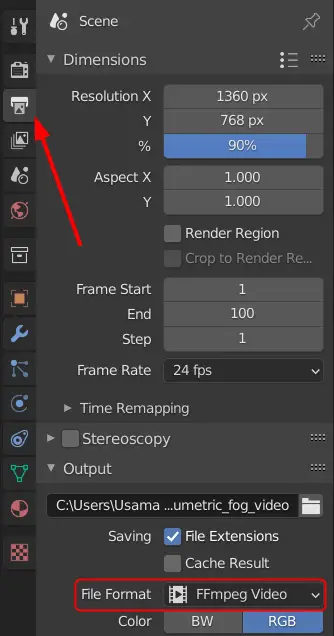
Go to Output properties and change the File Format to FFmpeg.
Click Render > Render animation.

