Modeling the Handrail using Screw Modifier
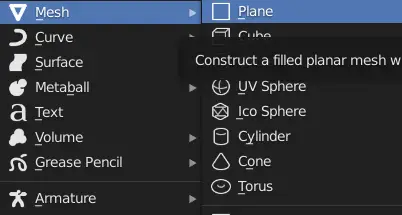
First of all, we start by adding a plane by clicking Add > Mesh > Plane.
Move the plane on top of the cylinder.
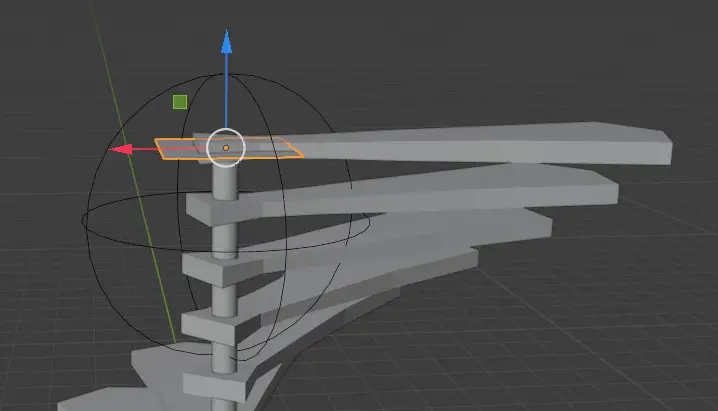
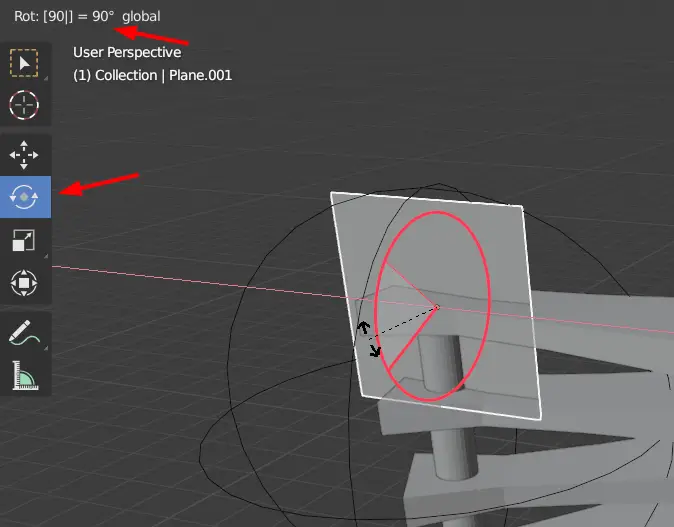
Rotate it using the Rotate tool on the X-axis by 90 degrees.
Select the plane, and then select the Rotate tool, click and drag the red circle and type 90 to rotate it on the X- axis.
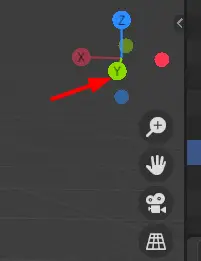
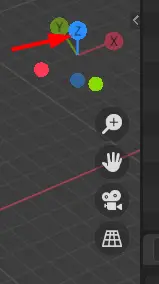
Now switch to side view by clicking Y axis on the coordinate.
Go to Edit mode, select the plane and move it on the side on top of the stair.
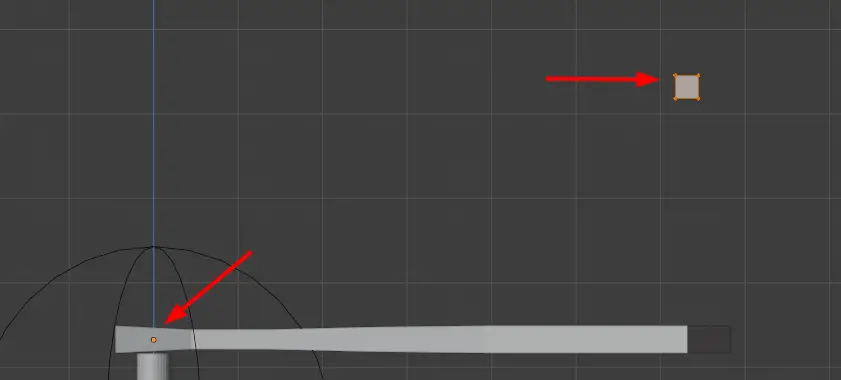
It must be noted that origin of the plane stays on top of the cylinder.
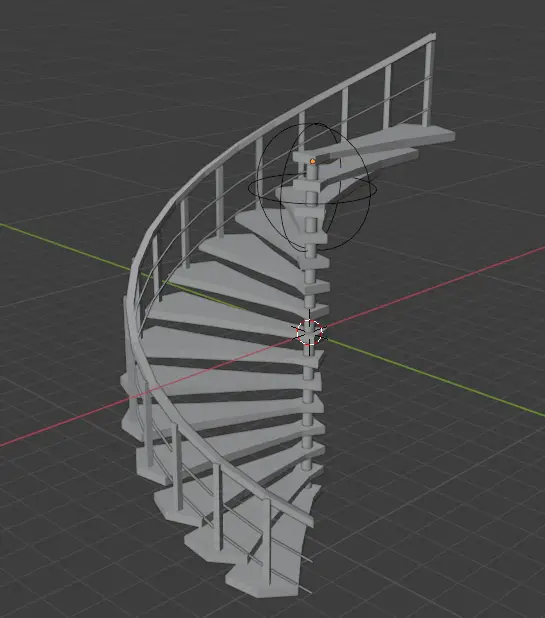
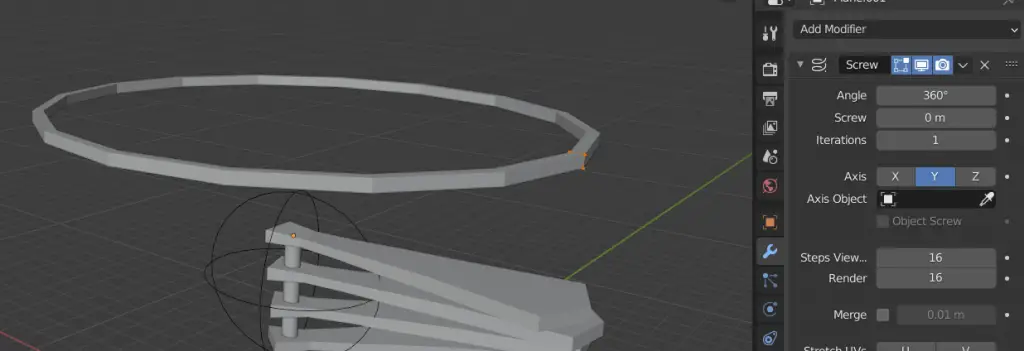
We will model the handrail using the Screw Modifier. Screw Modifier is used to create the helix shape of the profile object, in this case, the plane is our profile object.
In the Modifier properties, add a Screw modifier. Set the Axis to Y.
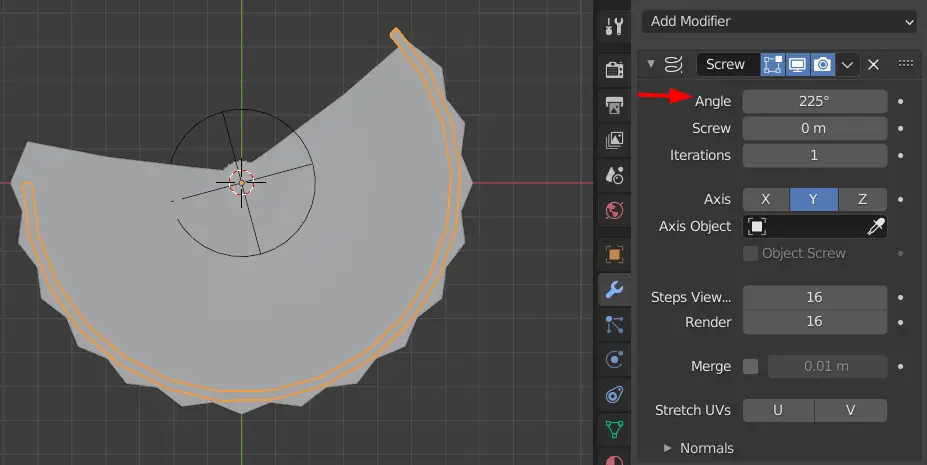
To set the screw modifier properly, we first see how much Angle it has to cover.
Go to top view by clicking Z Axis on the Coordinate.
The Angle of the modifier should cover all of the stairs. One way of doing this is to manually see how much angle is needed to be covered. In the top view, we see that the Angle value 225 degrees is suitable for these stairs.
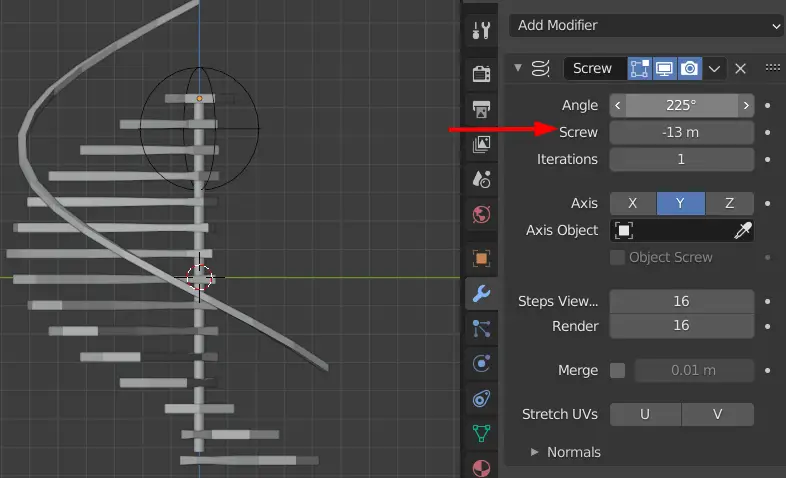
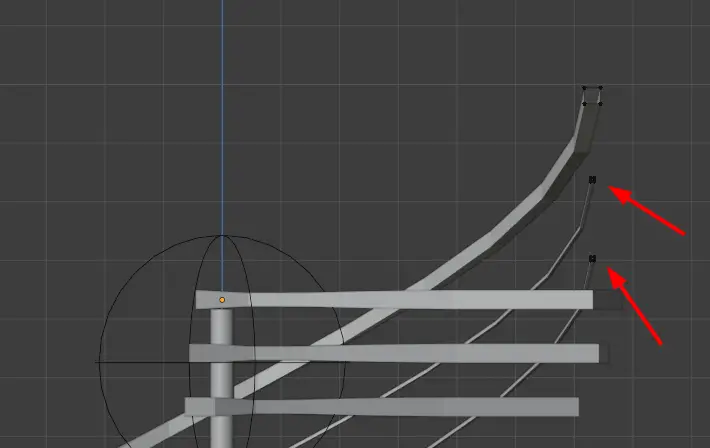
Now, we observe from the side view that how much value of Screw is needed.
We need to see that the distance between the handrail and the stairs should remain the same. Screw value of -13 m is suitable for this. Your value could be different depending on the model.
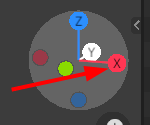
We shall add more details now. To do this, click Y axis on the coordinate. Select the plane and duplicate it by pressing Shift+D, scale it smaller and place it below the bigger railing as shown below.
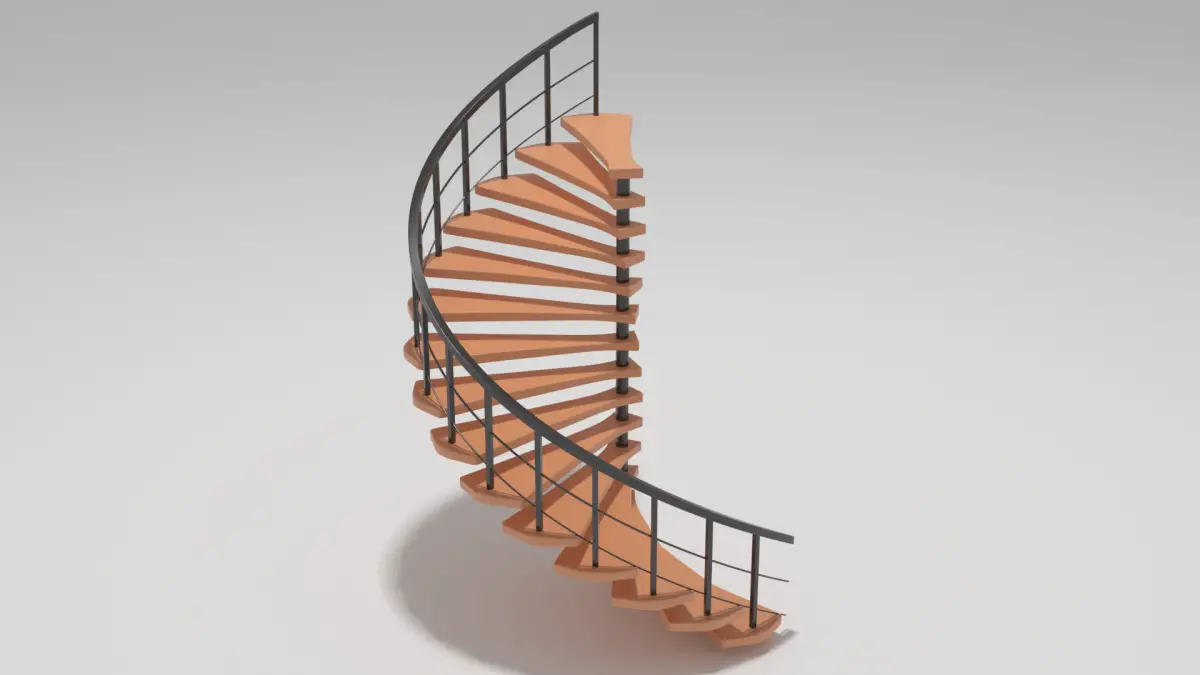
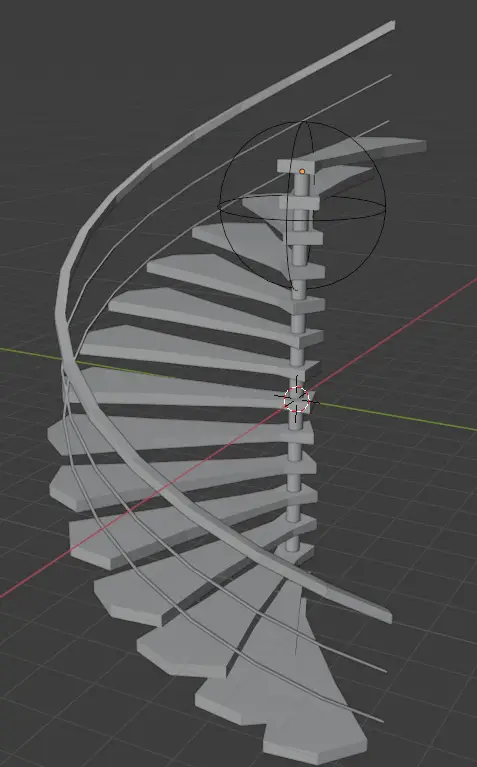
The model should look like this.
Adding Side supports
Now, we need to add supports on the side of the stairs.
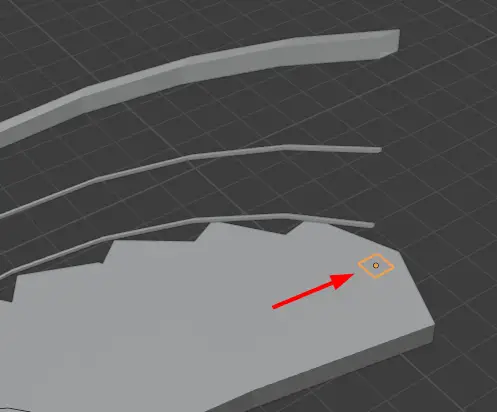
To do this, add a plane, place it on the side of the top stair.
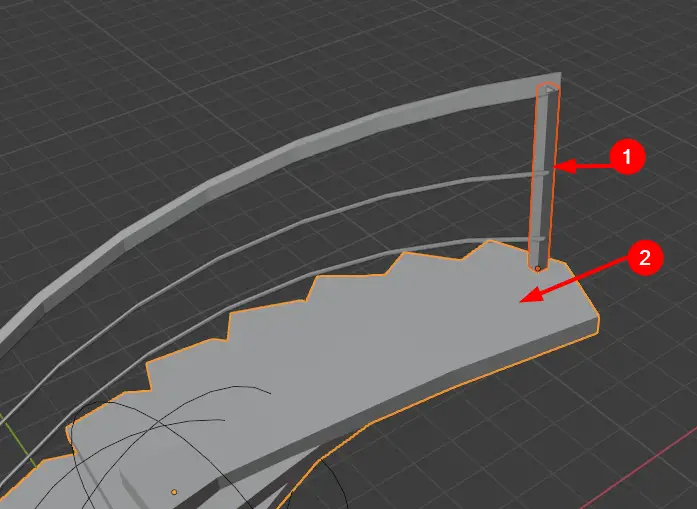
Keeping the new plane selected, go to edit mode, and extrude it by pressing E key to the point that it is extended to handrail.
Switch back to Object mode.
Now we are going to merge the support and the stairs. This will automatically make the supports on the side of every stair.
First select the side support and then the stairs and press CTRL+J.
You will see that every stair has the side support.