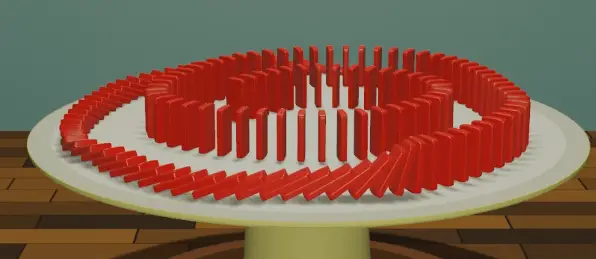
In this tutorial, we are going to make a Domino run and render it in Render Engine “Eevee”. Dominoes will be placed on the cylinder which will act as ground for them. We shall use Array modifier and Bezier Curve to add multiple dominoes in their respective places and we will use the Rigid Body simulation to animate the dominoes.
We are going to make the domino run in a very easy way. You can skip all the details, and focus on How we make Domino run using Curve.
Open blender, and delete the default cube. Right Mouse Button > Object Context Menu > Delete.

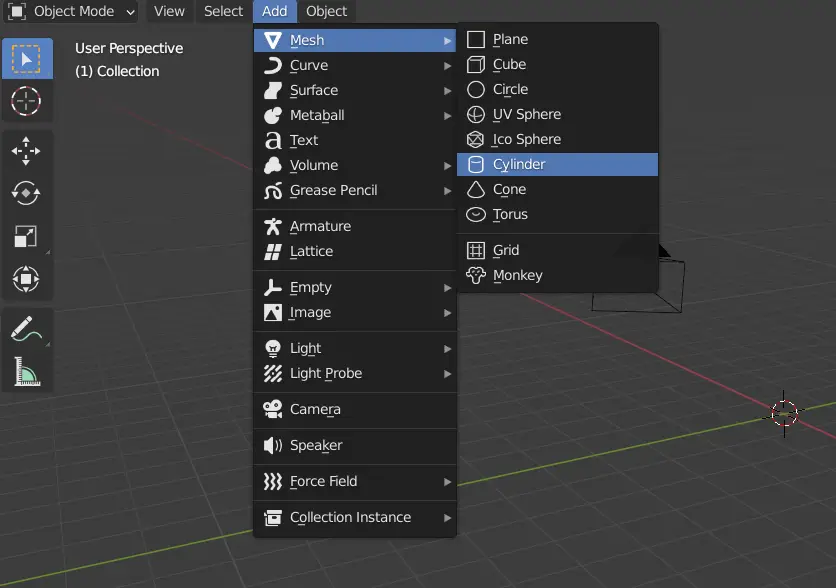
Now add a cylinder, this will be the ground where we shall place dominoes. On the top left of the window, Click Add > Mesh > Cylinder.
Click Cylinder and select the Scale tool from the left, if the Tool Bar is not available press T.
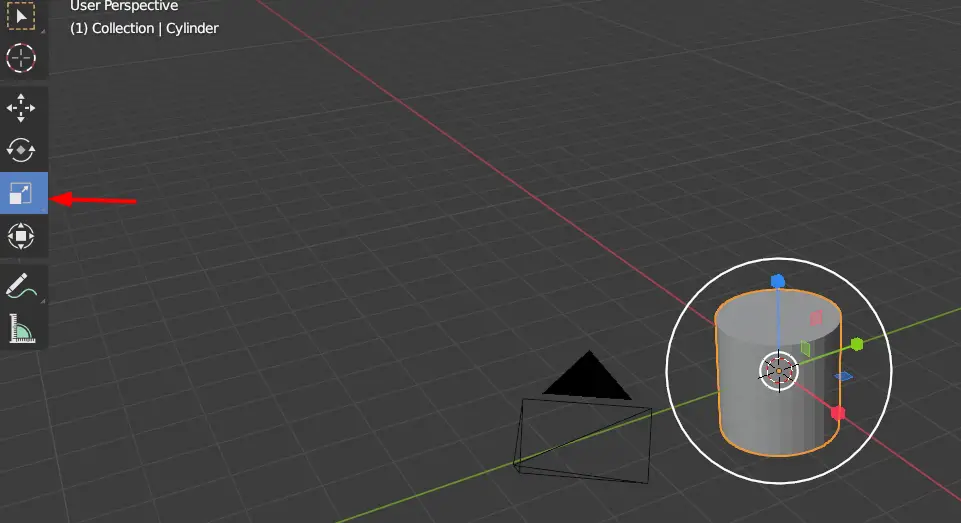
Scale the cylinder in the XY plane by Left-clicking and dragging the blue rectangle. By doing this, we have increased the area of the ground and more dominoes can be placed on it.
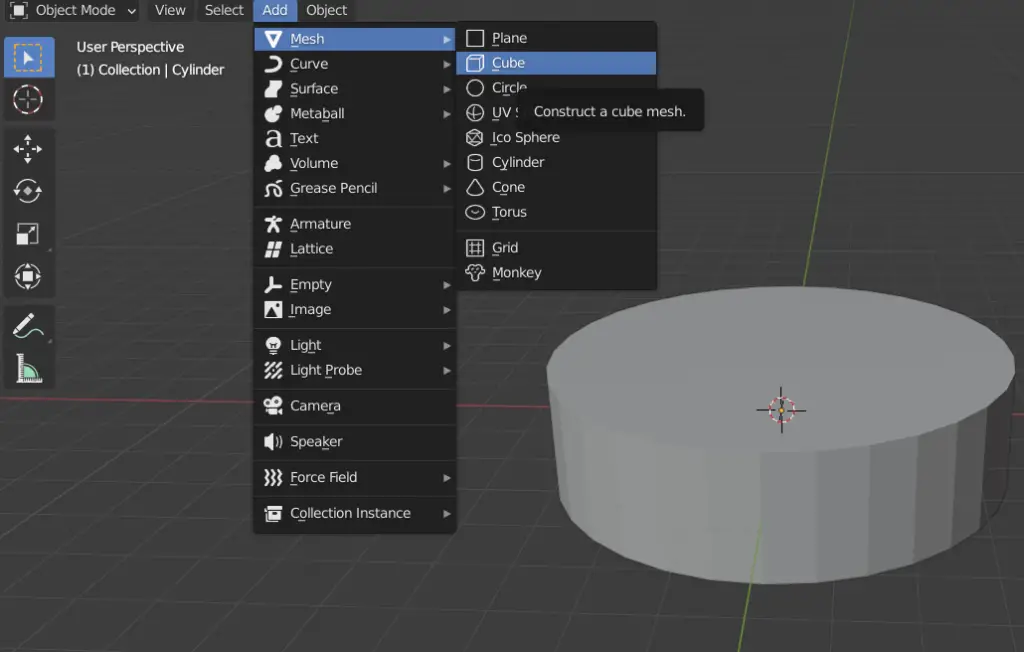
Now, we have to model the domino, we start by adding a Cube. To add a cube click Add > Mesh > Cube.
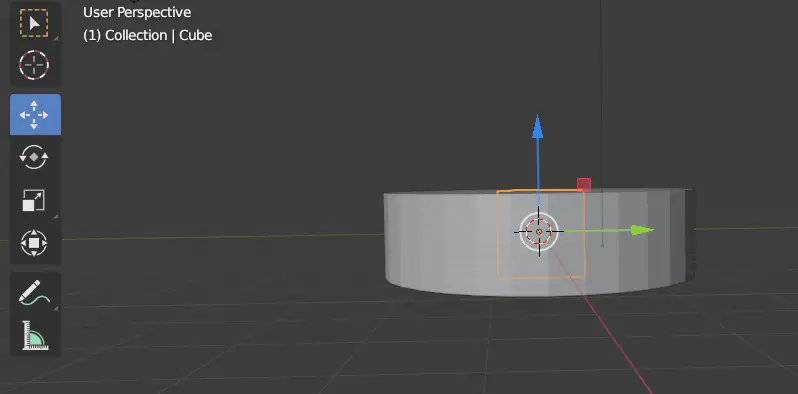
When the cube is added it will be inside of the cylinder, select the Move tool shown on left.
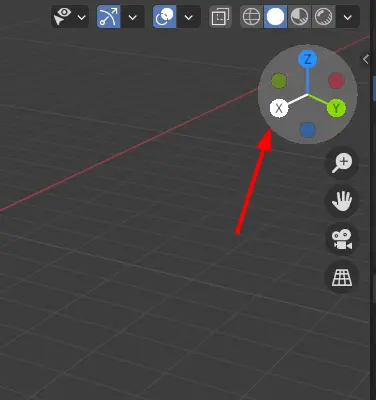
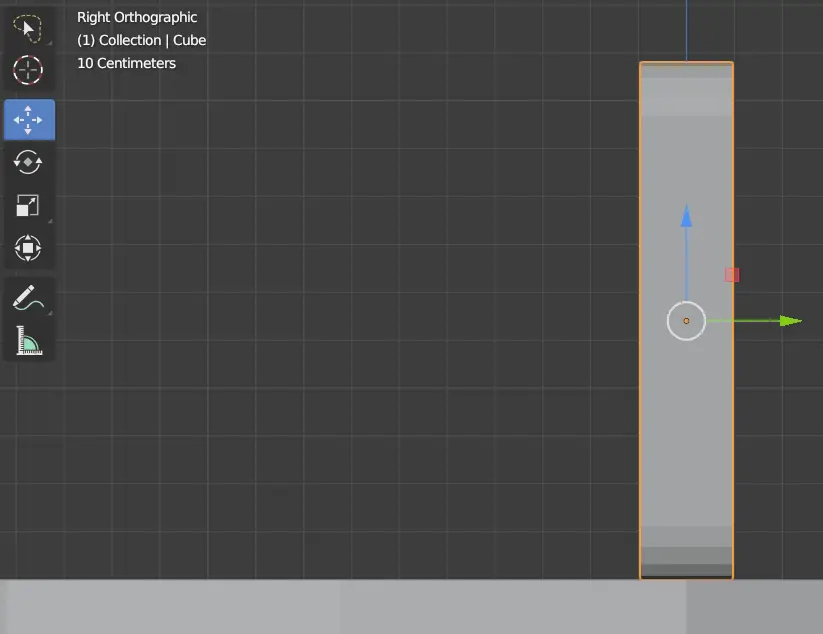
We accurately want to move the cube on top of the cylinder, to do this, click X on the Coordinate shown on top right corner. This will take us from Perspective view to the Side view.
Turn on Snapping in blender, this will allow to move directly to the nearest grid point.
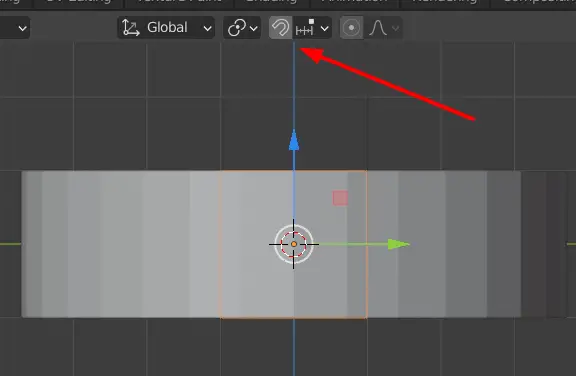
Now it will be easier to move the cube on top of the cylinder. Click the Blue arrow (Z-axis arrow) and move the cube on top of the cylinder.
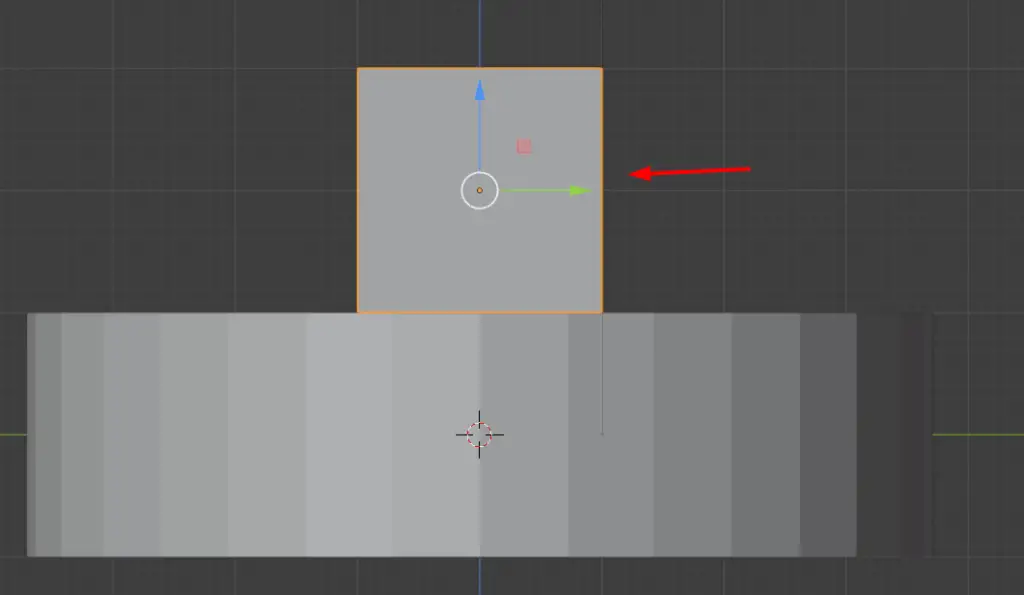
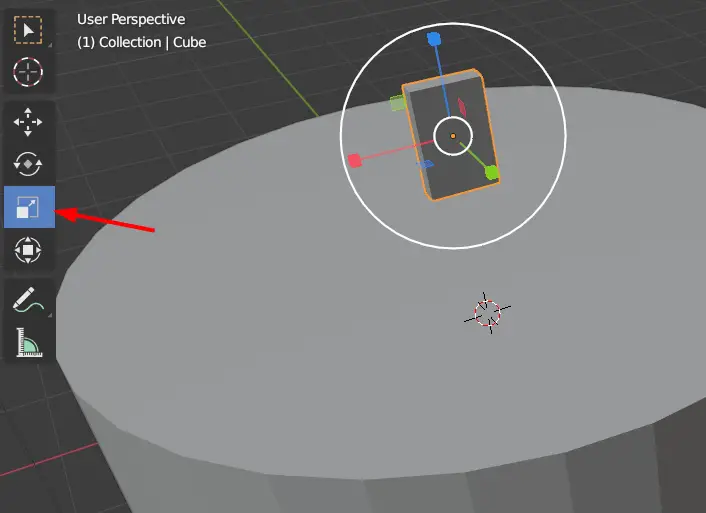
Select the Scale tool, and scale down the cube to the suitable size of a domino.
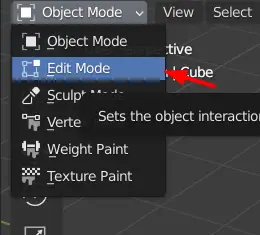
Keep the cube selected and go to Edit mode from the top left. OR press the Tab key.
Switch to Edge Selection and select the multiple edges by holding Shift key and clicking on edges of the cube which we want to round.
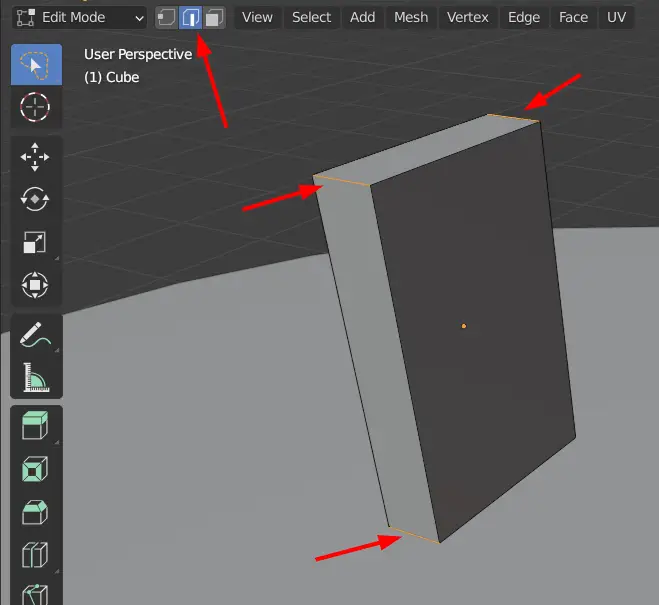
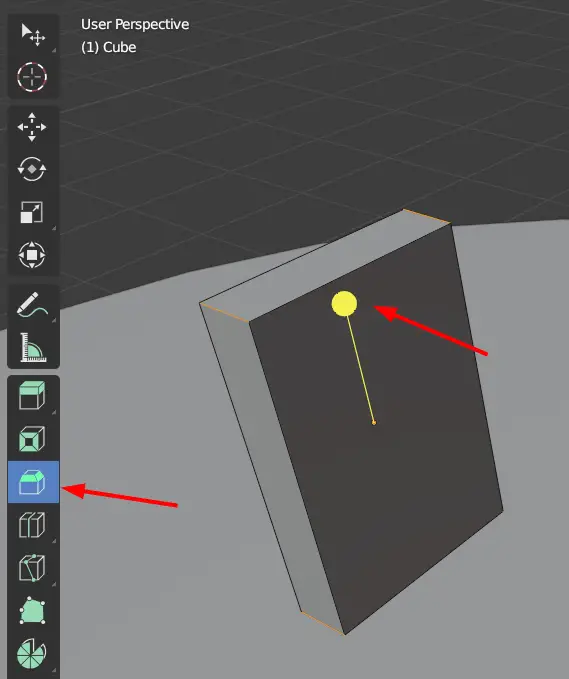
Select Bevel from the toolbar, click and drag the Yellow Pointer, drag to the point where it seems appropriate and increase the number of edges by pressing 4 key, this will add four edges on the bevel. And finally press Left Mouse Button.
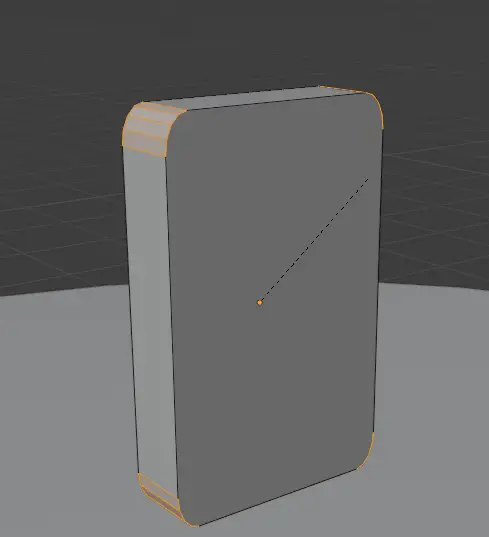
This has created four edges and now it is round.
Go to Object Mode by pressing Tab key, make sure that the domino is on the top of cylinder. If not, move it on the top by using Move.
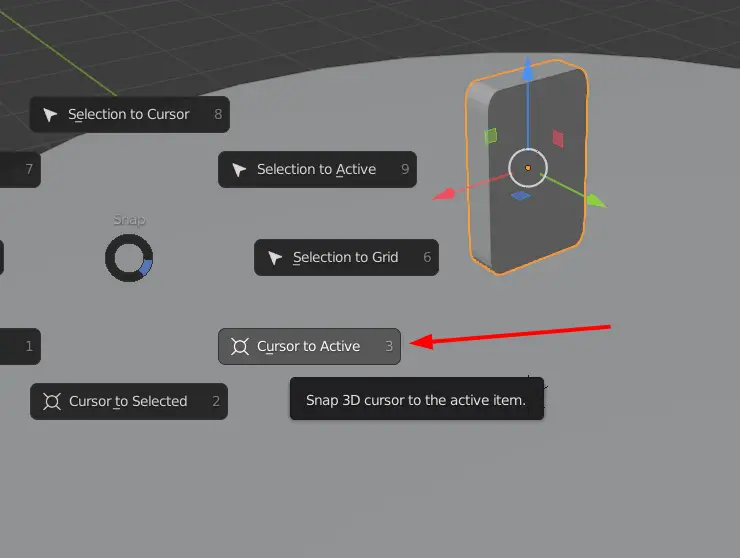
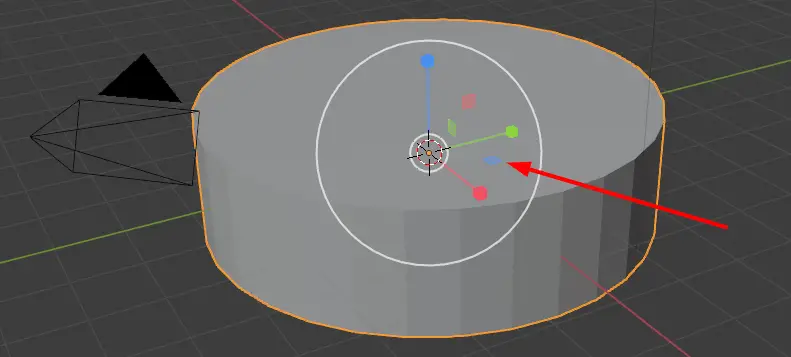
Keeping the domino selected, we are going to move the 3D at the center of domino, press Shift + S and select Cursor to Active. Now every object will be added at the center of domino.