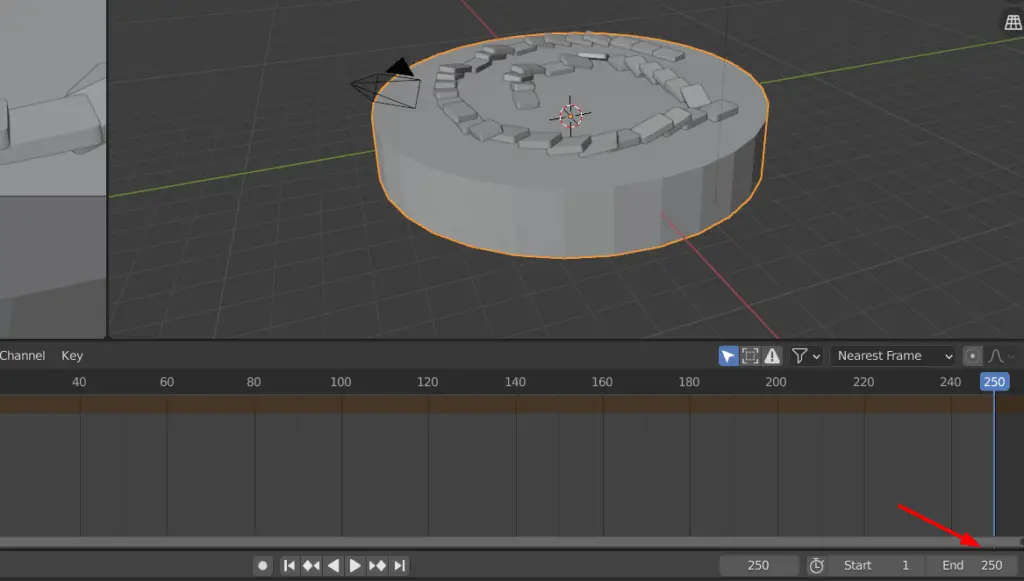
In this tutorial, all the dominoes fall at the frame 250, so the animation beyond this is not needed.
We change the End frame to 250.
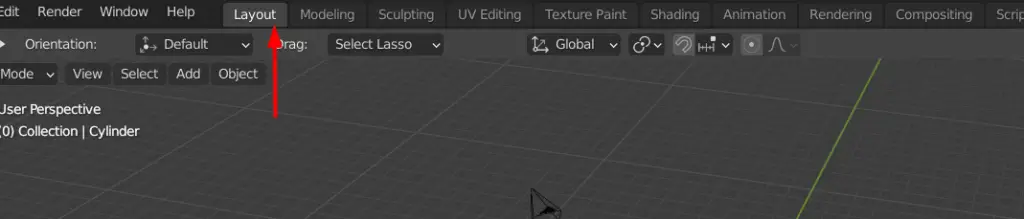
Go to Layout tab.
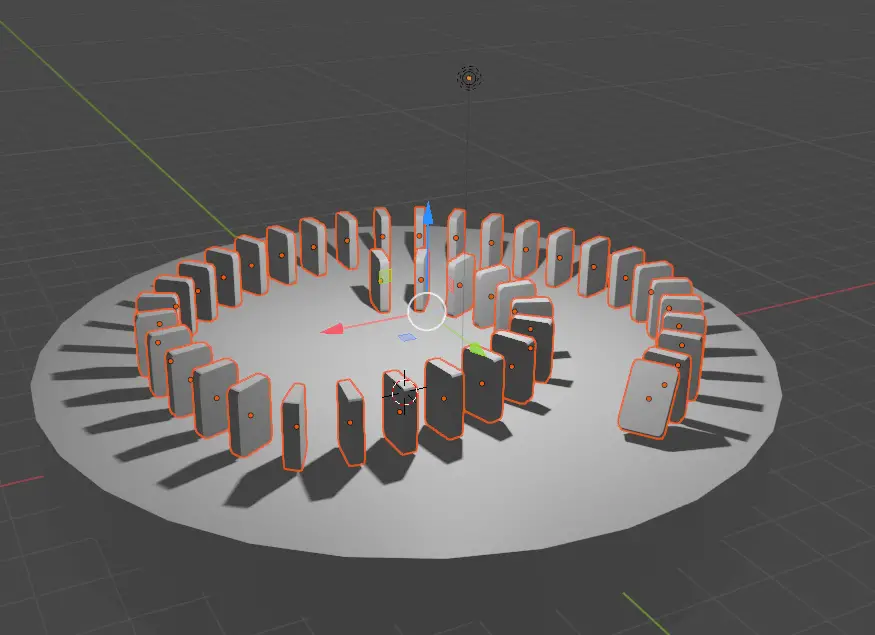
We need to add color to the scene. For this we will apply material to the dominoes.
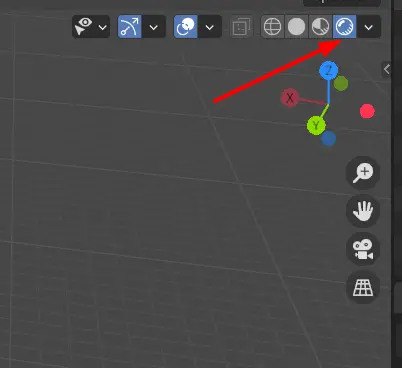
We will change the Viewport Shading to Rendered from top right corner.
In Rendered shading, we can see how our scene looks with lighting and applied materials.
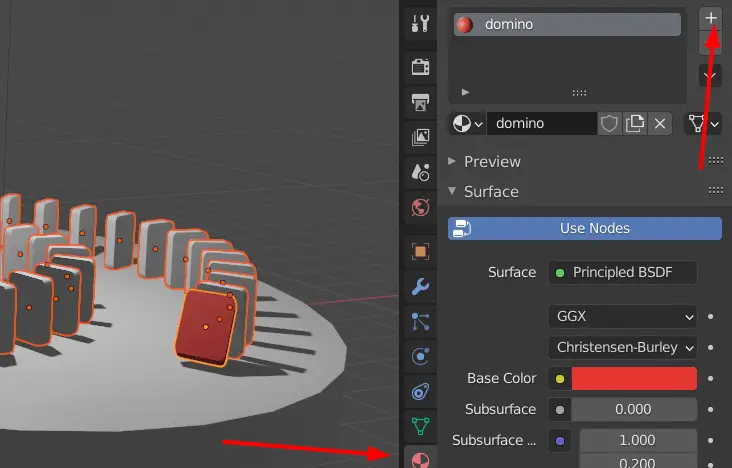
Keeping all the dominoes selected, go to Material Properties, add a new material by clicking on + sign, and change the Base Color.
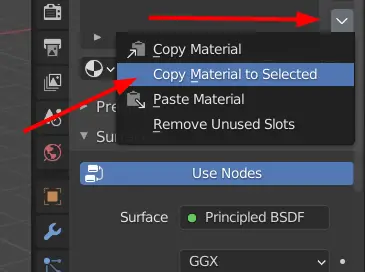
Material is applied to one object only. To apply it on every object, click the drop down menu below” + –” sign and click Copy Material to Selected.
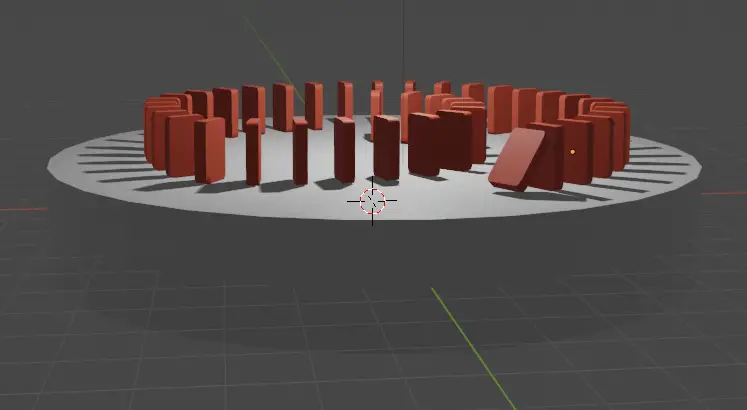
Material will be applied to every object now.
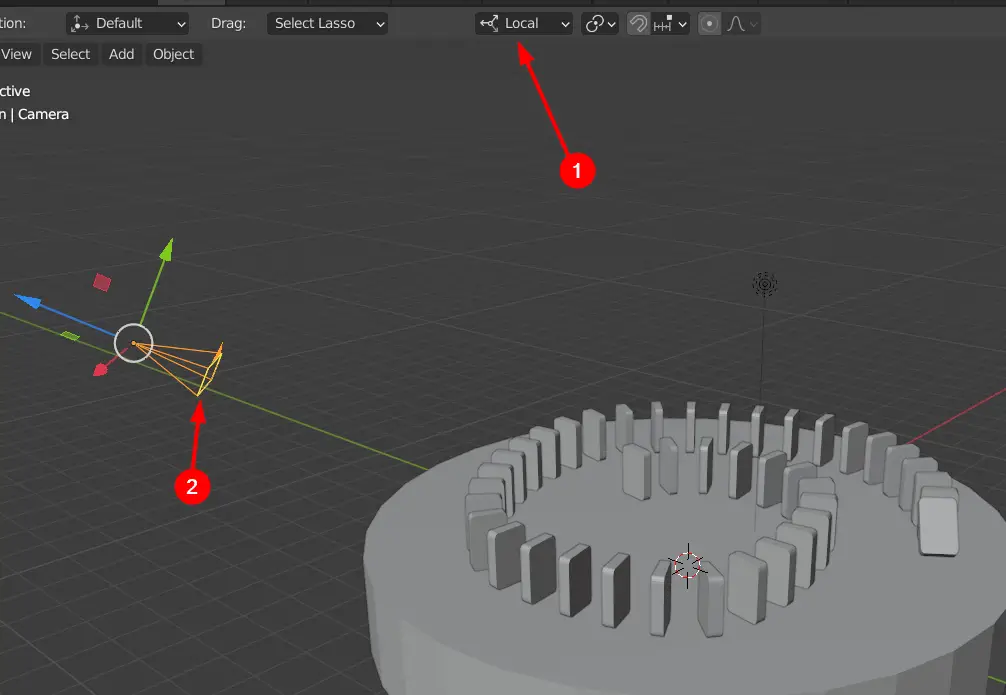
We have to adjust the camera now, select the camera, click on the Move tool, change the Transform Orientation to the Local and drag the Blue Arrow( Z- axis) to move the camera away.
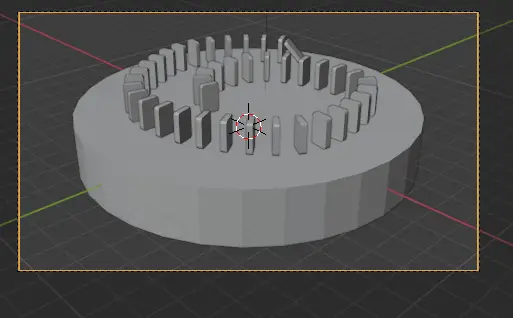
Press the Numpad 0 to view the camera output, make sure that scene is within bounds.
To adjust the lighting, select the Point Lamp, go to Light Properties and increase the Power to 10000 W. Press F12 key to check the render result.

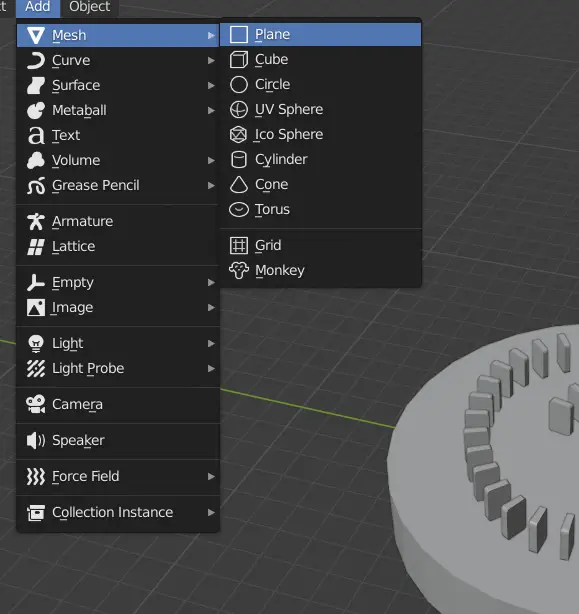
We need to add a background to the scene, we add a plane.
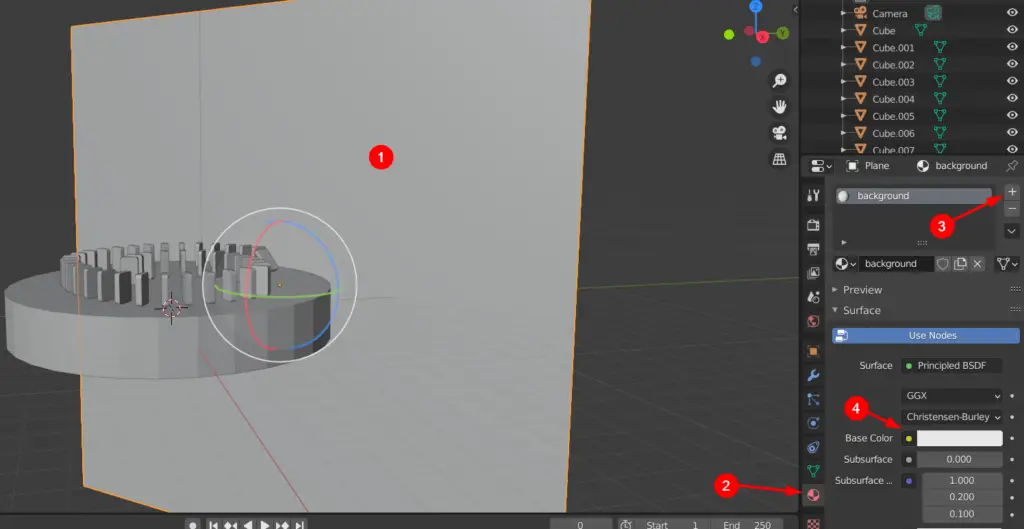
Using the Rotate and Move tool adjust the plane behind the dominoes.
Select the plane, go to Material Properties, add a Material and change the color.
Press F12 to check the result, OR change the Viewport Shading to Rendered by pressing Z.

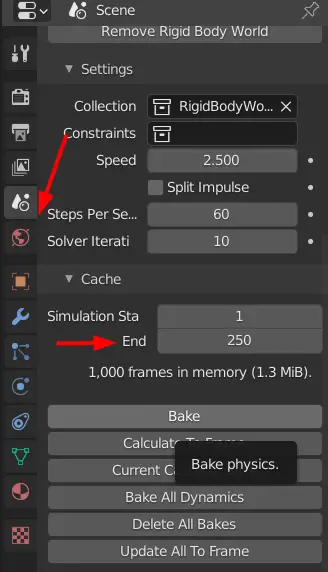
Before rendering our animation, we have to Bake the physics. When we bake something in blender it means, we are pre-computing to speed up the process.
Go to Scene Properties, change the End frames to 250 and click Bake.
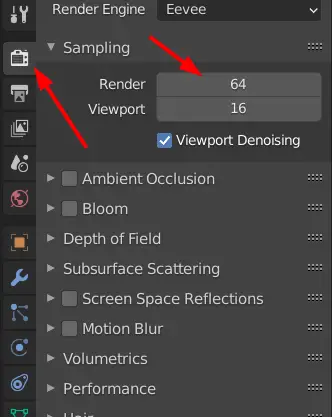
Now we have to Render and export our animation. We will tweak some of the settings to decrease the render time.
Go to Render Properties and under Sampling change Render from 64 to 10. This will change the number of samples per pixels.
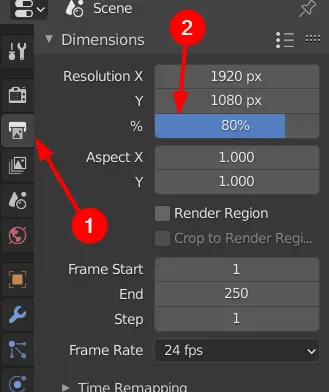
Go to Output Properties, and change the Quality % to 80%.
You may change the directory where you want to save the animation and you can change the name of file.
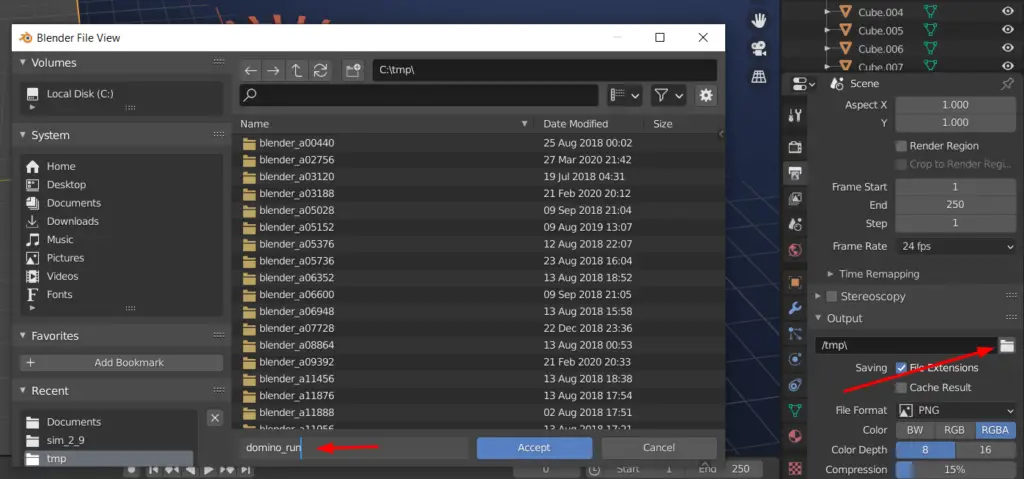
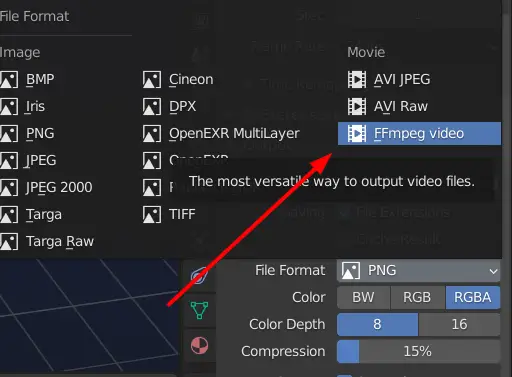
Change the File Format to FFmpeg video.
From the top left options click Render > Render Animation.

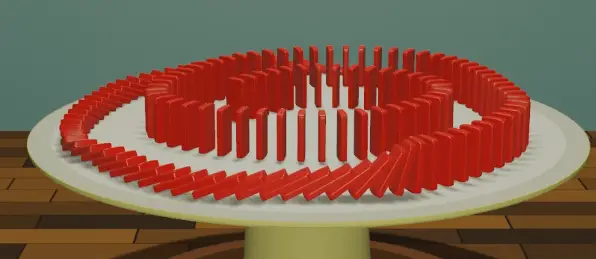
The animation will now be rendered. The animation will look like this.