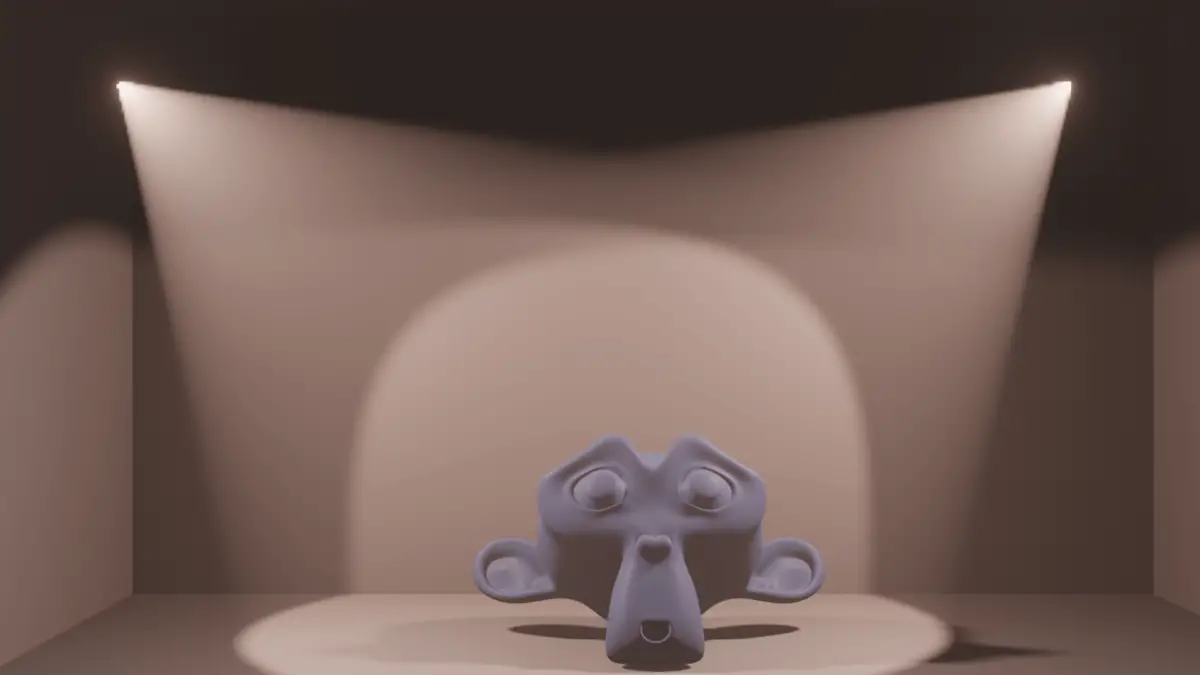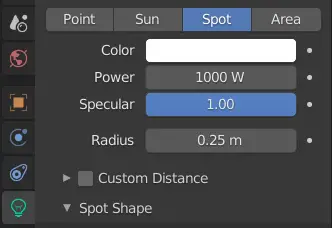
Adjusting the camera
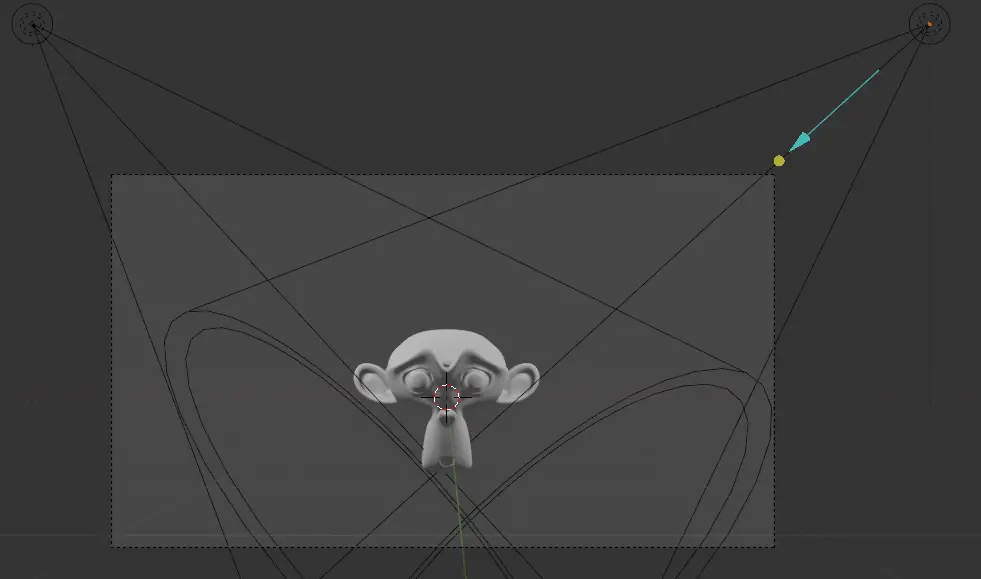
Now place your camera in a way that it shows Monkeys front side. Press Numpad 0 to switch to camera view.
Applying Volumetrics to the World
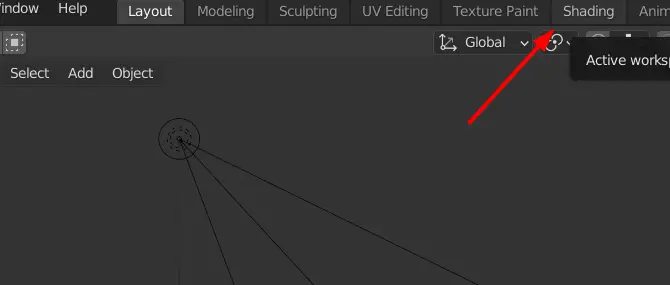
Now select Shading from ribbon on the top.
In the shading tab, the window is split into two, the top one is 3d Viewport and the other one is Shader Editor.
In 3d Viewport, we see how the materials are being applied but it is in the Material preview, we need to switch it to the rendered preview to see the volumes. Switch to rendered view from top right in 3d Viewport.
Shader Editor is used to apply materials, displacement or Volume to an object or Environment.
In Shader Editor, change the Shader type to World. This way we can edit the properties of the environment.
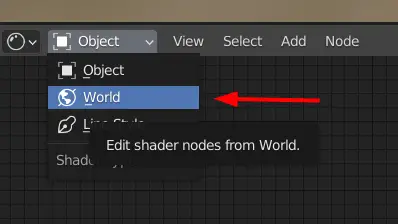
Adding Principled Volume
Click Add > Search.
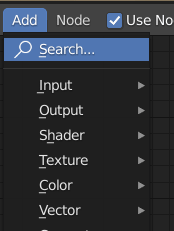
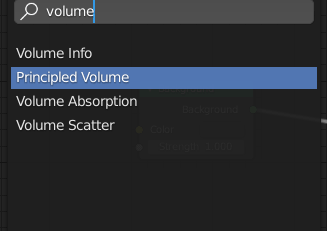
Add the Principled Volume.
Click the Principled Volume node to the Volume input of World Output.
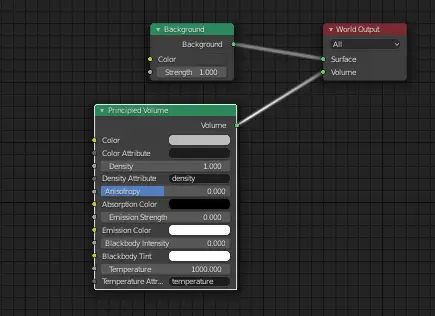
You will see that the rendered scene has gone black.
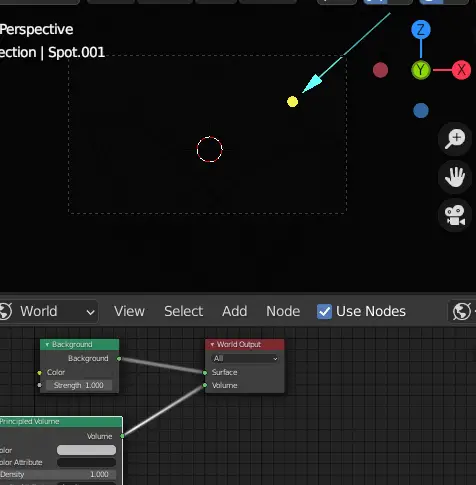
Remember that, you will need to be in the Rendered view for this.
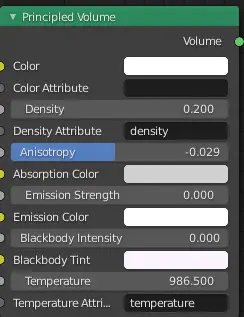
The scene is blank because the Density is too high. Settings for the Volume depend upon from which point the desired object is being seen.
The following attributes need to be set.
- Lower the density, till you start to see the object.
- Anisotropy is backward or forward scattering. It may remain 0.
- Absorption color is the Volume Shadow Color tint. In this case, it should be white.
You will now see the rendered image but there will appear distorted boxes.
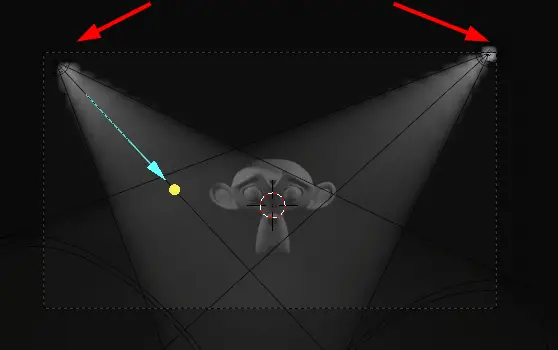
This can be fixed by adjusting the tile size
Go to Render properties, under the volumetrics, change the Tile size to 2 px.
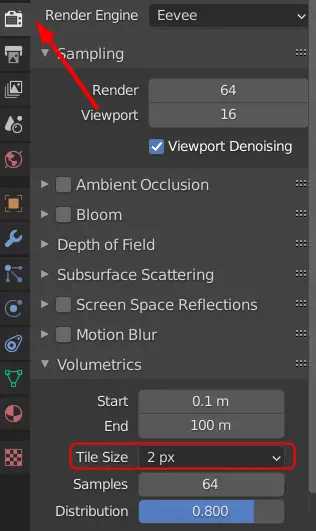
Now the image should have been fixed.
Final Render
Click Render > Render image.


