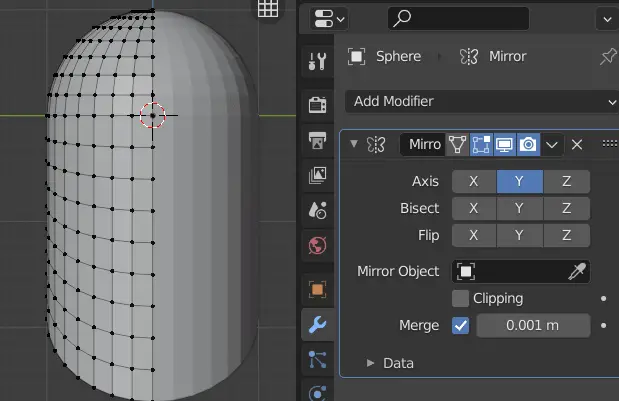
Mirror Modifier
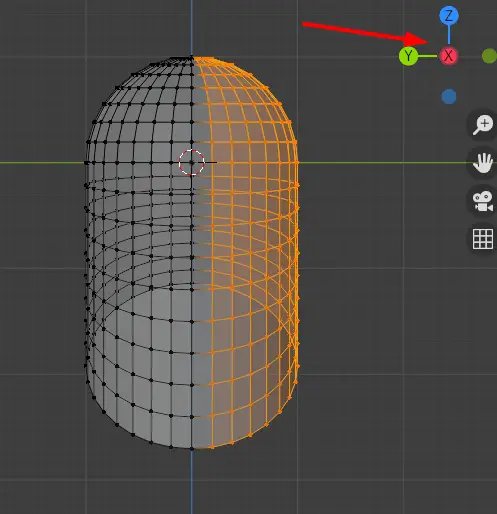
Go to the Front View by clicking X axis on the Coordinate Gizmo and delete half of the vertices.
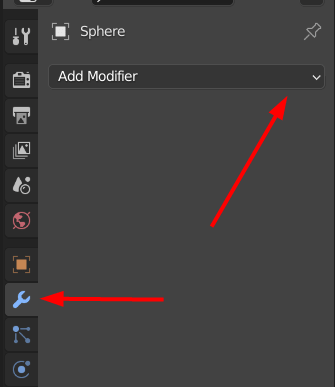
Click Modifier Properties > Add Modifier > Generate > Mirror.
The Mirror modifier duplicates the result on the opposite side of a cursor on certain axis or axes.
Make sure that the X-ray mode is disabled, if it is enabled, press Alt+Z to disable it.
We want to make a hole for eyes, nose and chin just like in an ancient helmet.
Select some vertices that are in the middle and delete them.
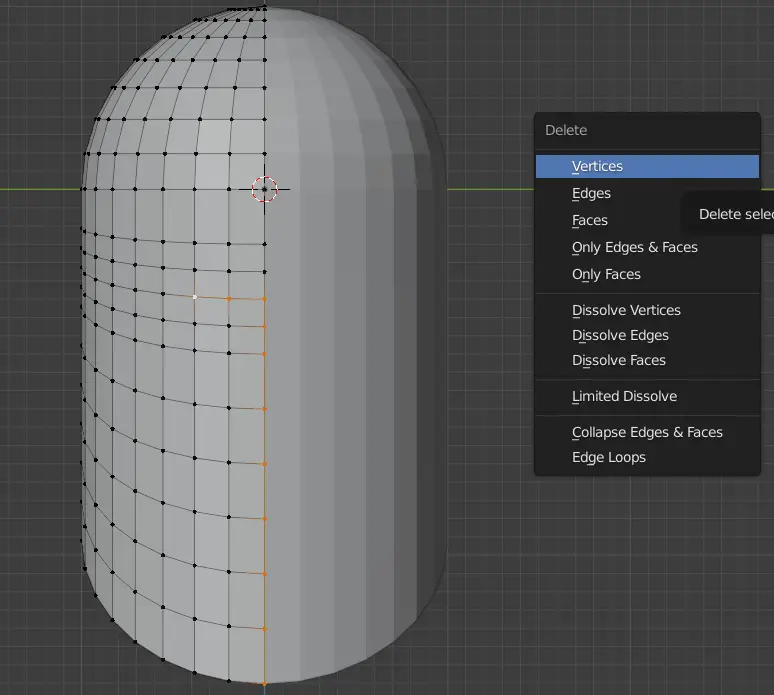
Note that for proper adjustments, you might need to add more Edge loops.
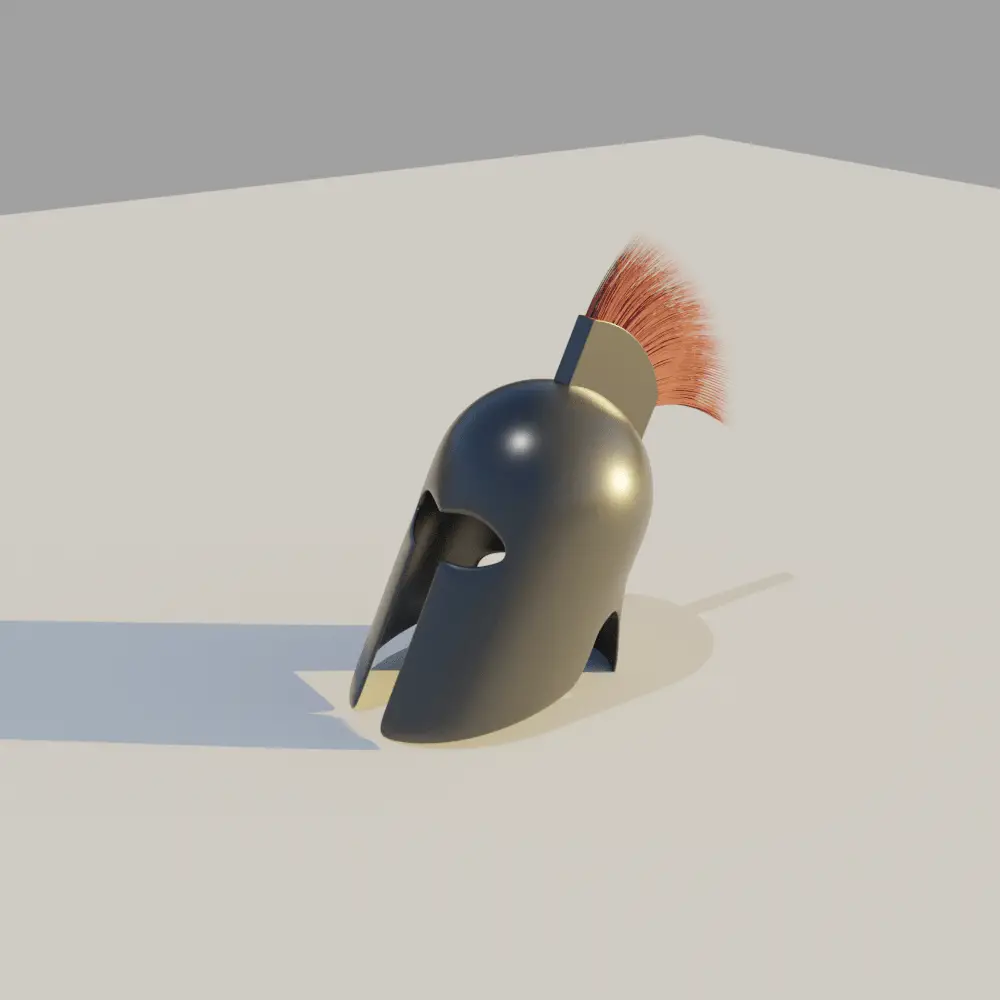
The helmet would look similar to this.
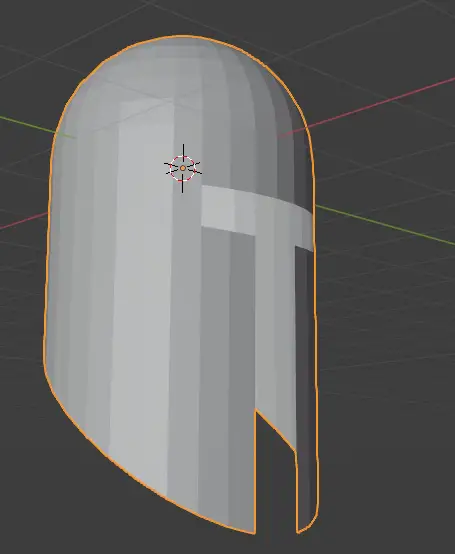
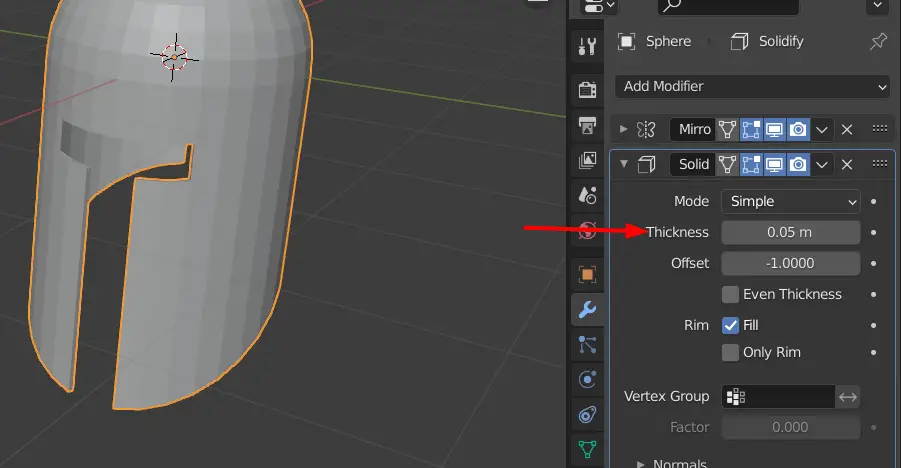
There is no breadth in the mesh right now, we need to add thickness to it.
Solidify Modifier
Add solidify modifier by clicking, Modifier Properties > Add Modifier > Generate > Solidify.
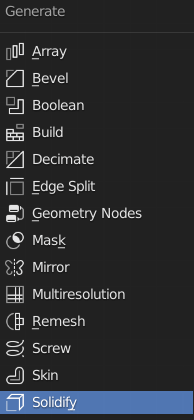
The Solidify modifier adds thickness to the mesh. You can change the thickness.
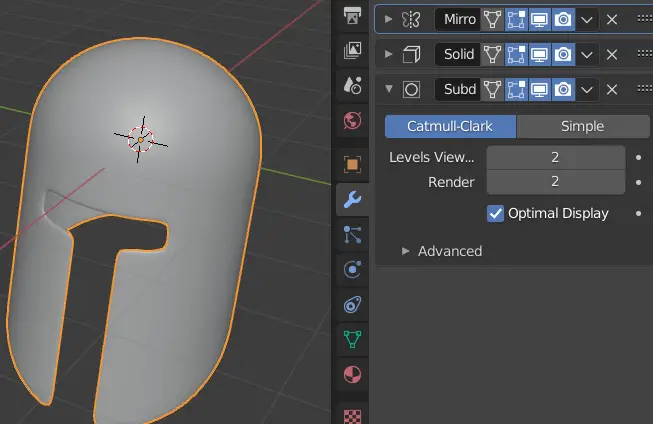
Adding Subdivision Surface Modifier
We can make the helmet smooth by adding Subdivision Surface modifier.
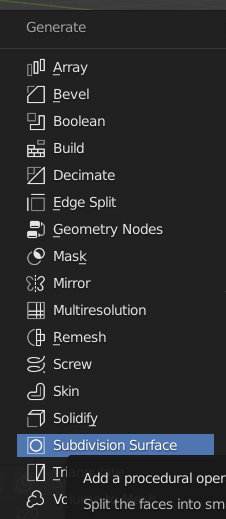
The Subdivision Surface modifier divides the mesh into smaller faces, thus giving making it smooth.