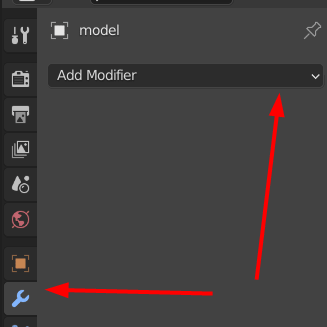
Adding Mask Modifier
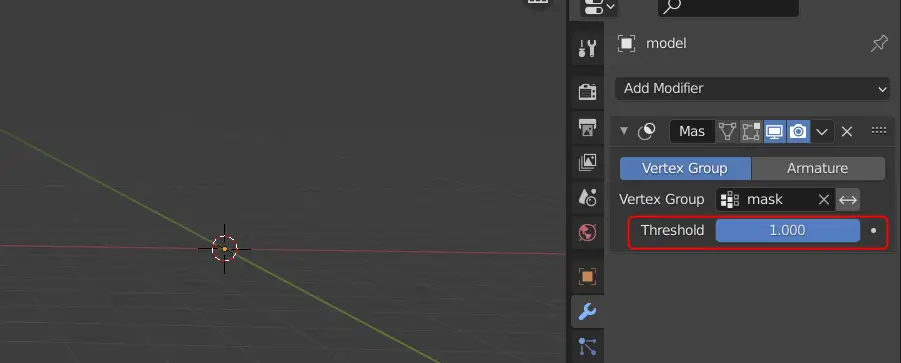
Go to Modifier properties and click Add Modifier.
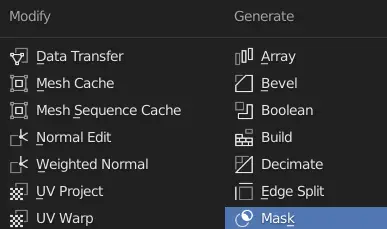
Click Mask.
Choose, the vertex group to be mask.
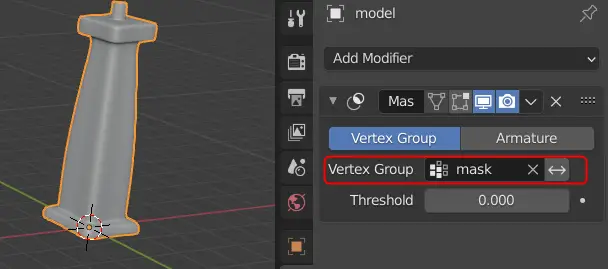
Now, we want the model to be built from top to bottom, for this, initially, the model should not be in the scene. Change the value of Threshold to 1.
If the value is between 0 and 1, you will see that the mesh seems to be generating.
Making the animation
To make the animation, we have to make keyframes, that will store the data on a specific frame. Our animation will consist of 30 frames. The first frame should be as it is.
Drag the Timeline tab above, click the Animate property beside the Threshold ( white dot) and make sure that the current frame is 0.
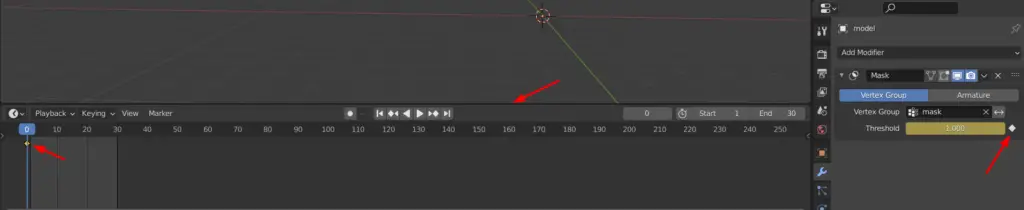
Now, the threshold properties have been saved to the first frame.
Drag the animation cursor to the last frame( 30th frame) and change the Threshold value to 0 and again click the Animate property white dot beside the Threshold.
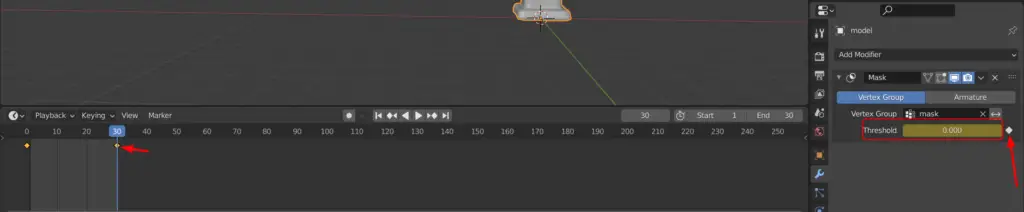
Now if you press Space key, you shall see the animation.
Now, add some lights and properly light the scene.

Rendering the animation
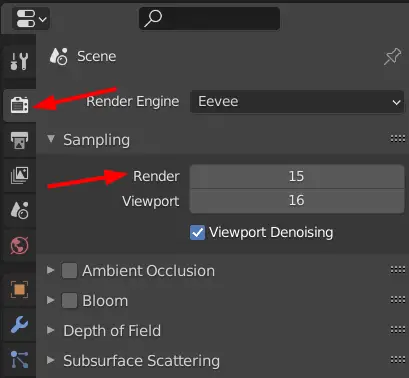
Go to Render properties. We want our animation to render faster, so choose the Render Engine Eevee, choose the Render samples to be 15.
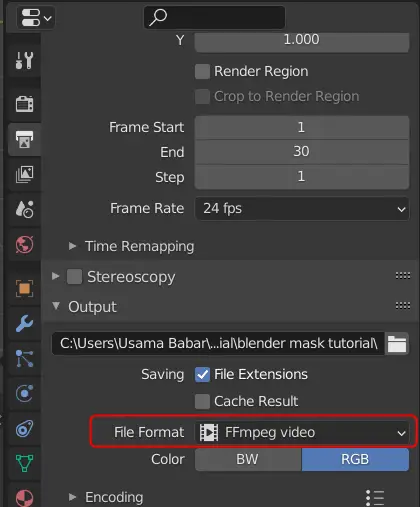
Go to Output properties, change the File Format to FFmpeg video.
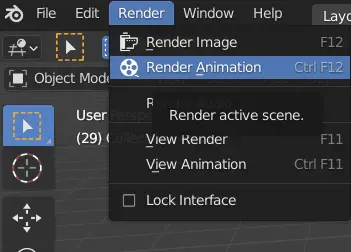
Finally, click Render > Render Animation.
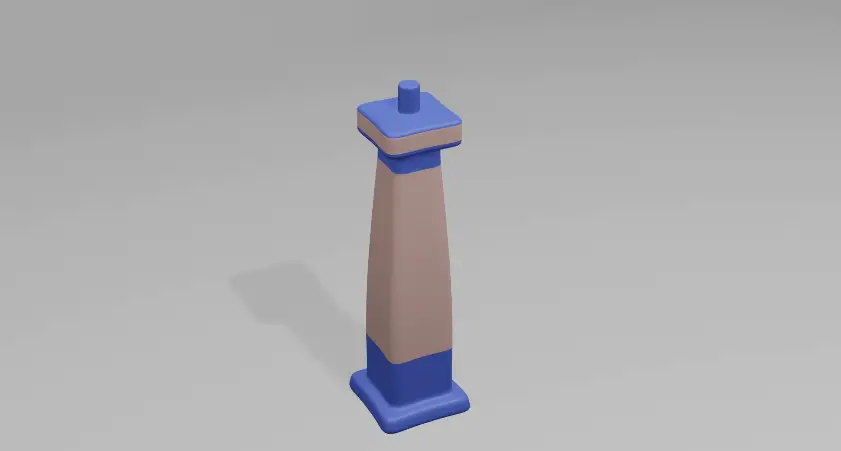
The final result.