We are going to make low poly trees using the skin modifier. Low poly means that the mesh will have smaller number of polygons. The skin modifier allows to make the mesh using a single vertex. Blender version 2.91 is used.
Open the default blender scene.
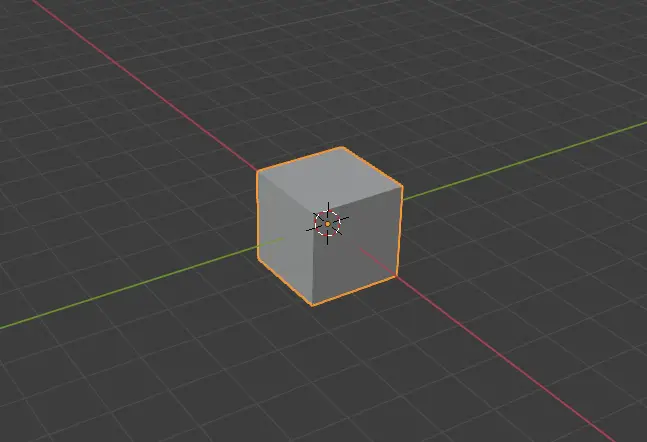
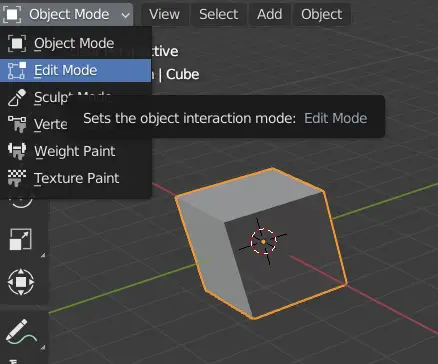
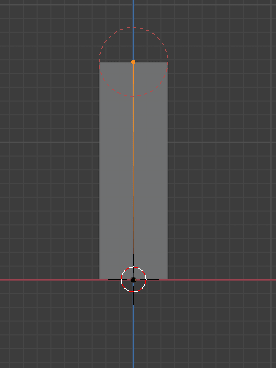
Select the cube, and go to Edit Mode by clicking the top left menu or pressing Tab key.
Select all of the mesh by pressing A key, and then press M key. Merge menu will open, click At Center.

By doing this, we have merged all of the vertices on to a single point.
Adding Skin modifier
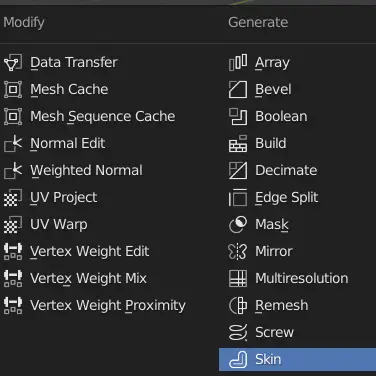
Go to Modifier properties and then click Add Modifier.
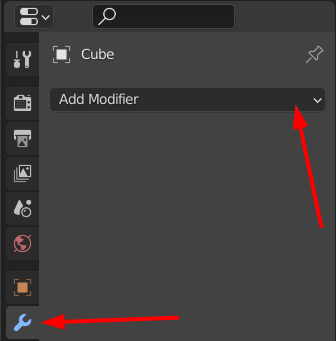
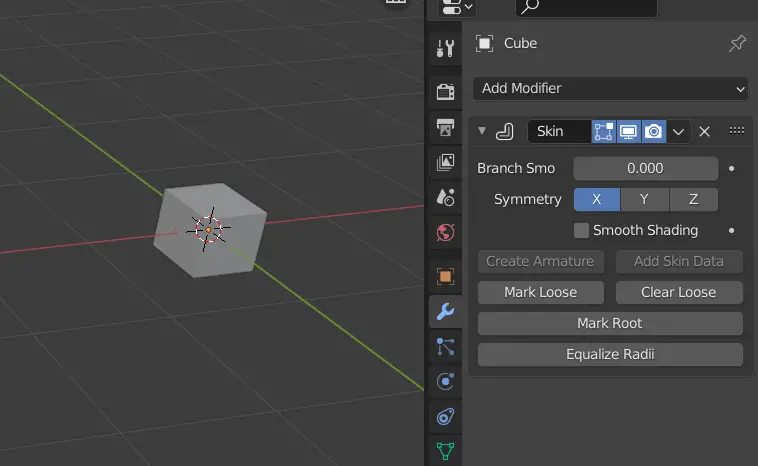
Add Skin Modifier.
You will see that mesh is now generated at the place of single vertex.
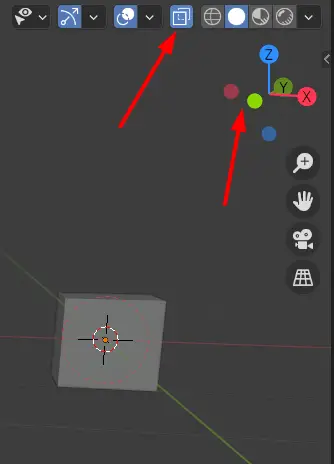
For better modeling, click Toggle X-ray from the top right. This will allow us to see through the mesh, and go to side view.
To model the mesh, we will need to extrude it. Select the vertex, and press E key to extrude it.
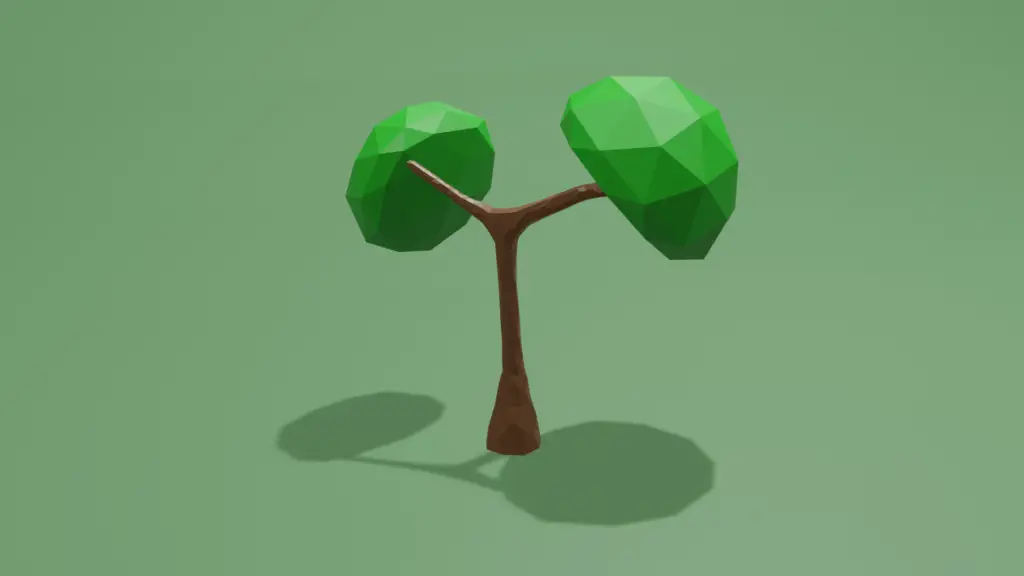
Keep extruding it until you form the shape of a tree. You can extrude two or more vertices from a single vertex.
We can increase the thickness of the mesh pressing CTRL+A. In this case, we shall increase thickness of the root. Select the root vertices, and press CTRL+A to increases the thickness.
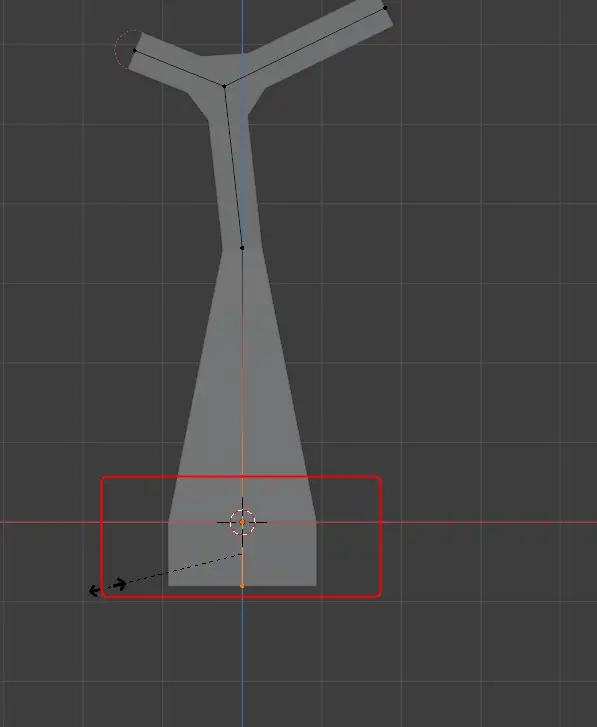
Remember to make the upper branches thin.
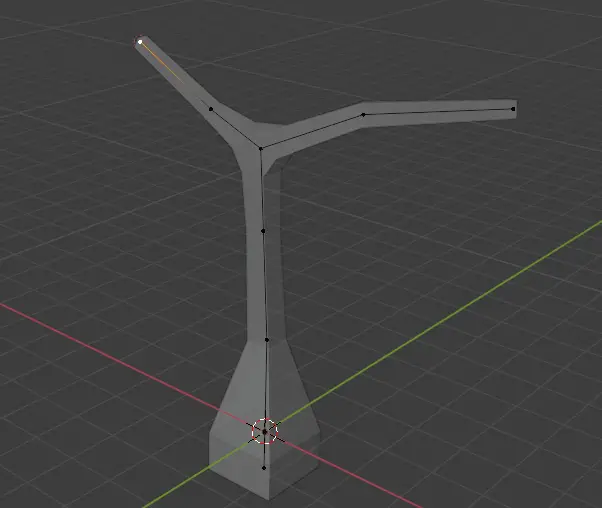
Go to Object Mode by pressing Tab key.
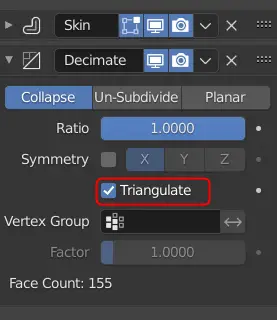
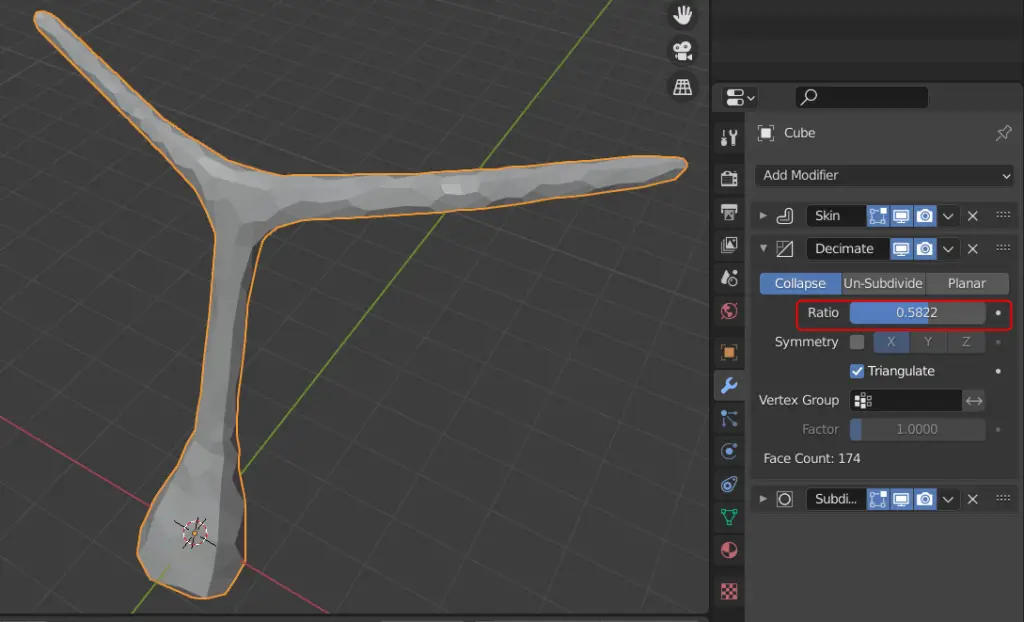
Adding Decimate modifier
Now add a Decimate Modifier.
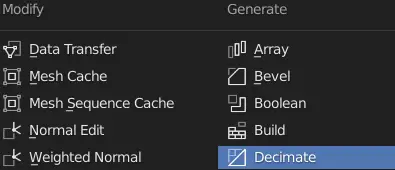
A decimate modifier, reduces the number of faces on a mesh, we already have a small number of faces, but it will be combined with subdivision surface modifier.
Enable the Triangulate, this will convert the quads of the mesh into triangular mesh.
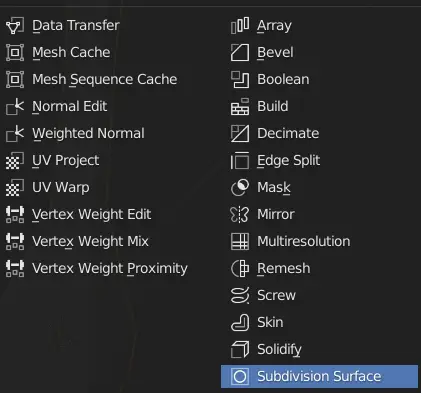
Now add a Subdivision Surface modifier.
In the decimate modifier, lower the value of Ratio, and you will observe the quad mesh into triangular mesh.
Adding Leaves
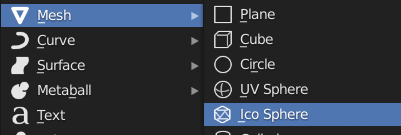
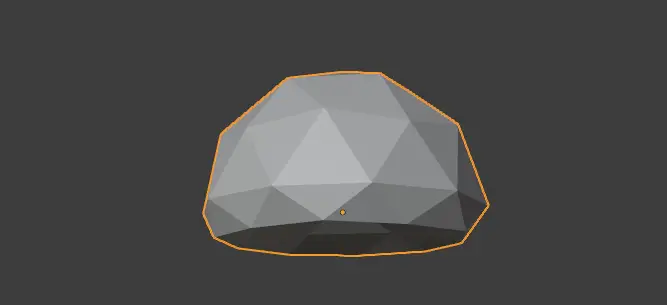
Now, we need to add leaves, to do that, add an Ico Sphere.
Click Add > Mesh > Ico Sphere.
We can leave it as it is, or we can edit.
Go to Edit mode by pressing Tab key. Enable the Proportional Editing from the top.
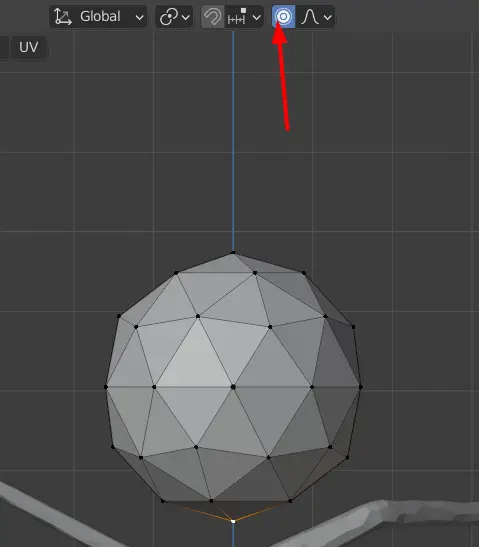
Drag one of the vertex above until the desired shape is formed.
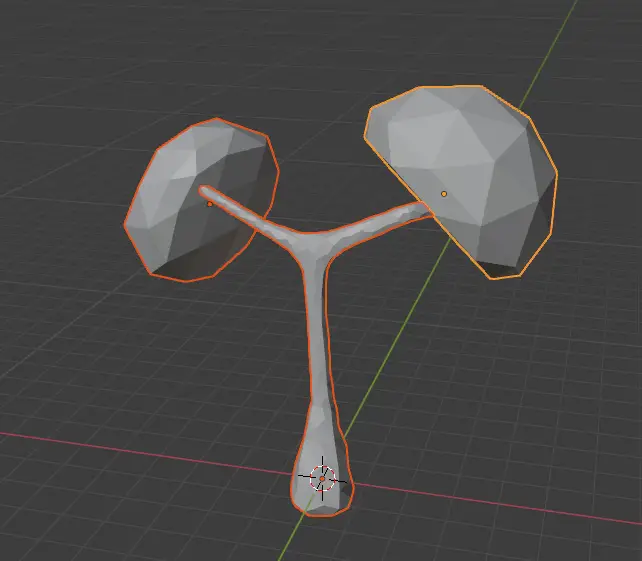
Similarly, add another object and add them on the end of branches.
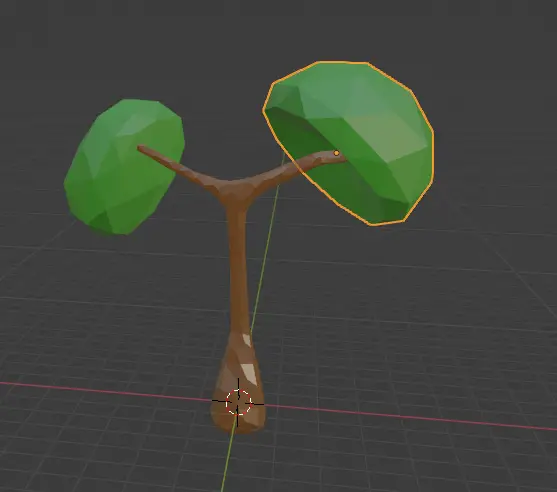
Go to Material preview.

Add materials.
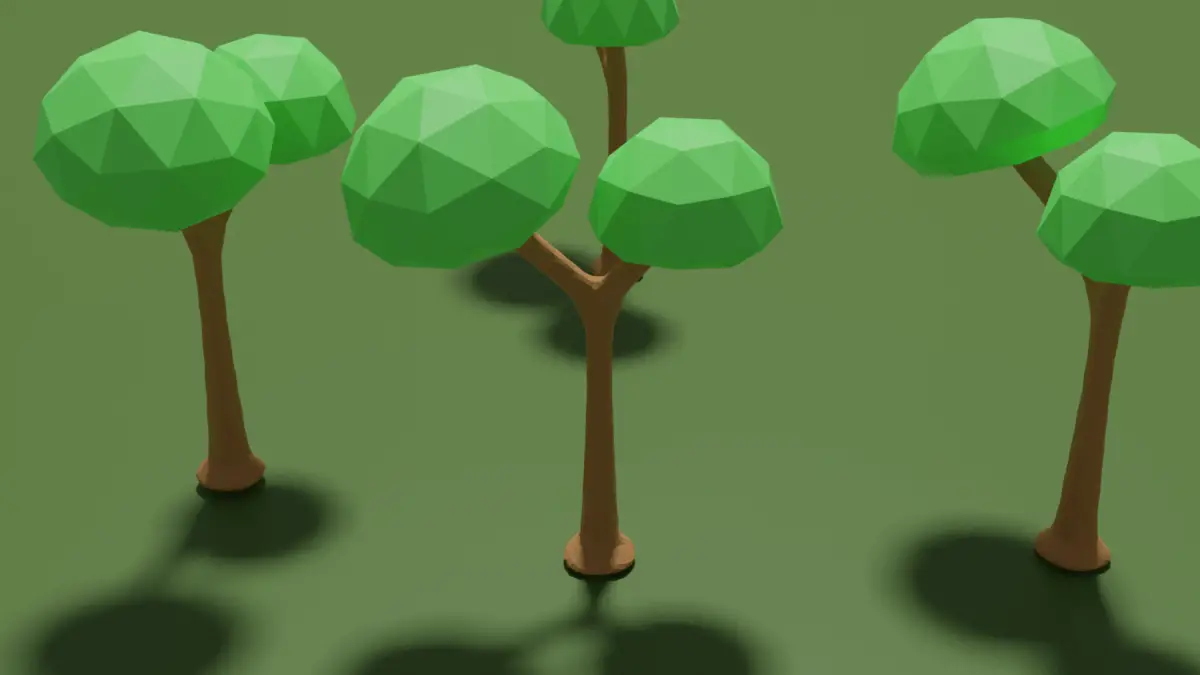
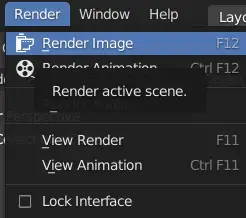
Rendering image
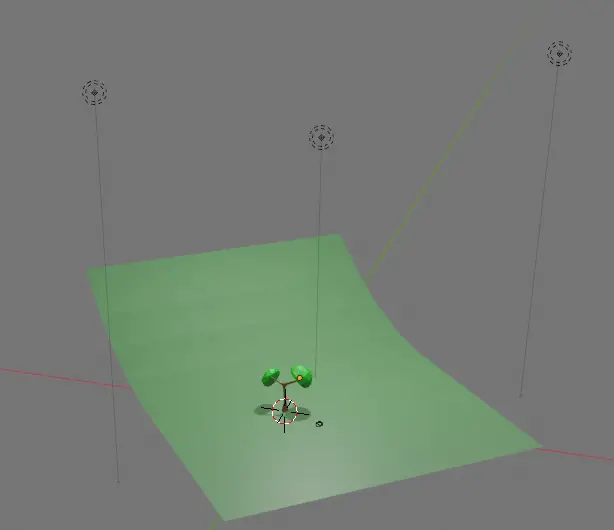
Light the scene and add a floor using the plane.
Render the image by clicking Render > Render Image.
The final render will look similar to this.