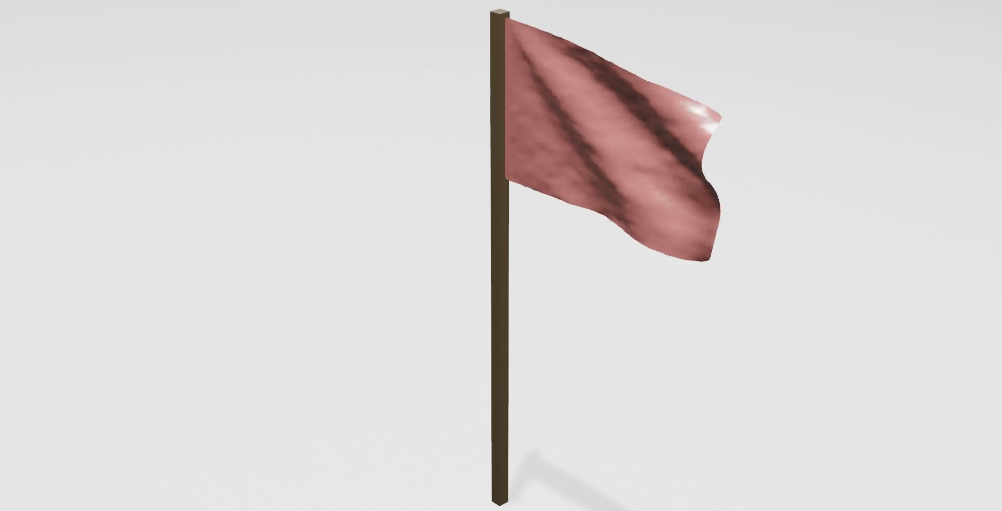
In this tutorial, we are going to make a waving flag using the Cloth in Blender. One end of the flag will be fixed with the pole. Blender version 2.91 is used.
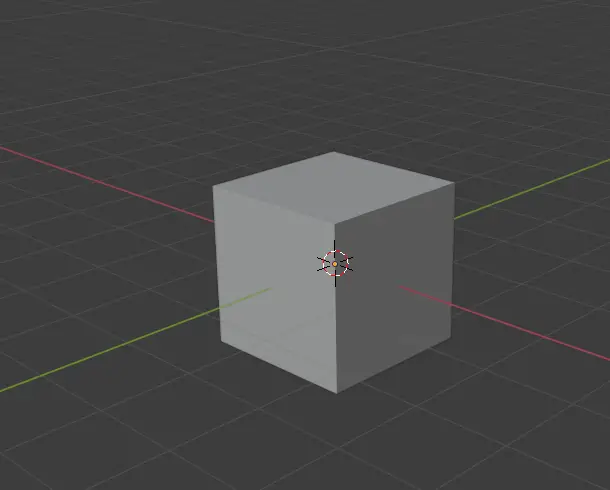
Open blender with default Cube scene.
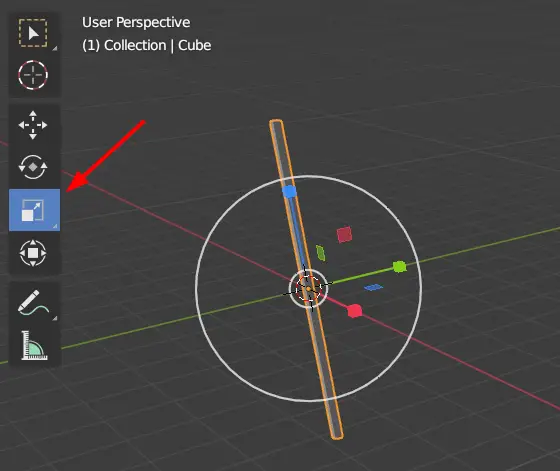
We will change the shape of this cube into a pole.
Choose the Scale tool from the left toolbar and resize it.
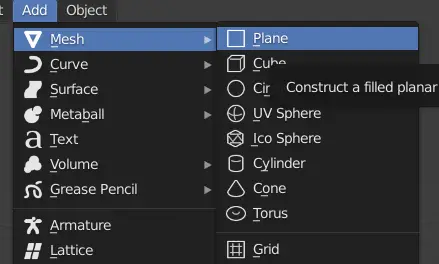
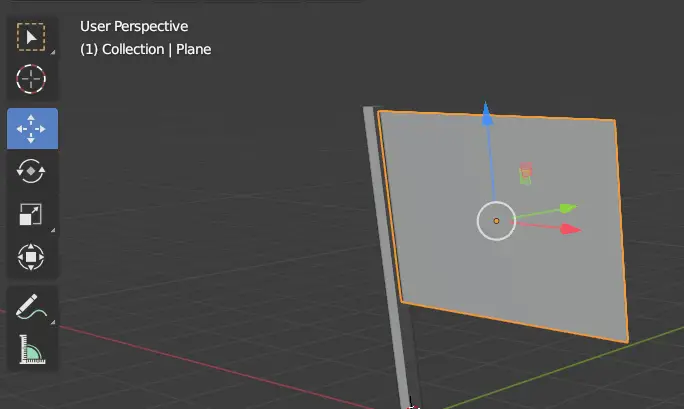
Now, we will make the cloth mesh using a plane.
Making the cloth part
Add a plane by clicking Add > Mesh > Plane.
Adjust the plane with the pole using the Move and Rotate tool from the left toolbar.
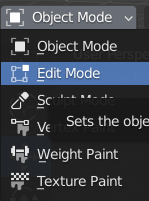
Now go to Edit Mode, by clicking top left menu or press Tab key.
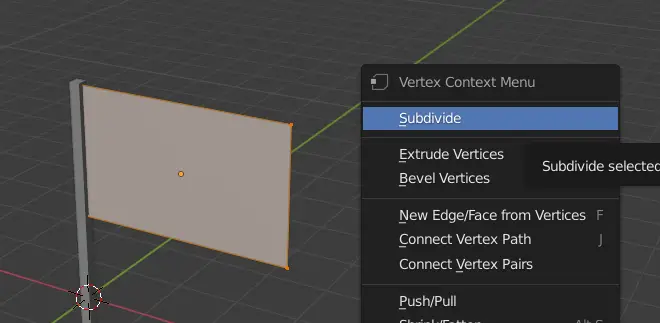
In the Edit Mode, select the whole mesh by pressing A key.
When the mesh is selected, press Right Mouse Button, in the Vertex Context Menu, click Subdivide.
Subdivide menu will appear in the bottom left, change the Number of Cuts to be 20.
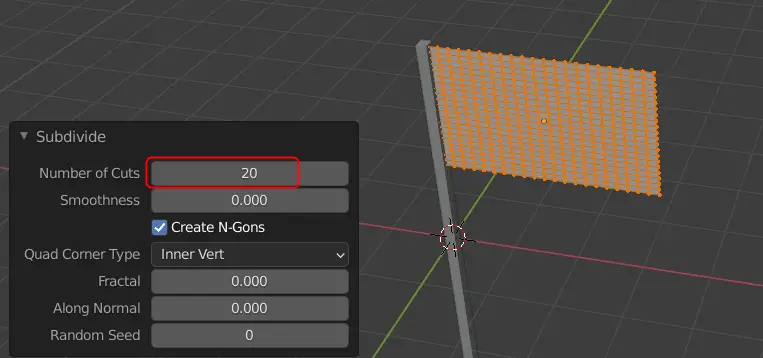
By subdividing, we have increased the number of faces for the Plane. This helps us in making our mesh smooth.
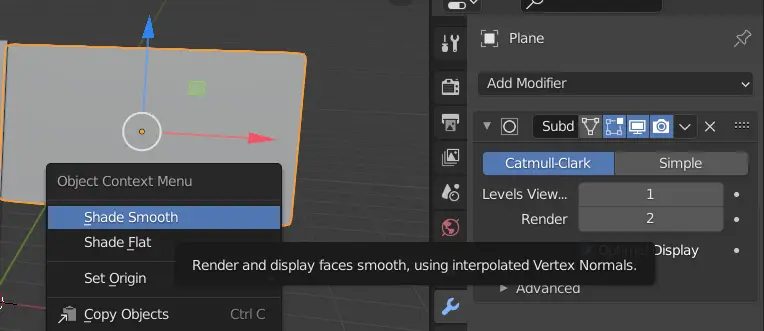
To make our mesh even smoother, we are going to add a Subdivision Surface modifier.
Click Modifier properties, and click Add Modifier. Click Subdivision Surface modifier under Generate.

Now Subdivision Surface modifier has been added.
Select the plane, press Right Mouse Button, in the Object Context Menu, click Shade Smooth.
Select the plane, go to Edit Mode by pressing Tab key.
Select the edges of the Plane that are closer the pole.
