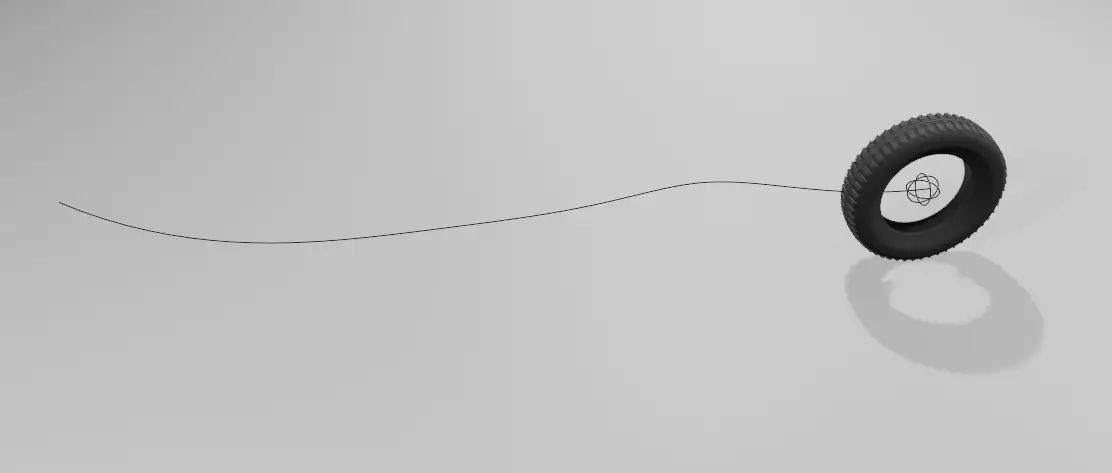
We shall use a Path Curve to move the tire along that path. We will apply Follow Path Constraint on the Empty. Blender version 2.90 is used.
In this tutorial, we are going to use a tire that has been modeled and rigged beforehand.
Link for Modeling the tire: How to model a tire in Blender
Link for Rigging the tire: How to rig a tire in Blender
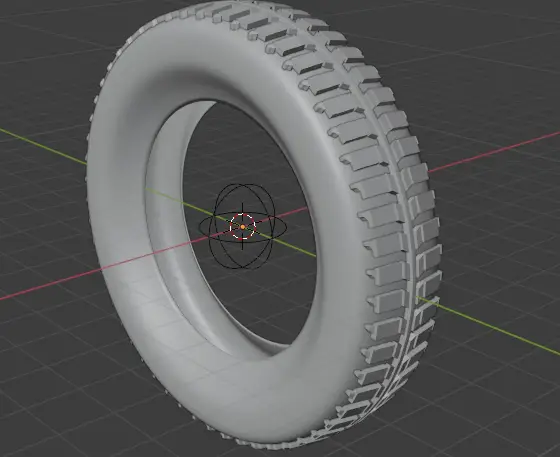
In this tutorial, the tire is already modeled and rigged with an empty. As we move the Empty object, the tire moves and rotates with it. We shall apply the Follow Path Constraint on the empty, this will make the tire move and rotate along the path.
Adding Ground
Open the scene with the Rigged tire.
First of all, we are going to lay ground for the Tire.
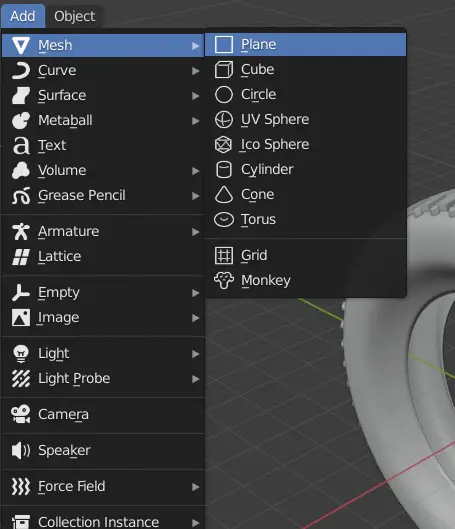
Add a plane by clicking Add > Mesh > Plane.
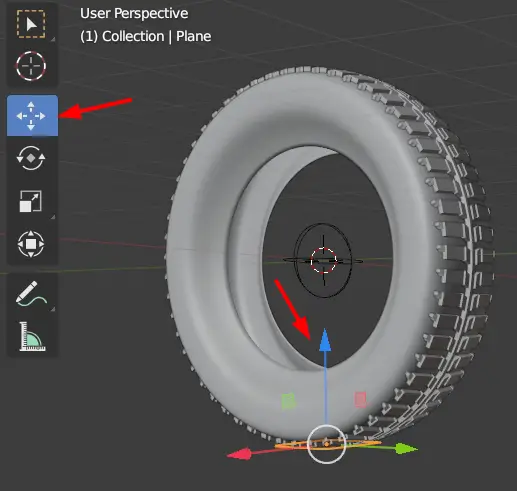
Using the Move tool from left toolbar, move the plane below the tire by dragging the blue Arrow (Z- Axis).
Increase the size of plane by selecting the Resize tool from toolbar and clicking the white circle.
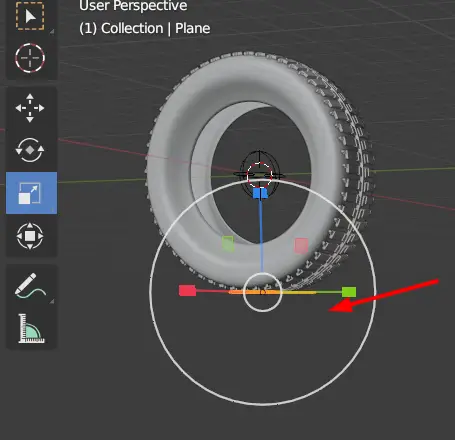
Make sure that the plane is big enough for tire to move.
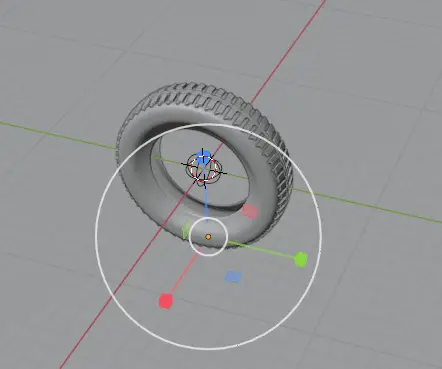
Now, we need a path to animate the tire.
Adding Path Curve
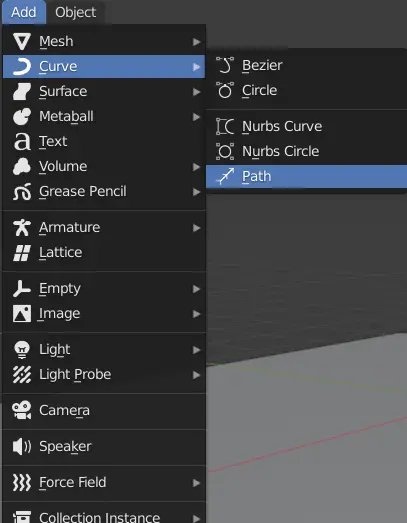
Click Add > Curve > Path.
The path will be a small line, which is hard to see and select, so you can select it from Outliner on the right side.
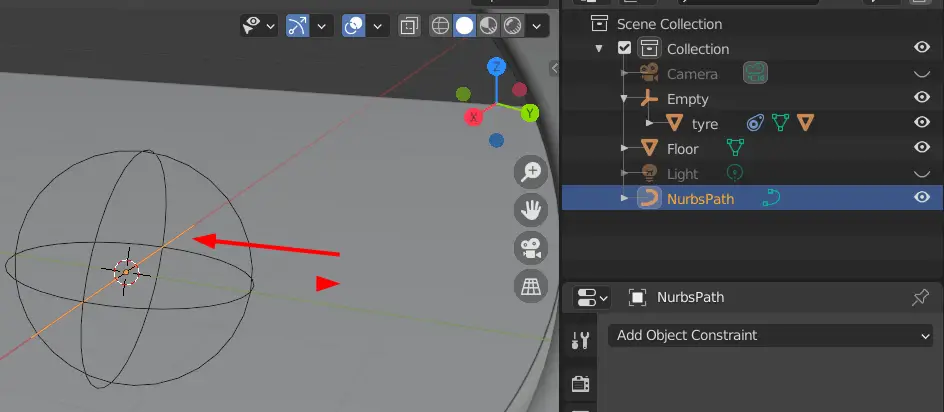
Keeping the path selected, press Numpad /, this will only show you the path.
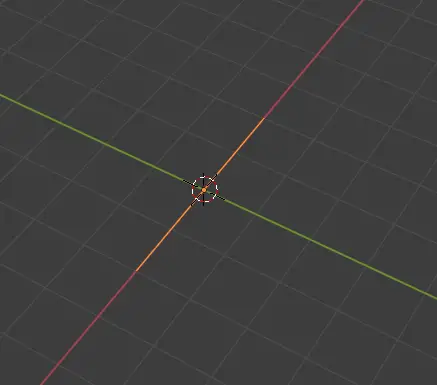
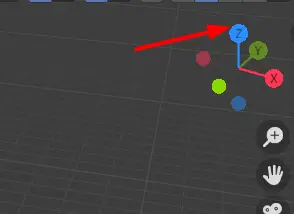
We will edit the path from the top view, to do this, select Z axis from Coordinate shown on top right corner.
Press Tab key to go to edit mode. Select the point you want to modify.
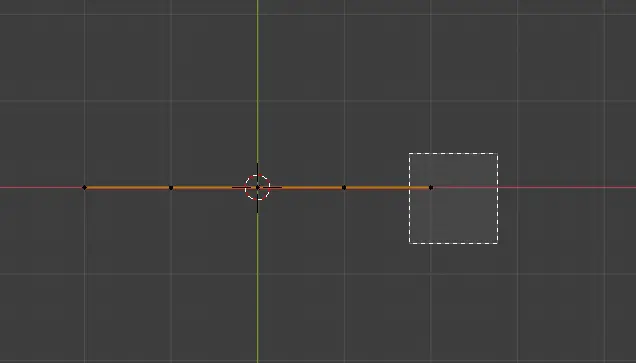
Using the Move tool, you can place it anywhere you want.

Similarly, adjust all the points until you have the desired path.
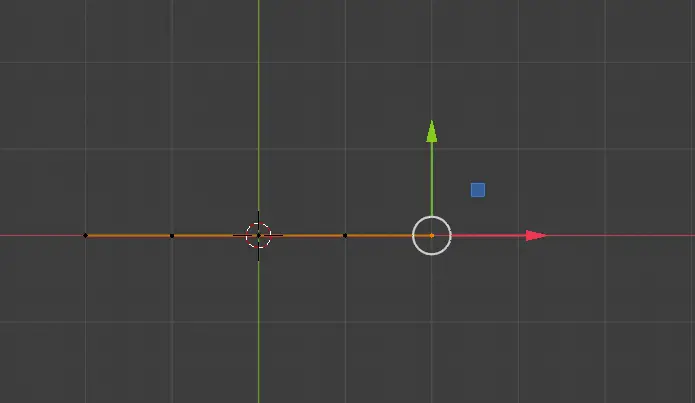
Now press Tab key to go to Object Mode, and then press Numpad /. This will show every object in the scene again.
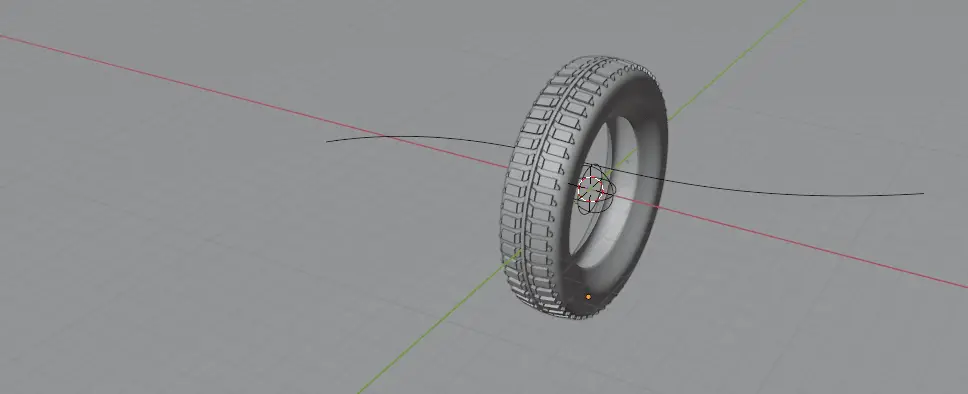
Now, we will make the tire move on the path using the Empty

