Applying Follow Path Constraint on Empty
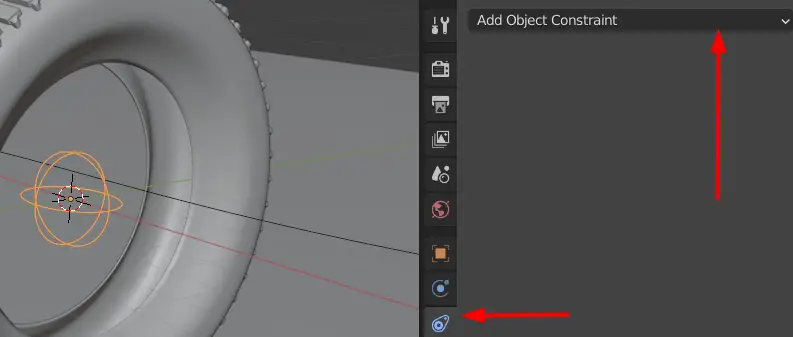
Select the Empty, go to Constraints properties, on the right side, and click Add Object Constraint and then click Follow Path.
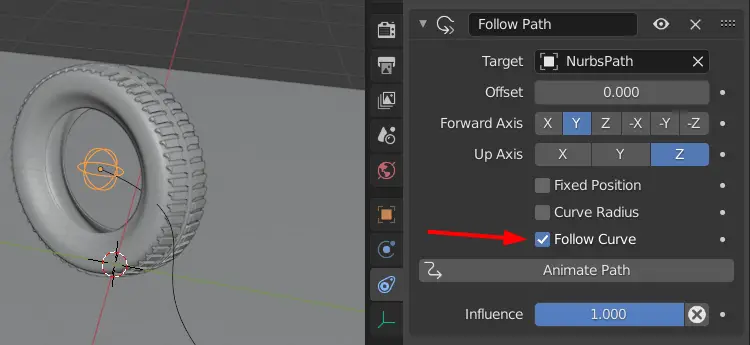
Select the “NurbsPath” in the Target and click Animate Path.
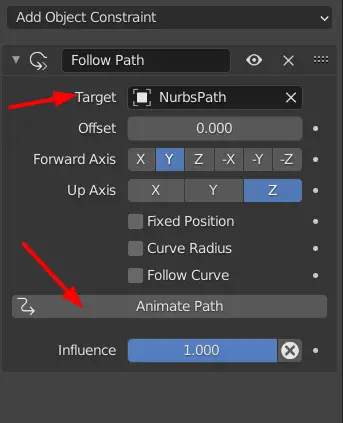
Clicking the Animate path will create an animation of the tire following the path over 100 frames.
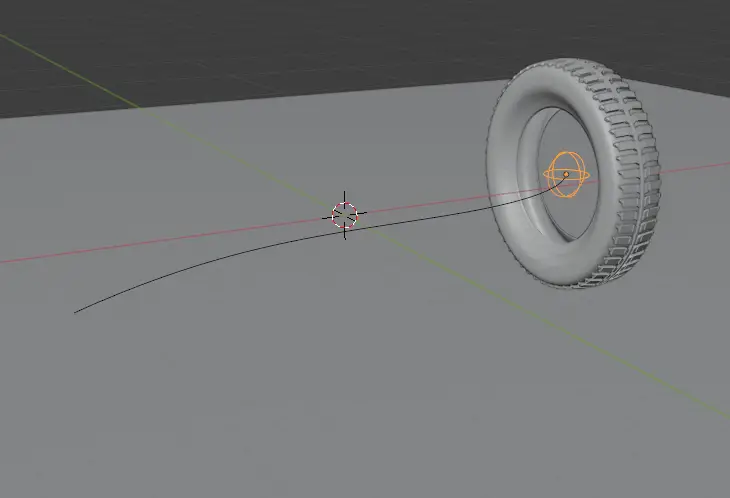
We see that the tire is on the one end of the path, but it is not aligned correctly.
To align the tire along the path, we have to enable the Follow Curve.
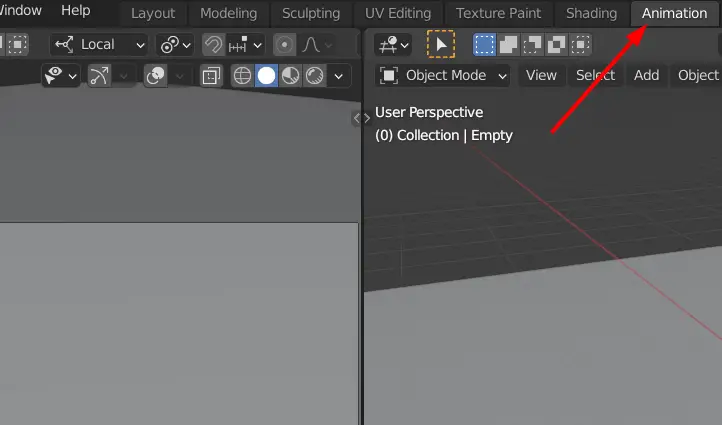
Now go to the Animation tab on the ribbon.
Press Space key to play or stop the animation.
We see that the tire moves along the path over 100 frames.

Now move the frame back to 0 by dragging the blue cursor.
Adding Materials
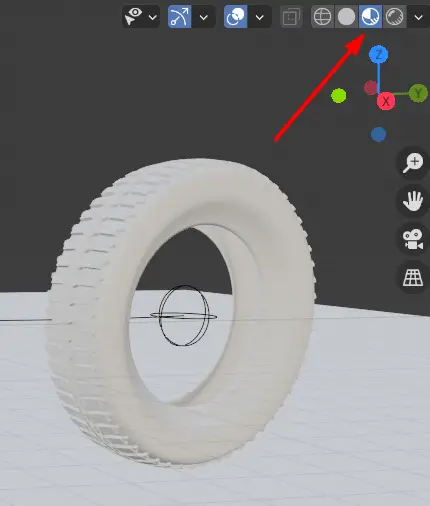
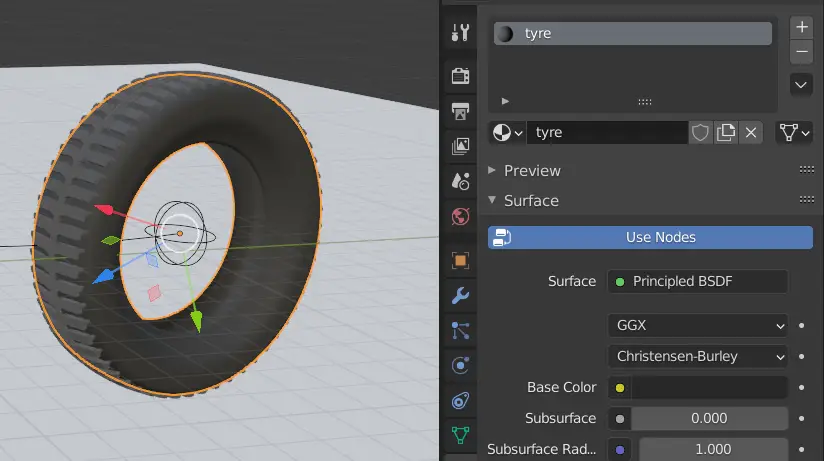
We need to add material to the tire and to the floor. To do this, click the Material Preview on the top right corner.

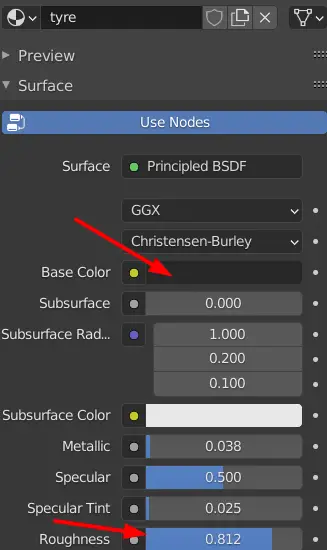
Select the tire, and go to Material properties on the right side, and click New.
Now, we can modify the appearance of our object.
Select the Base Color to be black, increase the Roughness because the tire is rough.
Similarly, select the tread and make a material for it with a lighter color.
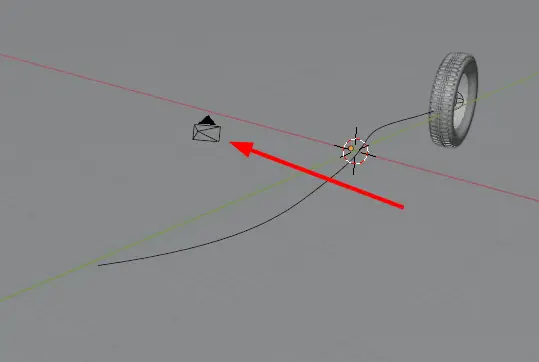
Now, we want the animation to capture the whole sequence. To do this place the camera in a way where the whole path or most of the path is visible.
Press Numpad 0 to see the camera view.
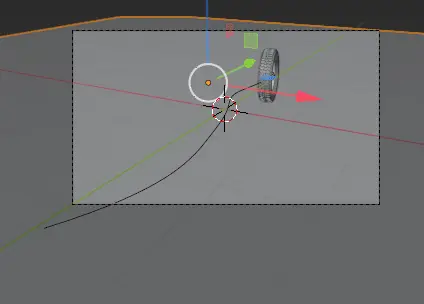
As we can see that the camera is covering most of the path.
Rendering the Animation
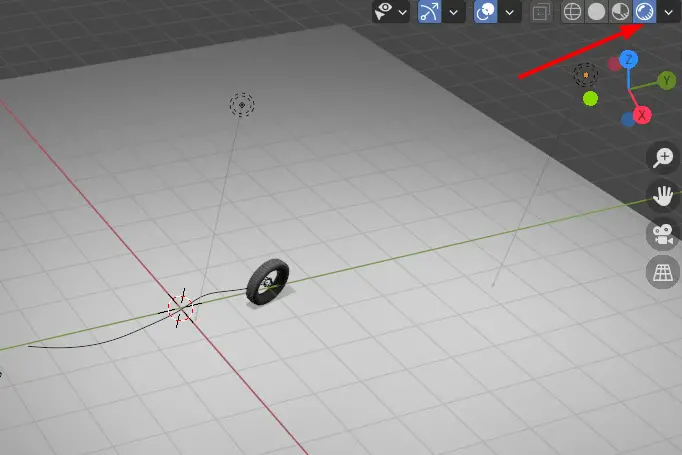
Before making the animation, click on the Rendered Preview, on the top right corner. This will allow us to see how our scene will look when rendered.
The scene should be suitably bright. If not, we can add lights and increase their power.
Since our animation consists of 100 frames, we want Blender to render only those frames. To do this, change the End frame to 100 in the Timeline below.

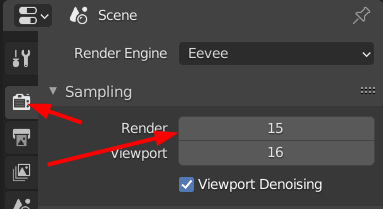
We want our animation to render faster. To do this, go to Render properties on the right side, and change the Render to 15.
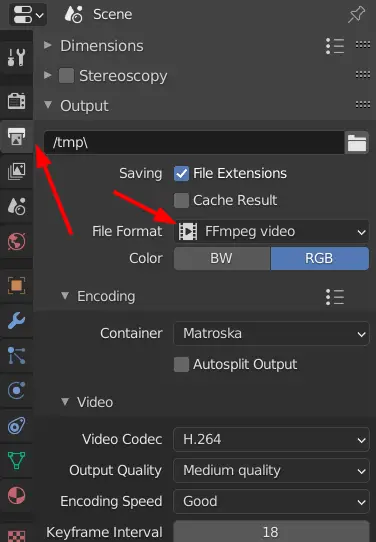
Go to Output properties, under the Output, change the File Format to FFmpeg video, and choose the destination of the rendered animation.
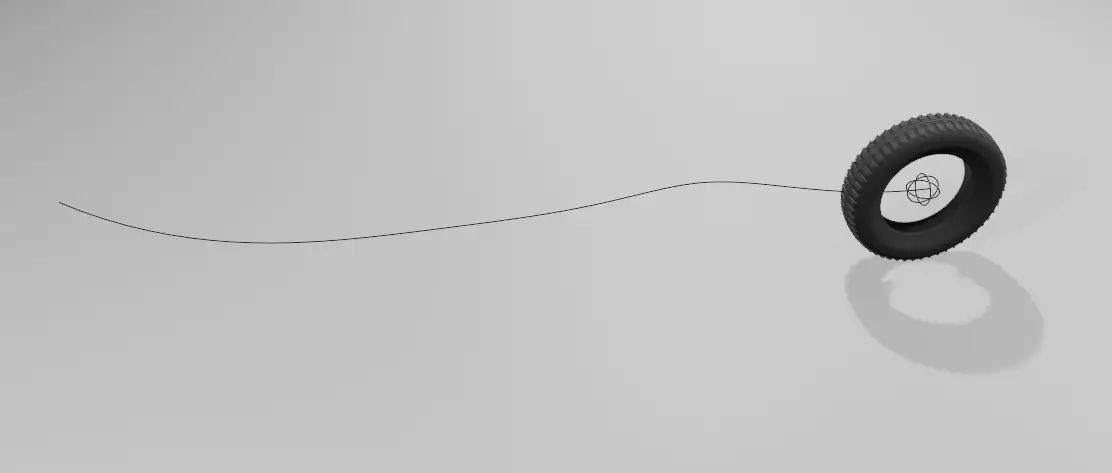
Now, click Render > Render Animation and wait for a few moments. The final result will look similar to this.