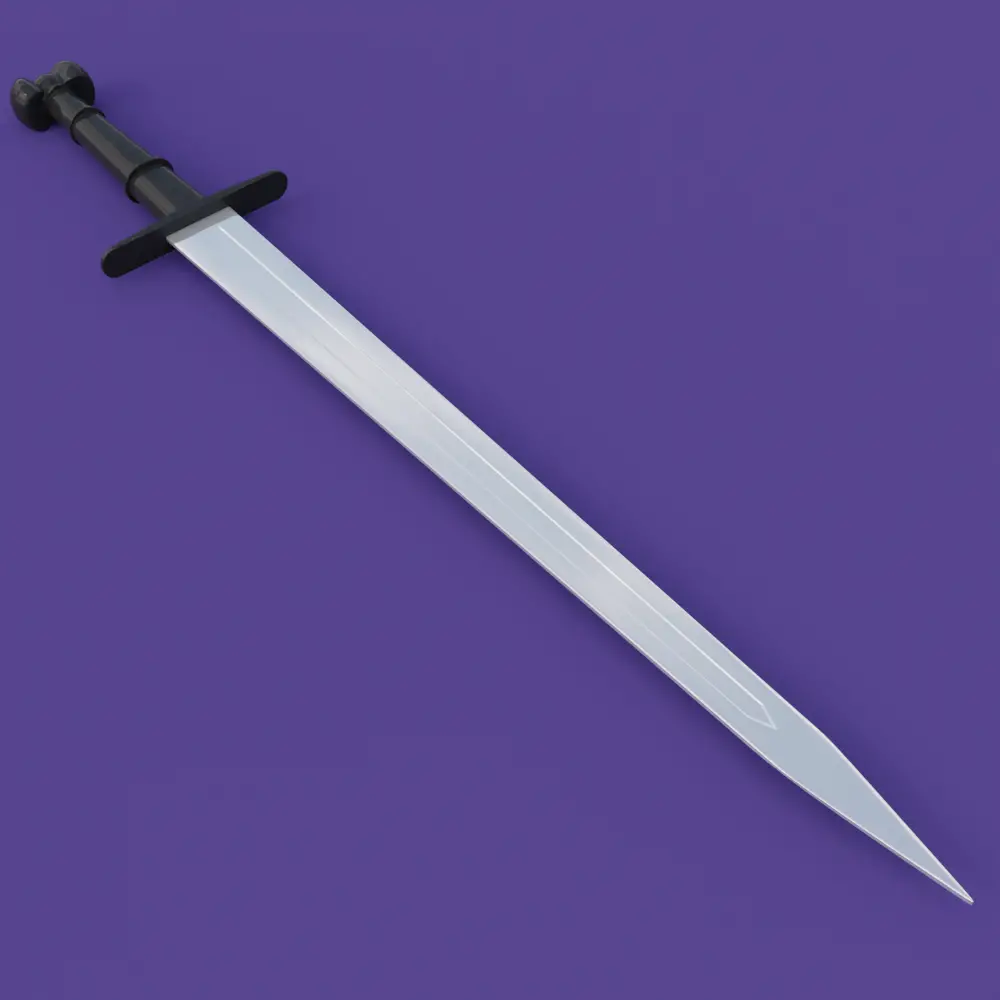
Modeling the Blade
Now, we are going to model the Blade.
Click Add > Mesh > Plane.
To model the blade, we are going to add another plane. Rotate the plane and adjust it just below the grip of the sword.
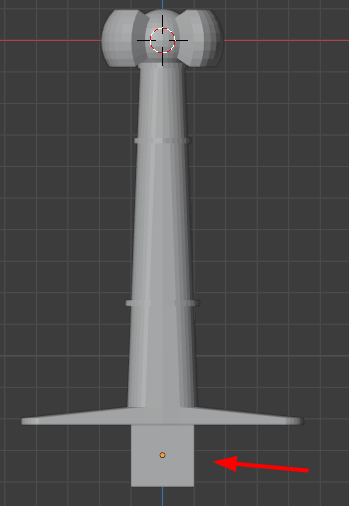
Applying Transforms
You can apply all the transforms of the plane by pressing Ctrl+A, and then clicking All transforms in the Apply menu.
Applying transform values resets the values of location rotation and scale. The values for scale and rotation become 1. If the object is not at world origin, the object’s origin is changed to World’s origin.
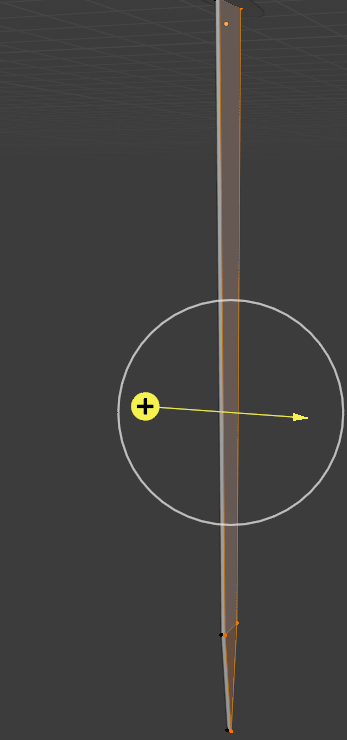
Go to Edit Mode by pressing Tab key. Select the bottom two vertices of the plane and extend them using Extrude Region tool or press E key.
You may join the last vertices when you have made the basic shape of the blade, select the last two vertices, press M, and in the Merge menu, click At Center.

Just as shown, in the image, the last two vertices are merged at center.
Select everything on the blade, use Extrude Region tool, or press E key.
Add the mirror modifier for the blade, by going Modifier properties > Add Modifier > Generate > Mirror.
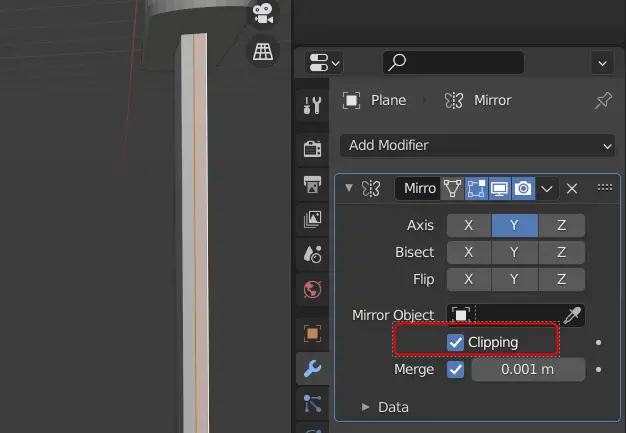
Make sure that the clipping is enabled.
You can focus on a single object by pressing / key.

Modeling the cavity (fuller)
All the other objects will be hidden, this can be undone by pressing the / key again.
We need to make a fuller (cavity) in the sword. This can be done by adding loop cuts in the swords.
Add loop cuts using Loop cut tool or press Ctrl+R. The Loop need to be added where the fuller or cavity will be made.
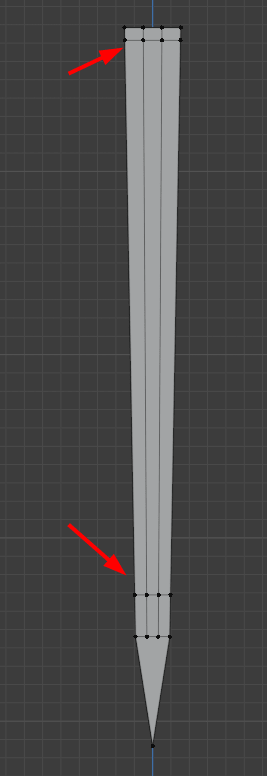
As you can see, we have adjusted the edge loops according to the desired shape.
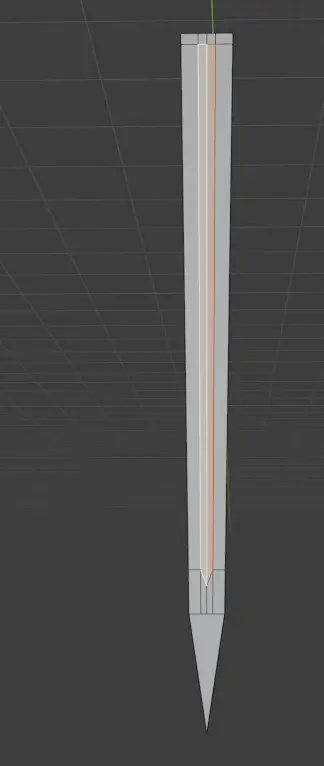
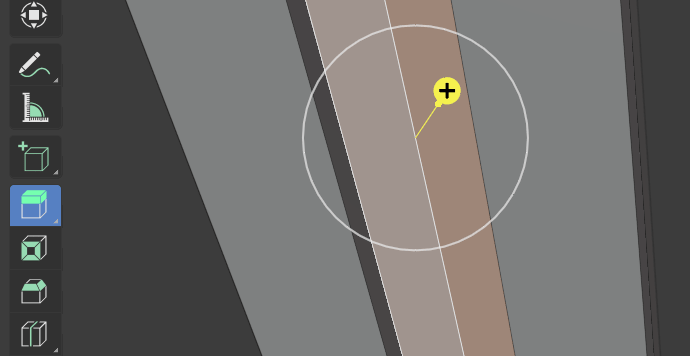
To make a cavity or fuller, extrude inside using the Extrude Region tool.
The finished sword may look like this.
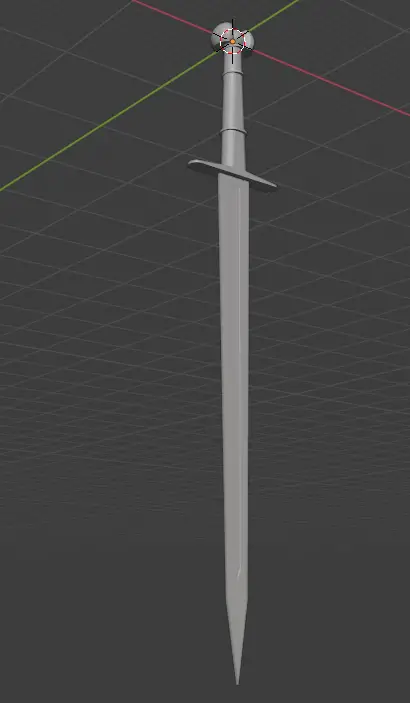
Now press / to show all of the objects in the scene.

