In this tutorial, we are going to use Geometry nodes to make a Circular Array. In Geometry Nodes, we are going to add a Circle and instance our objects on its vertices. Blender version 2.93 is used
We are going to make a separate collection for our instance objects. In the following image, it can be seen that we have four suzanne models with different colors.

It should be noted that all the models are facing the positive Y axis.
Disable the collection with instance objects.
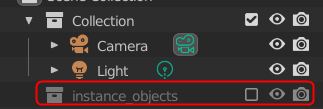
This is necessary because we will instance the objects in the collection using Geometry nodes.
Switch to Geometry Nodes
Add a plane by clicking Add > Mesh > Plane.
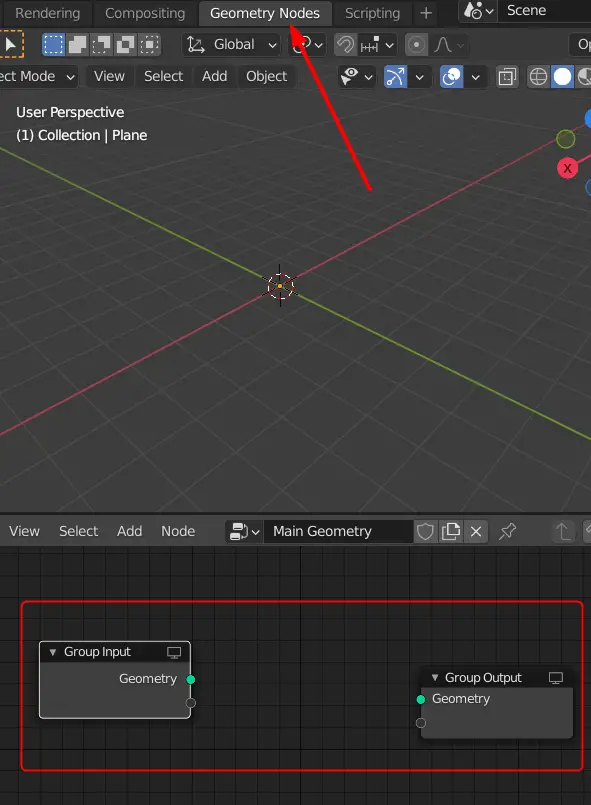
Switch to Geometry Nodes from the top ribbon. Disconnect the Geometry output from Geometry input in the Geometry Nodes window.
Add a Circle
Add a circle in the Geometry node window by clicking Add > Mesh Primitives > Circle.
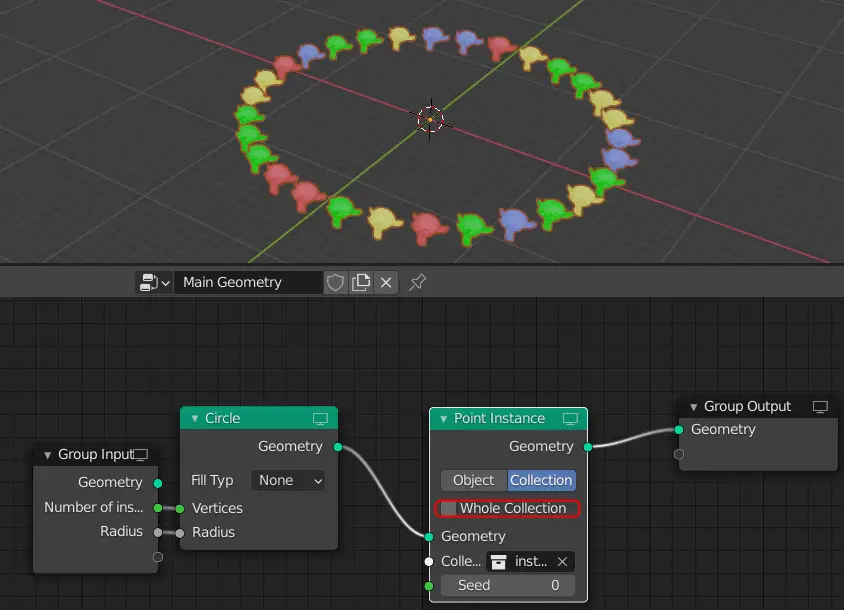
Connect the Geometry output of the Circle node to Geometry Output node. And connect Blank Output of Geometry Input node to Vertices and Radius of the Geometry Input node.
Now, if you go to Modifier properties, you can change the Vertices and Radius of the circle.
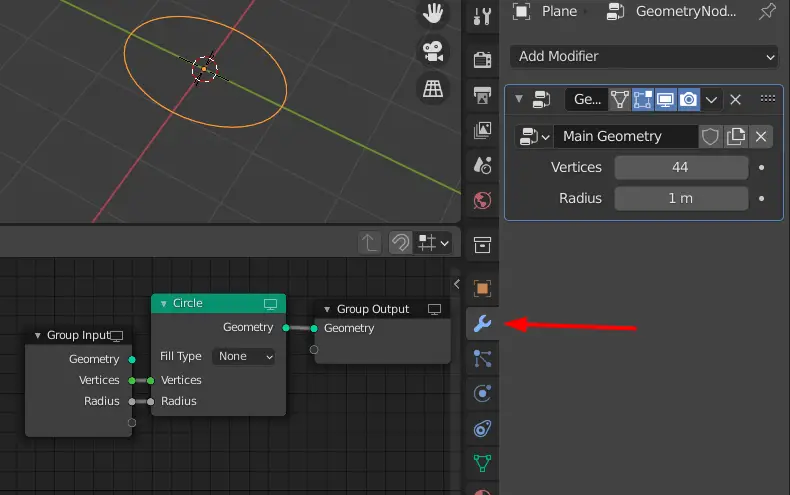
The Vertices of the Circle are the positions for the instance objects.
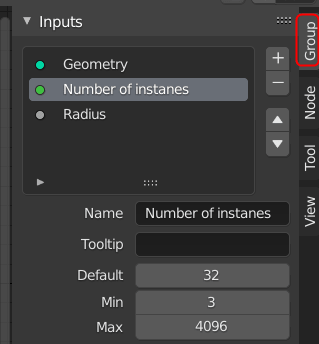
You can change the names of Inputs in Side menu. Press N key, a menu will appear on the right side. From the Group panel you can change the name of the Inputs.
Instance objects using Point Instance node
We will instance our collection using the Point Instance Node. Click Add > Point > Point Instance.
Place the node between Circle and Group Output node. Make sure to select Collection and unmark the Whole Collection. Select the collection which contains the objects.
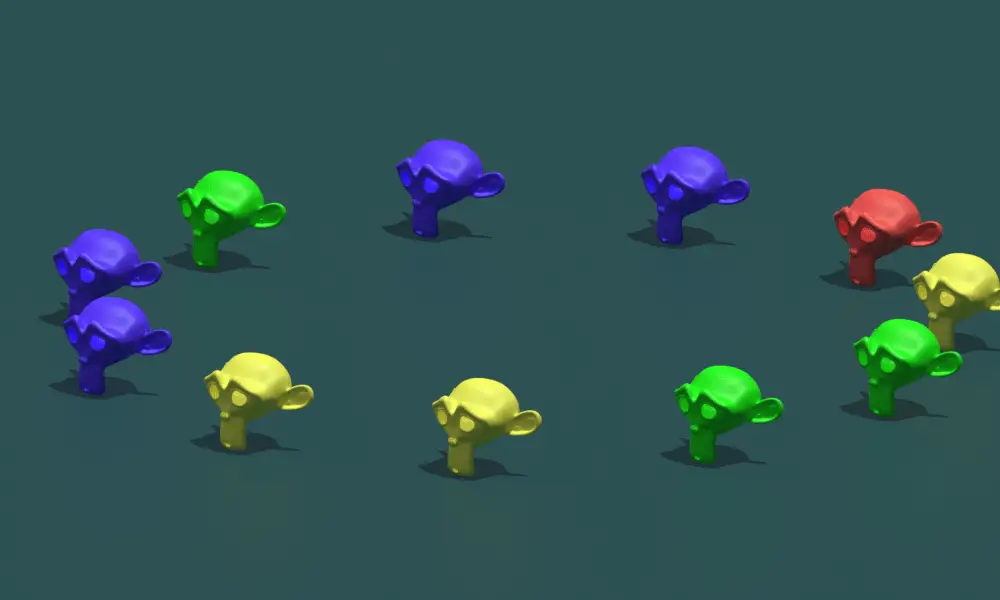
Final Render image
This is how the array will look like.
In the next tutorial, we are going to use the geometry nodes to rotate the instance objects so that they face the center.
For more parts of this tutorial series:
