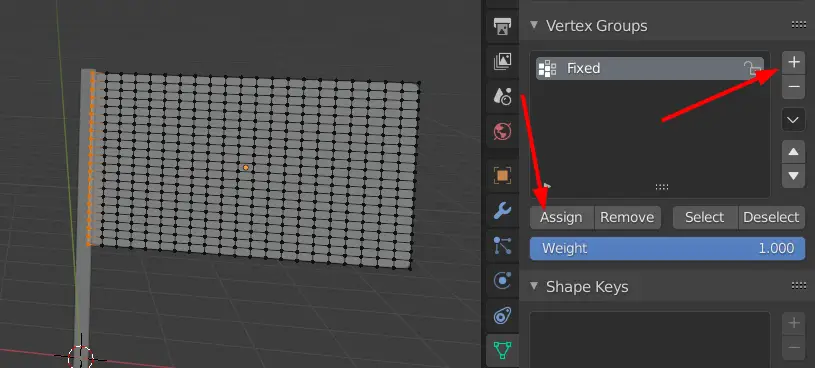
Making one end fixed
We need to make one end of the cloth fixed. So, we will make a separate group of these vertices and in Cloth simulation options, specify that these vertices are fixed (stationary).
Go to Object Data Properties, click + to add a group, name it “Fixed” and click Assign. By doing this, we have now assigned the group with those vertices.
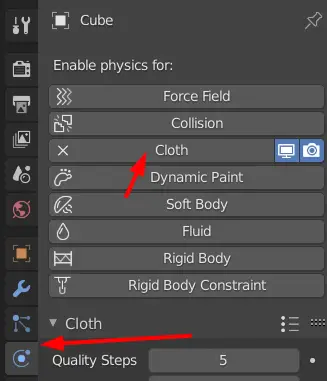
Adding Cloth properties
Go to Physics properties and click Cloth.
Initially, the cloth is very heavy, we need to make it light, to do that, change the Vertex Mass to 0.03 kg.

Vertex Mass can be found under the Physical properties.
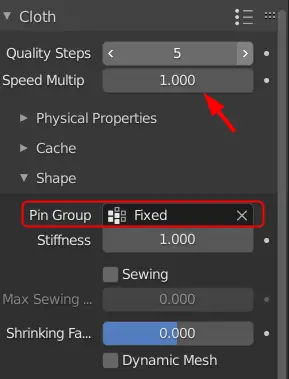
Now, we need to tell specify which of the Vertices will remain fixed. Under the Shape, choose the Pin Group to be “Fixed”.
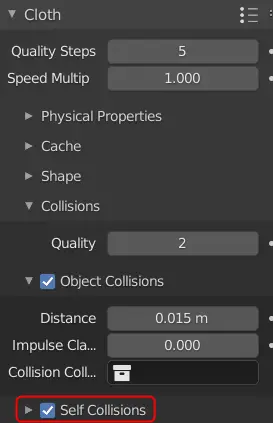
The cloth needs to collide with it self, so enable Self Collisions.
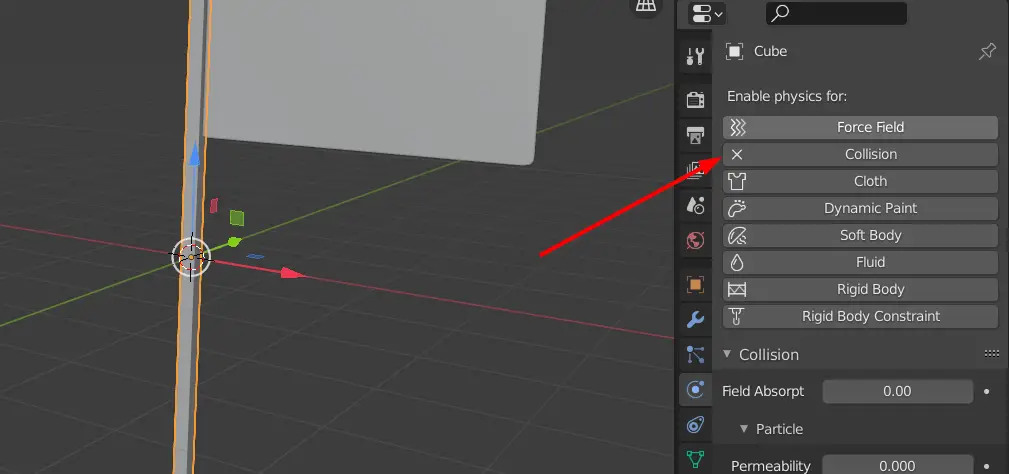
We need the Cloth to collide with the pole.
Select the pole, go to Physics properties, and click on Collision.
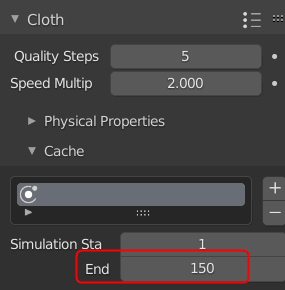
By default, our cloth animation will bake up to 250 frames. But, for this case, we will change this to 150.
Under the Cache option change End frame to 150.
Drag the timeline above, change the End frame to 150.

Now if we press Space key, we see the animation of the Cloth.
Now, we need the flag to wave, to do that we will add a Wind force field.
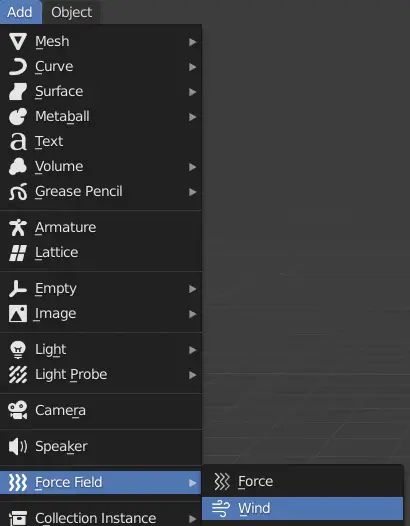
Adding Wind
Click Add > Force Field > Wind.
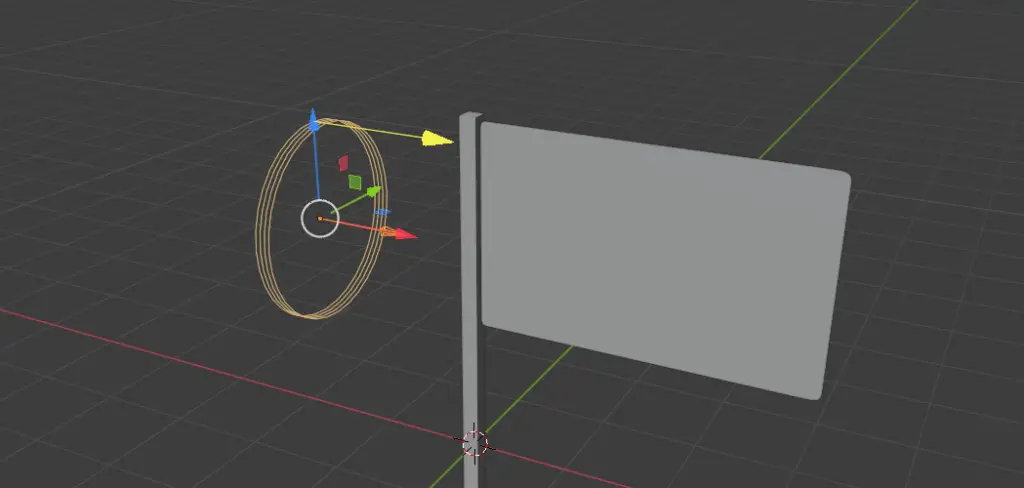
Adjust the field force so that it is adjacent to the flag.
In the Physics properties, change the Strength to 1000, and the Flow to 3.
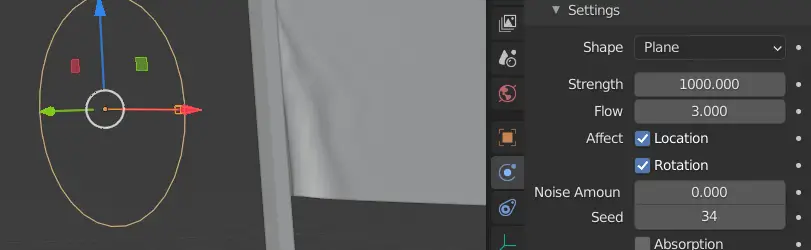
The Strength defines the intensity with which the wind should below. The Flow tells us the acceleration OR how quickly the cloth will adapt to the wind.
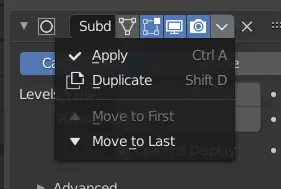
Apply the Subdivision Surface Modifier of the plane before proceeding.