
Using Curve Modifier
The chain is now connected with its links, but the chain is straight, we can place the change along a line or curve.
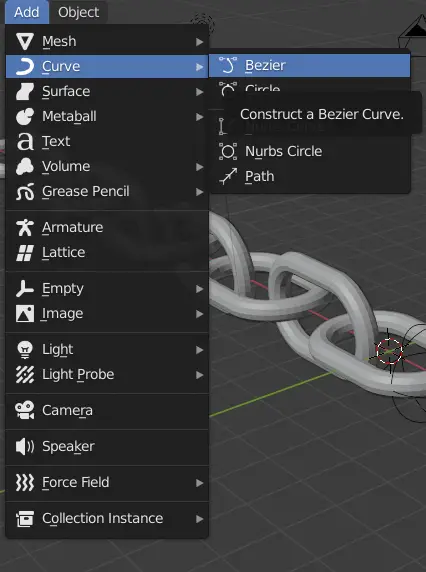
Add a Bezier curve by clicking Add > Curve > Bezier.
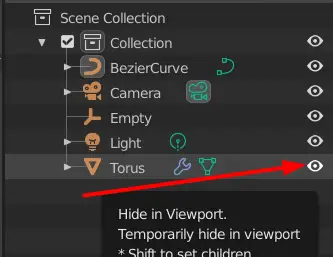
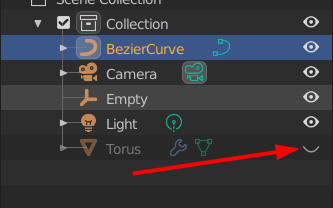
When editing curve, the Torus can block our view, so we will hide it for the moment.
Click on the eye icon next to Torus to hide it.
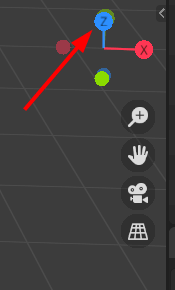
It is easier to edit the curve from the top view.
Click on the Z-axis from the top right to switch to top view.
Select the curve, go into Edit mode by pressing Tab key. Select any of the control point.
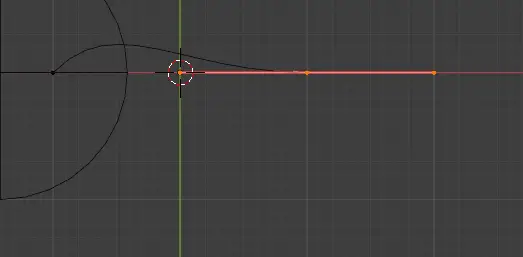
Curve is controlled by control point.
Press E to extrude and add another Control Point.
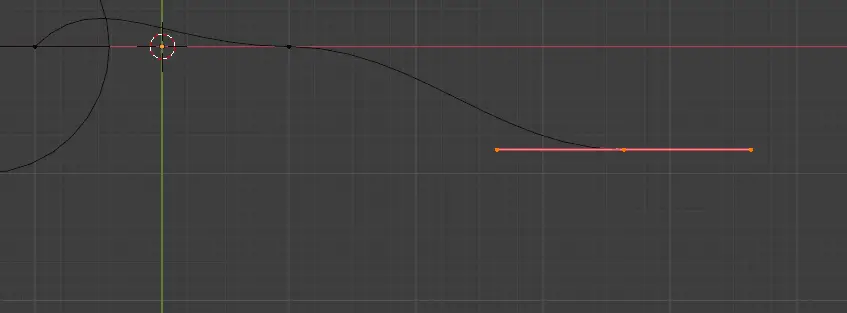
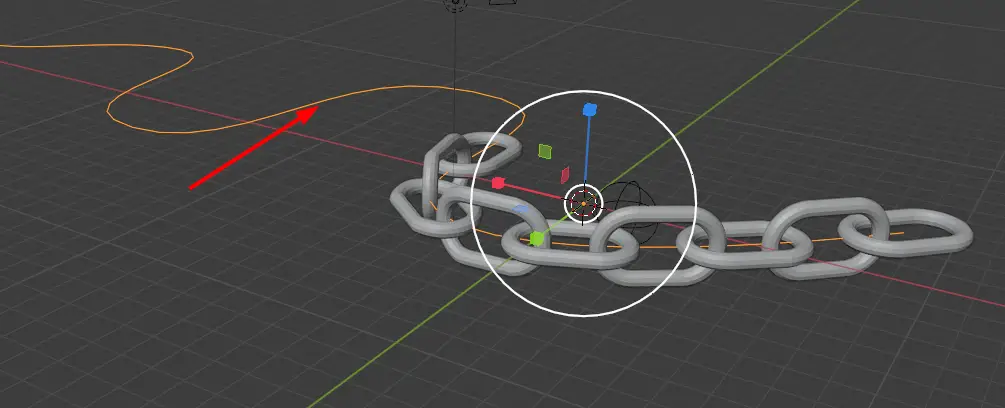
When editing curve, there will be sharp corners, if we scale them, they will become round.
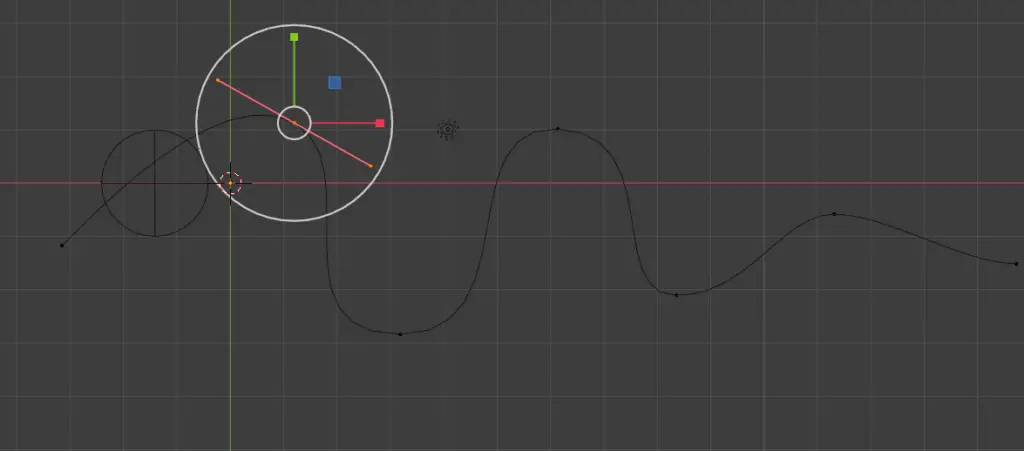
Select a control point, choose the Scale tool from left toolbar, click and drag the white circle to scale it up.
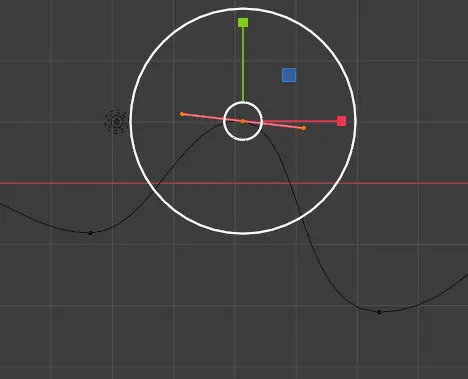
We can even rotate the Control points to adjust them.
Go to Object Mode by pressing Tab key.
Unhide the Torus.
Select the Chain link, in the Modifier properties, click Add Modifier > Deform > Curve.
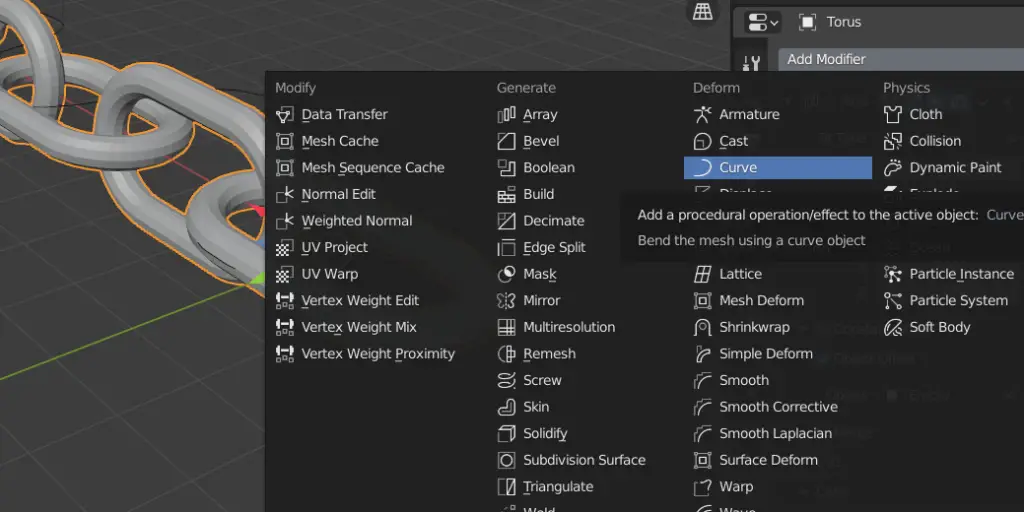
In the Curve Object, select the Bezier.
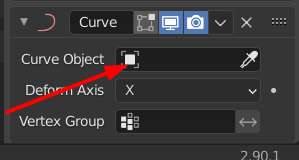
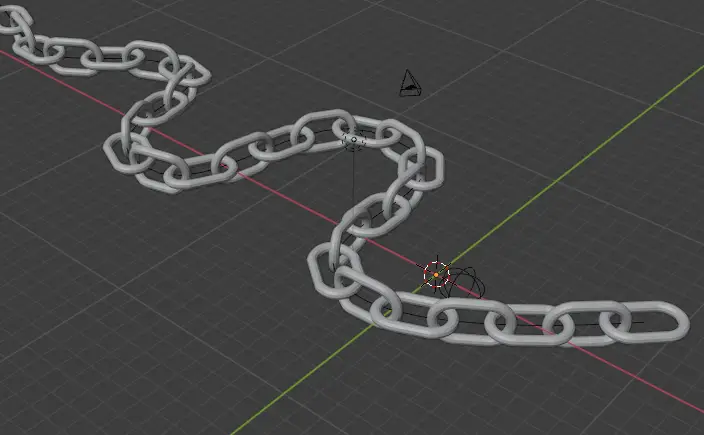
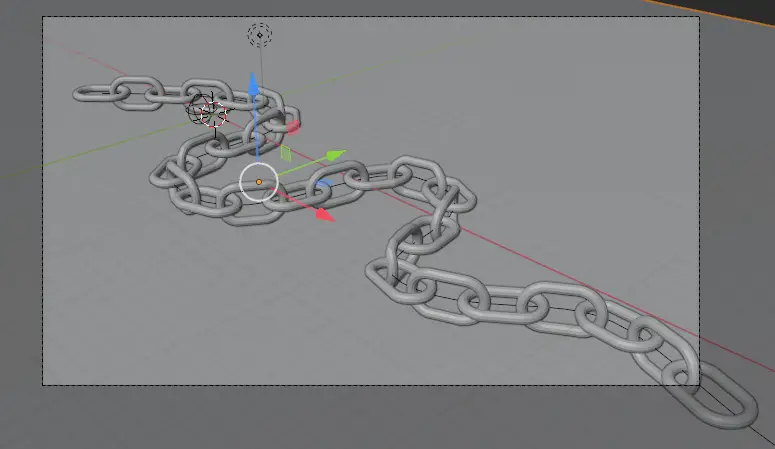
The chain link is now along the curve, but some part of the mesh is not straight.
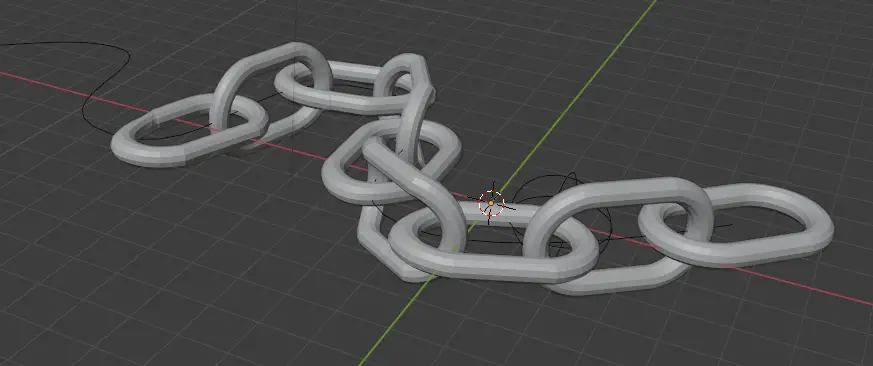
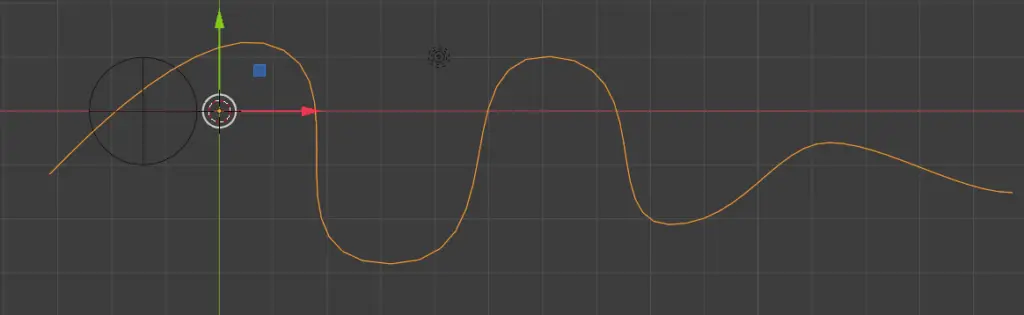
To fix this, select the curve, and scale up the Bezier curve by selecting Scale tool.
Increase the Count to increase the links.
Rendering
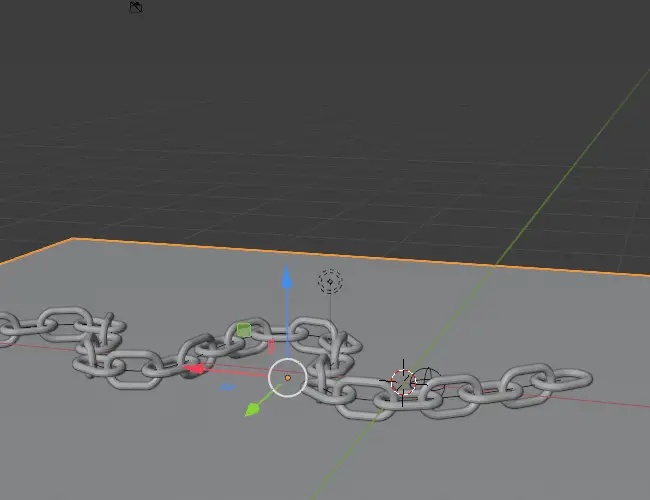
To render, we need add a floor.
Click Add > Mesh > Plane.

Select the plane and move it downwards in a way that chain seems to be placed on Plane.
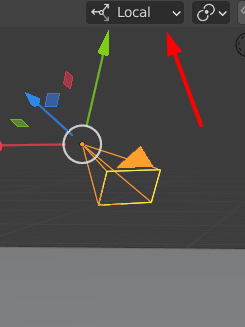
Select the camera, and position it away so that it covers the whole plane and chain.
Select the Move tool and change the Transform Orientation to Local. Use the blue arrow to move it away.
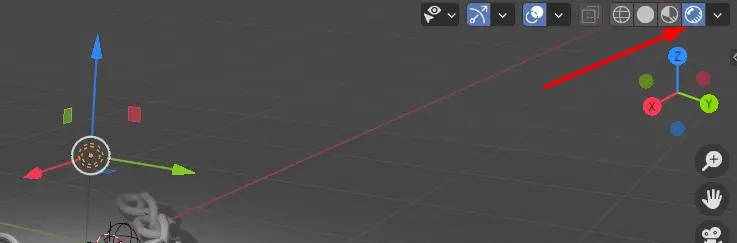
Press Numpad 0 to see the camera view.
On the top right, change Viewport Shading to Rendered. This way, we can see how our Rendered scene would look like.
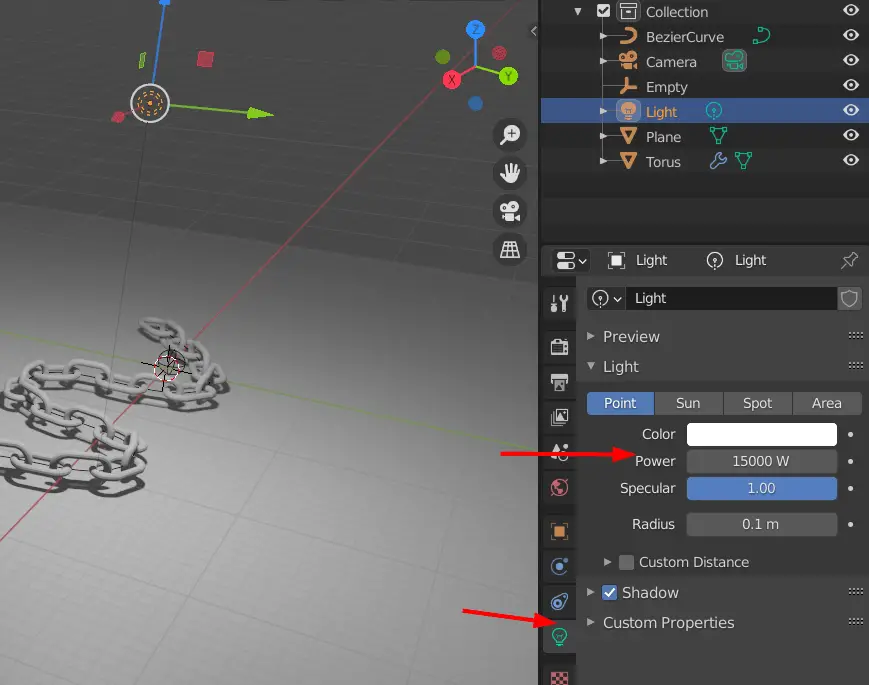
Select the light, and using the Move tool, drag it above along the Z-axis, and increase its Power in Object Data Properties.
We will add material to the chain so that it looks different.
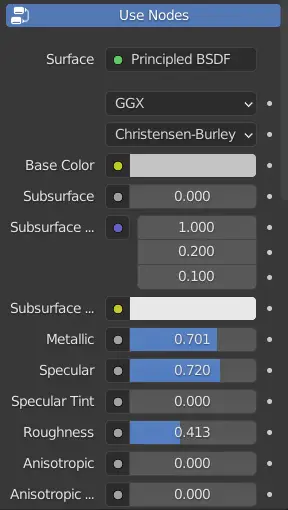
Select the chain go into Material Properties, select New. This will add a new material.

Change the material properties.
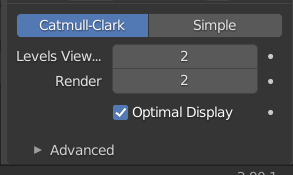
Select the chain, and in the modifier tab, add a Subdivision Surface modifier, this adds a more divisions to the mesh and makes it smooth.

Change Levels View and Render to 2.
Select Render > Render Image from top menu bar.
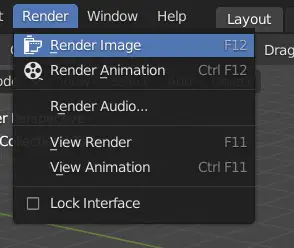
The Rendered will look similar to this.

One reply on “How to use Array modifier to model a chain link in Blender”
thank you 🙂