In this tutorial, we are going to make a circular array using the Array modifier and an Empty object. We will use Object offset feature of array modifier. Blender 2.93 is used.
Open blender with the default scene.
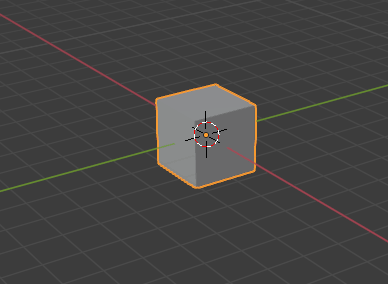
Move the object away from geometry origin in Edit mode
Go to Edit mode by pressing Tab key or by selecting it from the top left menu.
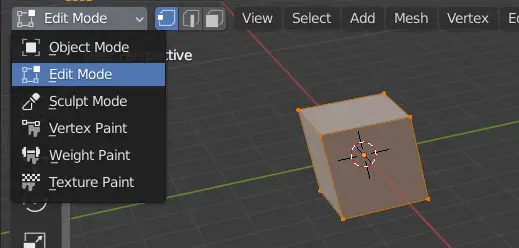
In the Edit mode, move the object away from its origin using the Move tool.
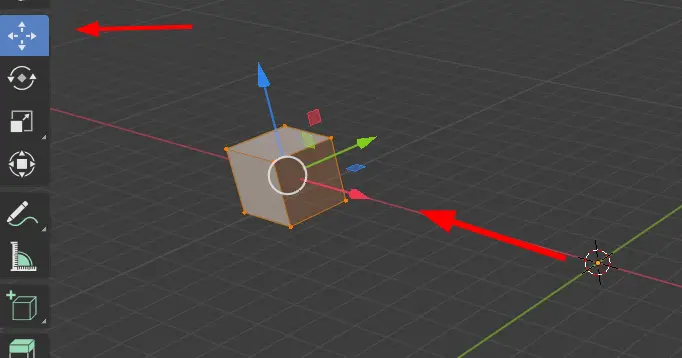
Switch back to Object mode by pressing Tab key.
Add an Empty object
Add an Empty object by clicking Add > Empty > Sphere. We are going to use this empty object to rotate the array object.
Add an Array Modifier
Go to Modifier properties, and add an Array Modifier on the object, which would have the circular array.

Uncheck the Relative Offset, enable the Object Offset and in the Object select the Empty, we added.
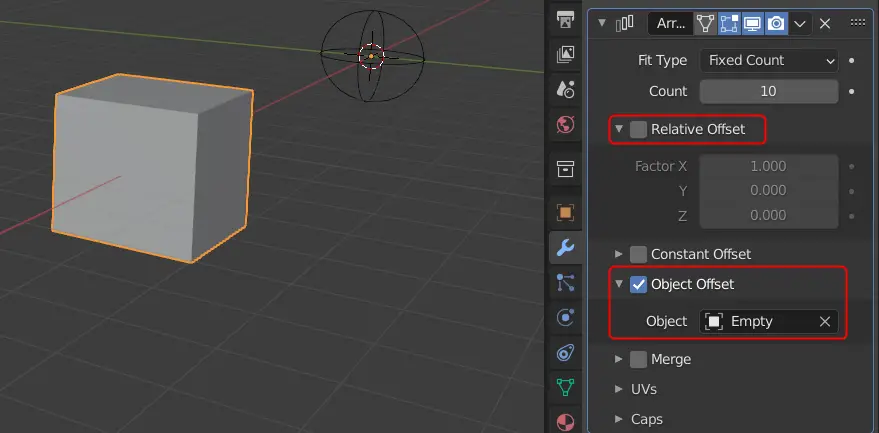
In the object Offset, the number of duplicate objects are displaced according to the position of the Specified object.
Angle of rotation for the Empty
You may change the Count to any number you want. To make the circular array, you need to rotate the empty by a certain angle. We want the objects to be at an equal distance from each other.
To get this certain angle, we divide the number 360 by the Count number.
In this case, the Count is 10, so,
360 /10 = 36.
The angle for which the empty would be rotated is 36 degrees.
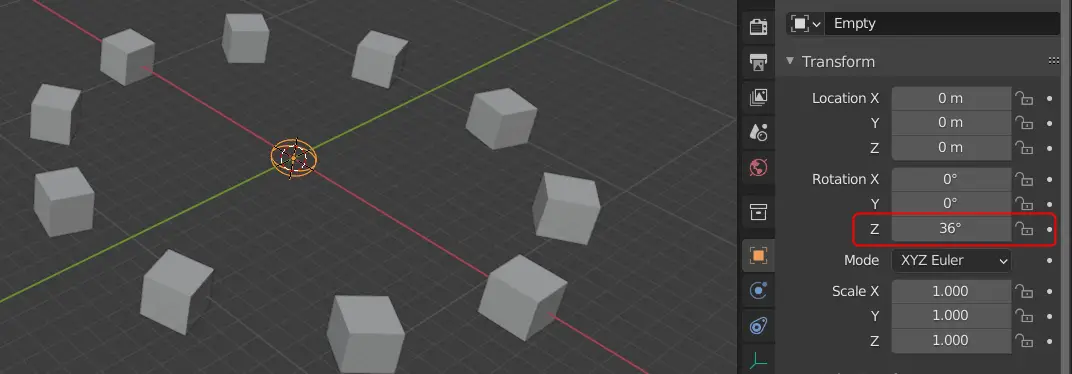
The final rendered scene.

