

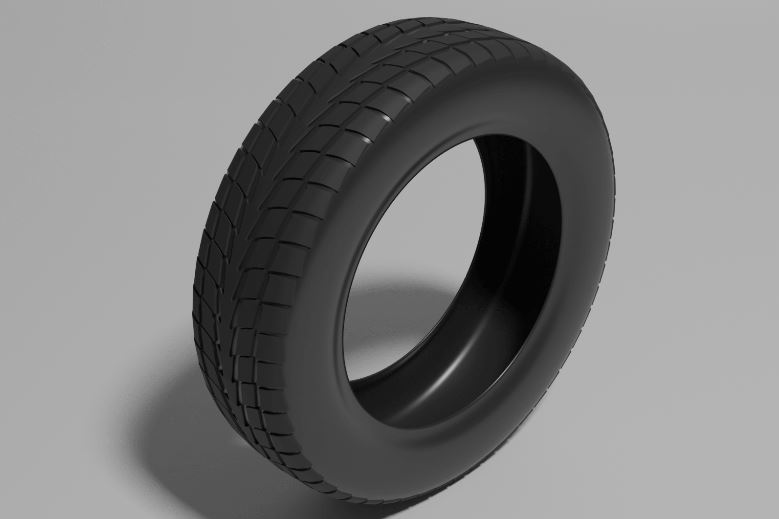
In this tutorial, we are going to model tire using modifiers. And, we are going to model the treads of the tire as well. We shall use the Shrinkwrap modifier to place the treads around the tire. Blender 2.90 is used.
Modeling the tire
First of all, delete the Default Cube.
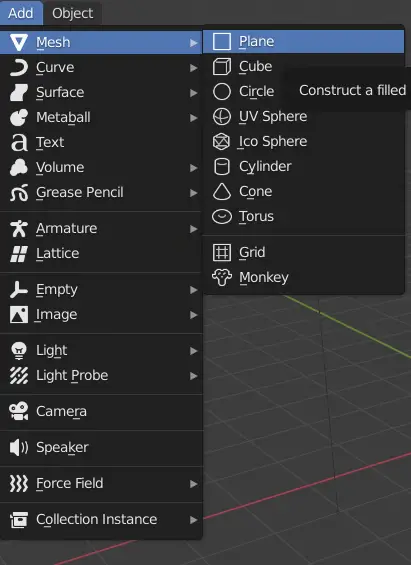
Add a Plane by clicking Add > Mesh > Plane.

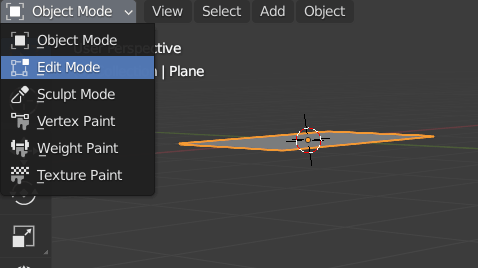
Go to Edit Mode by clicking drop down menu on top left, OR press Tab key.

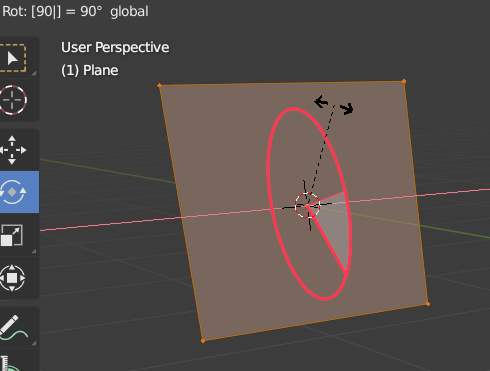
Select the Rotation tool from the left toolbar.

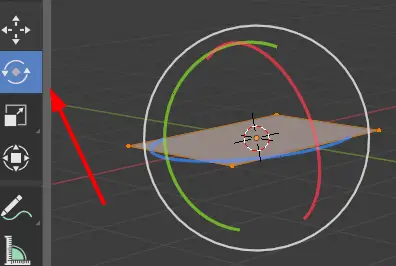
Click and drag the Red circle, and type 90. This will rotate the plane 90 degrees on X-axis.

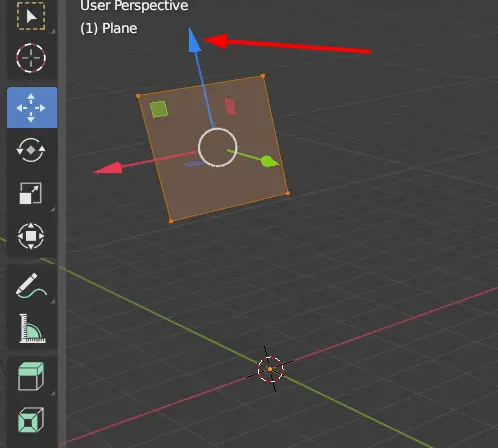
After the rotation, select the Move tool, and drag the plane upwards in the Z direction.

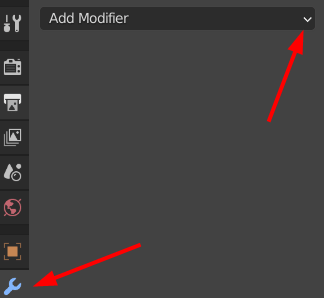
Go to Modifiers Properties on right side, and click Add Modifier.

Adding Screw Modifier to make the tire shape.
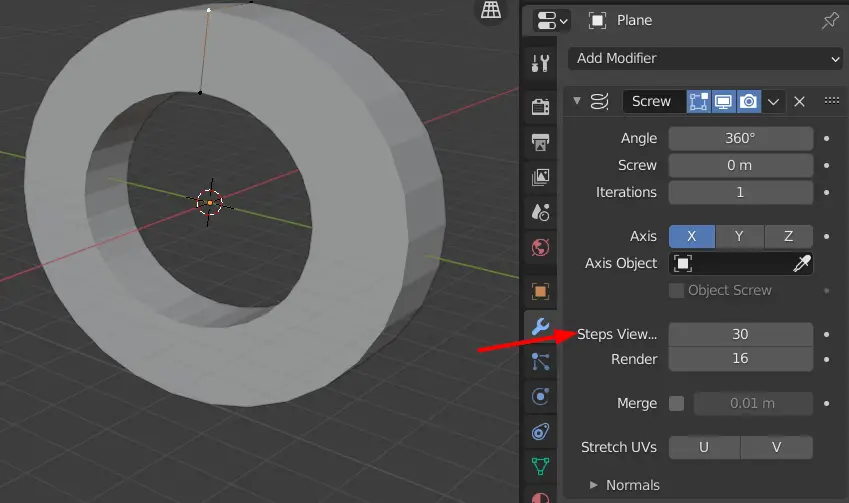
Add the Screw modifier.

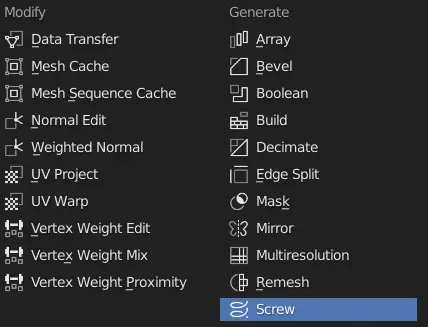
Screw modifier can create a helix like shape of the profile object. We can also make circular objects using this modifier.
Change the Steps Viewport to 30.

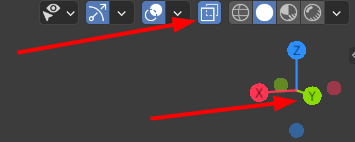
Go to the side view by clicking the Y-axis on the coordinate.
Also turn on the X-ray mode by clicking the icon shown or press Alt + Z.

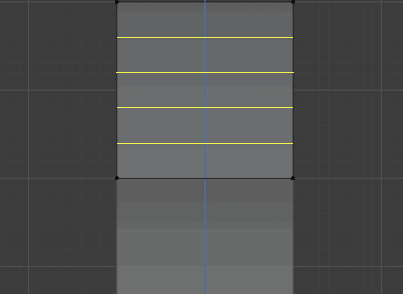
Now we want to modify the shape of the tire. To do this, we can add Edge Loop Cuts.
Bring the cursor close to the mesh, press Ctrl+Z to add a loop cut, drag the Scroll wheel of the mouse up to increase the number of Loop cuts and finally press Enter key. In this case, we have added four Loop Cuts.

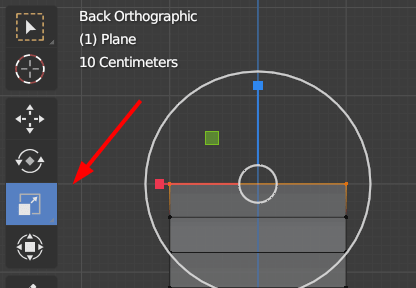
We need to adjust the shape. Select the Scale tool from the toolbar. First, select the top two vertices and scale them short. Now scale the every pair of vertices until you have a good tire profile.

We can make the shape like that of a tire using the above mentioned method. The tire we are making is hollow from inside.
So we are going to delete the edges that are in the middle except of the top one. The remaining edges will act as the profile of the tire.
While in the edit mode, choose Edge selection from top left as shown or press 2 key. Select the edges that need to be deleted press Delete > Edges.

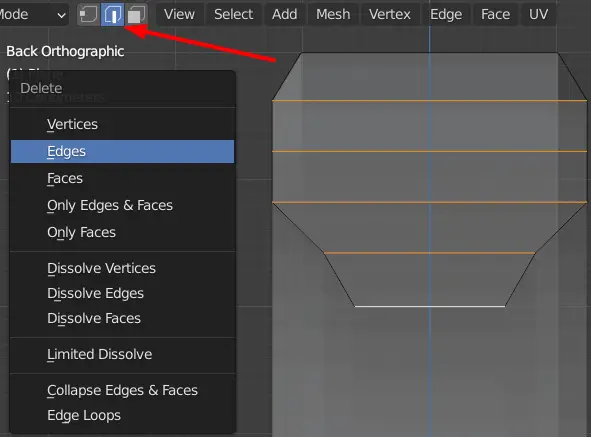
The results would look similar to this.

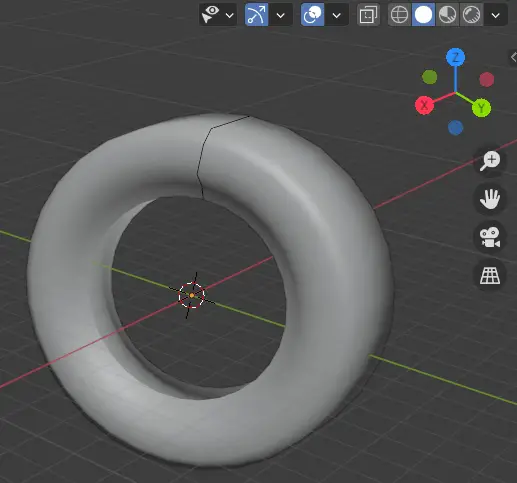
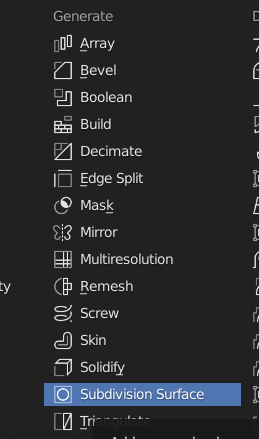
Our mesh is not smooth right now. We can make it smooth using Subdivision Surface Modifier. Subdivision Surface modifier subdivides the faces to make a smoother mesh.
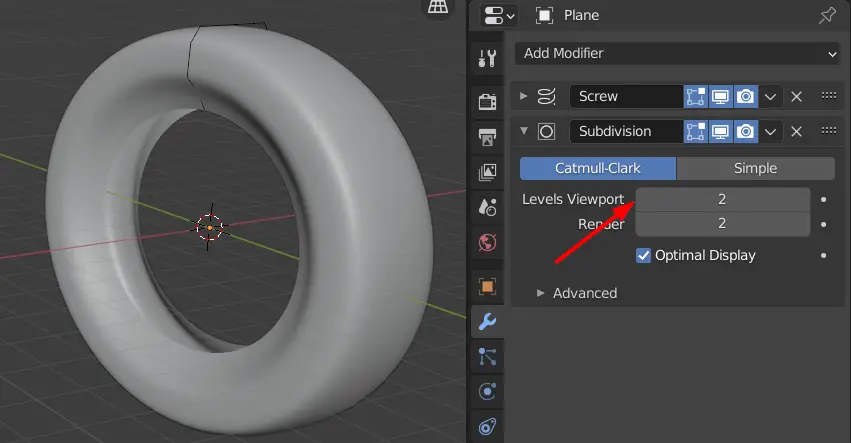
In the Modifier Properties, click Add Modifier and click Subdivision Surface.

Change the Level Viewport to 2.

One reply on “How to model a tire in Blender”
thank you