


In this tutorial, we are going to make chain link using Array modifier and adjust it using the curve modifier, the chain links will be connected to each other. We will see how another object can cause the Array to change. Blender 2.90 is used.
Modeling
Open Blender, delete the default cube by pressing Delete key.
Add a torus by clicking Add > Mesh > Torus on the top left

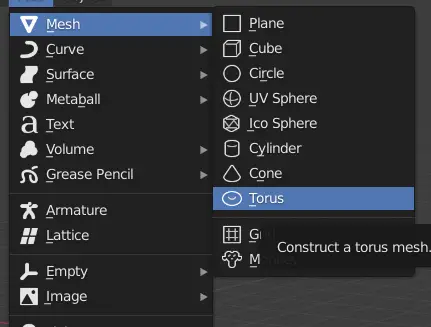
We can see that torus is not in the form of a chain link, we can change that by modifying it.

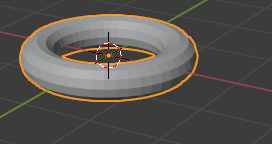
It will be easy to edit it from a side view.
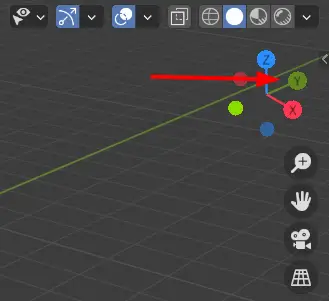
On the top right, Click Y-Axis on the Coordinate. We will switch from perspective to Side view.

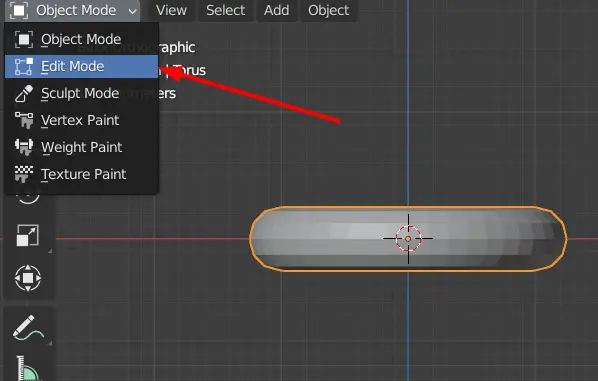
Go to Edit mode by changing from top left menu. OR, press Tab key.

In the edit mode, all of the vertices are selected, click anywhere on the blank space to deselect everything, we only want to select half of the vertices. Wireframe mode will make this easier for us.
Go into Wireframe mode by clicking the wireframe icon from Viewport Shading.

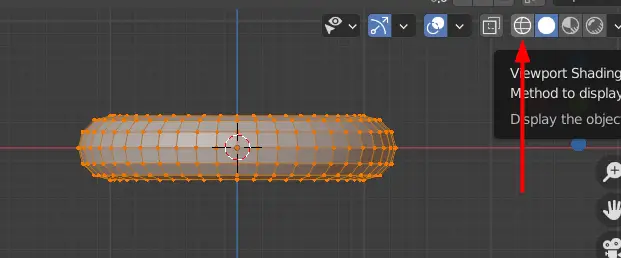
When the wireframe mode is on we can see or select the vertices that are behind the mesh. This makes our selection easier.
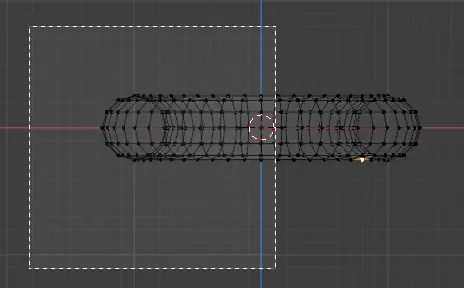
Select half of the vertices.

Now select the Move tool from the left toolbar.

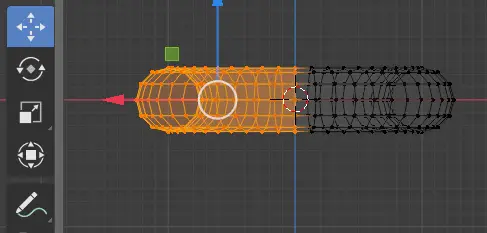
Drag the X-axis arrow( Red arrow) to extend the vertices.

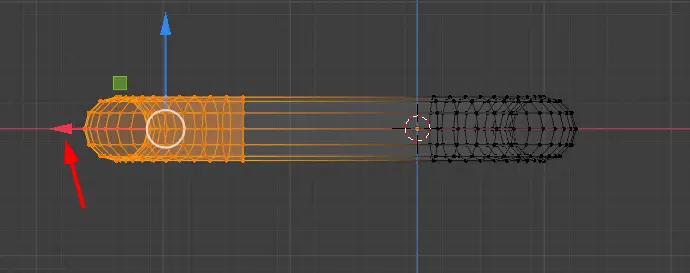
Now our object has shape of a chain link. Go to Object mode by pressing Tab key. Change the Viewport Shading to Solid.

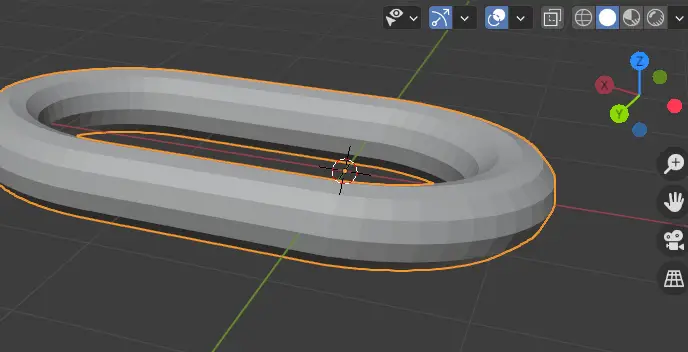
As we can see that the origin of the object is not in the center.
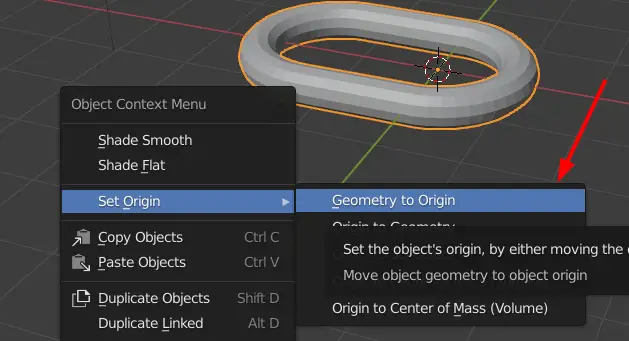
Press Right Mouse Button, the Object Context Menu will appear. Click Set Origin > Geometry to Origin.

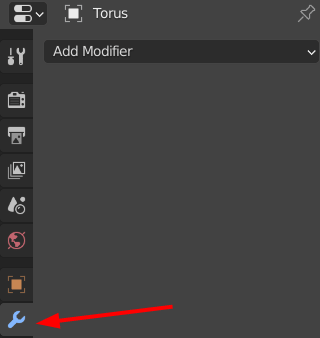
Using Array Modifier
From the properties panel on the right side, click on the Modifiers. Properties and click Add modifier.

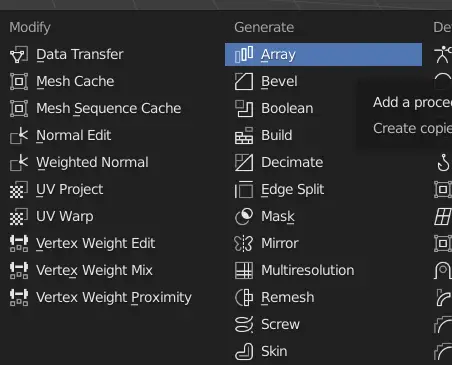
Add Array modifier.

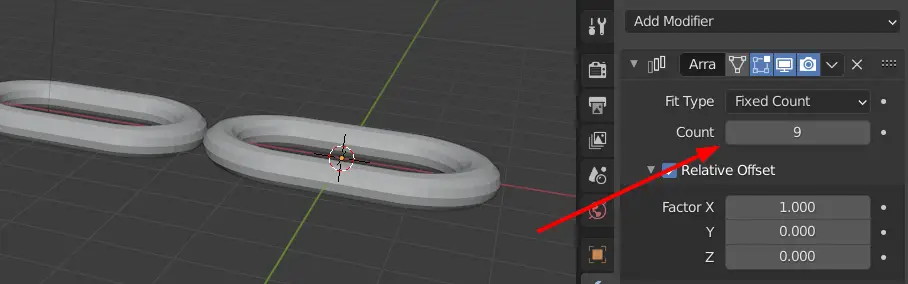
Change the Count to increase the number of chain links.

Array modifier has an option which allows us to change the Rotation, Size and Location of the objects based on properties of another object. Right now, the chain links are not connected to each other. We will connect them with the help of an Empty object. Empty objects do not have any geometry, they cannot be rendered but they are very useful.
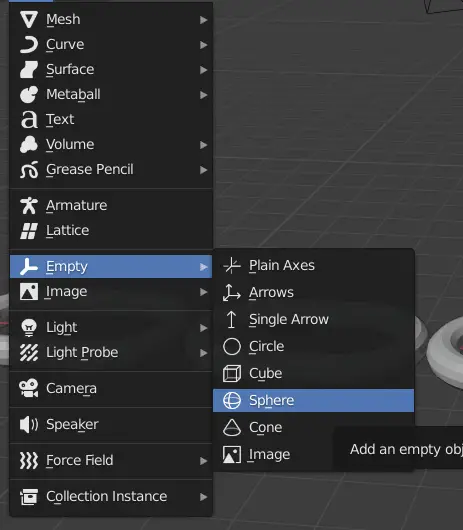
Click Add > Empty > Sphere.

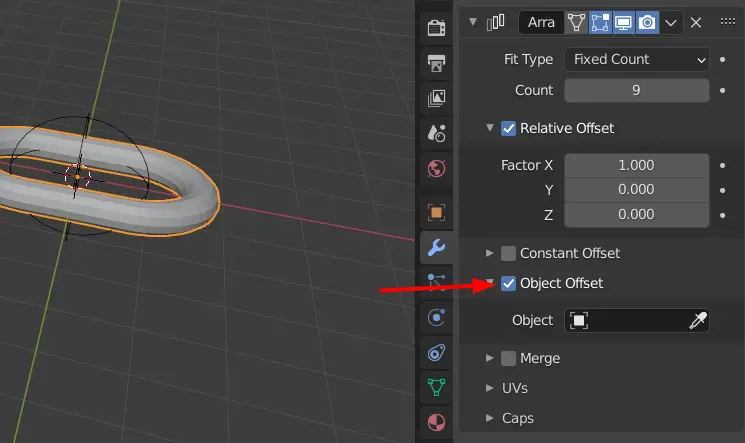
Select the chain link and in the Array properties, enable the Object Offset and under it click the Object.

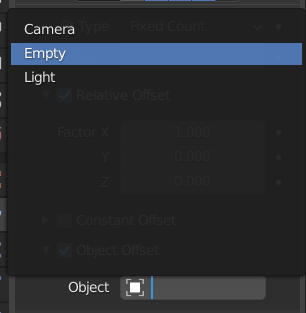
Click Empty.
This will link the Empty sphere and the chain link.

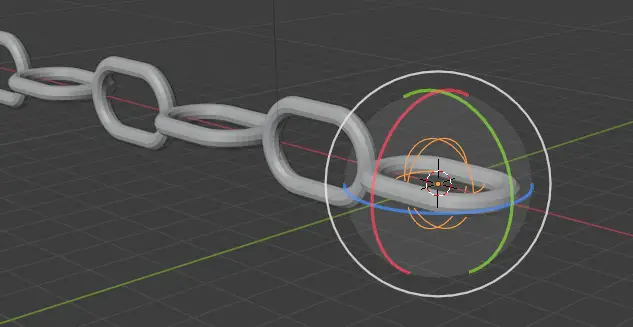
Select the Empty sphere, and click Rotate tool.

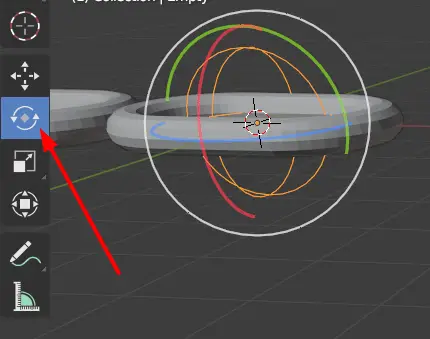
Since the Empty is linked with the chain link. Changing its orientation will change the orientation of the links.
Click and drag the red circle( X- axis) and type 90.

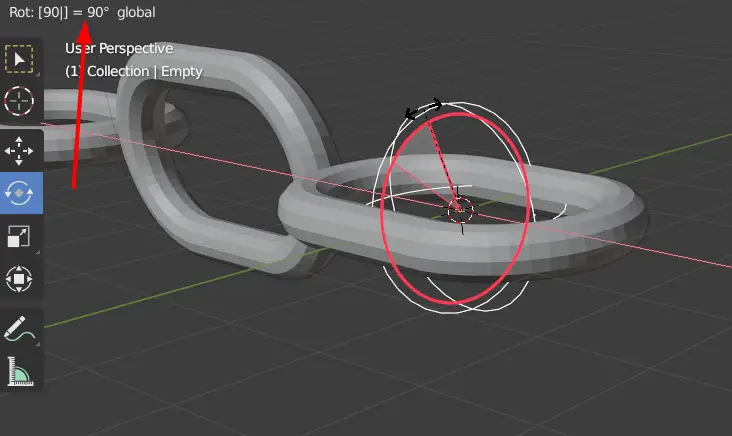
This will rotate the object 90 degrees around X-axis.

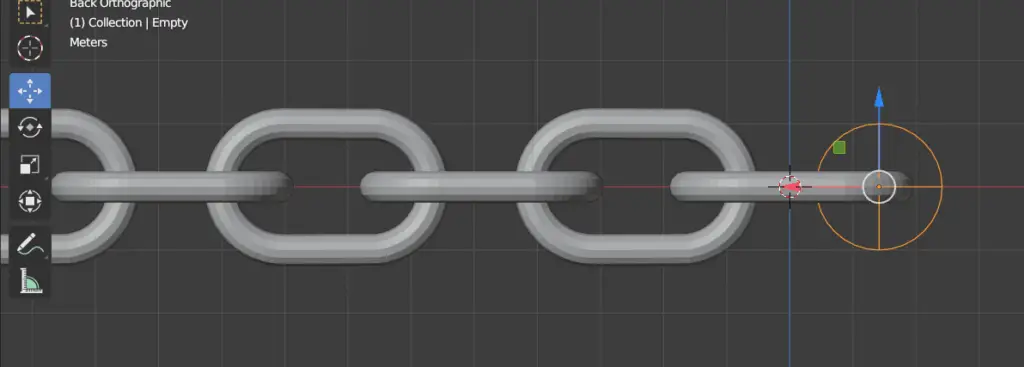
Keeping the empty selected, select Move tool, and then move the empty object along the X-axis to the point where the chain links look connected. This can be done better from a side view.

One reply on “How to use Array modifier to model a chain link in Blender”
thank you 🙂