

In this tutorial, we will learn, how to render an image in Blender. This is a beginner level tutorial, we will see what are some of the things that we should consider while rendering our image.
We will discuss the following in this tutorial;
Shortcut key for Rendering image
If you press F12 key on your keyboard, this will render the image for you. But it may not be the best possible output for you, you may have to consider some other things before you render an image.
When to render the image
So let’s say that you have completed all of the work on your scene, that is you have completed 3D modeling, adjusted the lighting, and applied materials or textures to your materials. Then the next possible step will be to render your work.
We may render the image due to following reasons.
- We want to check how our unfinished scene looks like so that, we can keep experimenting to get the best possible output.
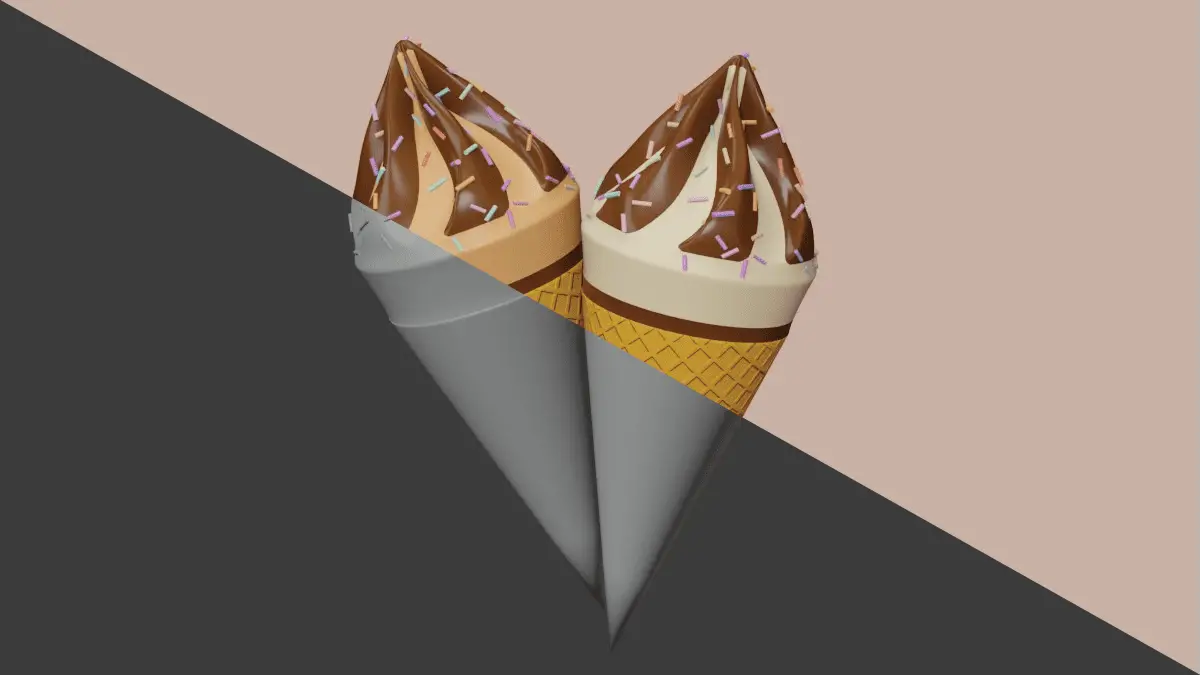
- When we have finished our work and we want to get the output in the form of a beautiful rendered image.
The main question is how should we go about rendering our image in Blender.
Rendering an image by itself is not a difficult task in Blender. But rendering a good image can depend on many things. Whenever we render an image, this will capture our work, as if we have applied materials, position of the camera, resolution of the image.
Step by step guide to render the image.
We will see step by step, how we can possibly render an image, and see some of the things we might consider.
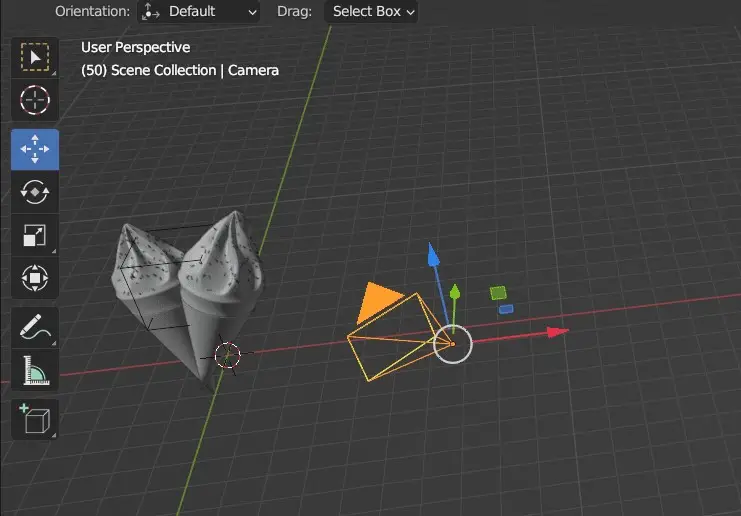
Camera position
Position of the camera, should be in line with the scene that we want to render. If the camera is not pointing at the desired location, we can move the camera to that point. Learn more on how to move the camera.

Render settings
Choosing the correct render settings, is also very important, depending on the render settings, the image may take a few second or more than an hour. We can speed up our render by changing the render settings. Learn more on how to render faster in Blender.

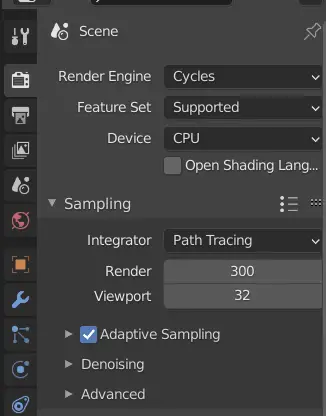
Eevee is used for fast rendering, while Cycles is used to get the final render image as its render is usually considered to be better.
Output Settings
Output settings are useful for many things such as Resolution and quality of the image.


We will set the following settings in the output settings:
- Resolution
- Quality
- Output extension such as PNG or JPEG
- Output path
Above mentioned settings are some of the settings, but they can be important.
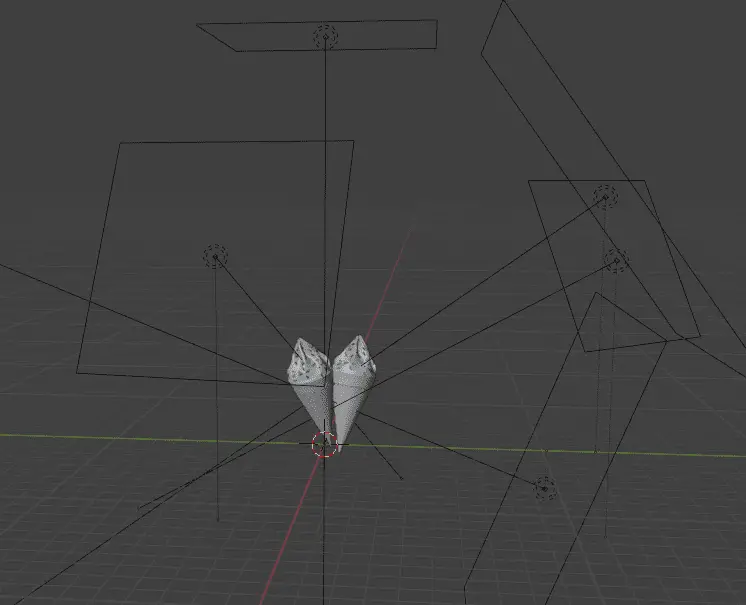
Lighting the Scene
You may use one, multiple or Environment lighting for the scene. With the light, you can illuminate the scene. Learn more on how you may render a scene.

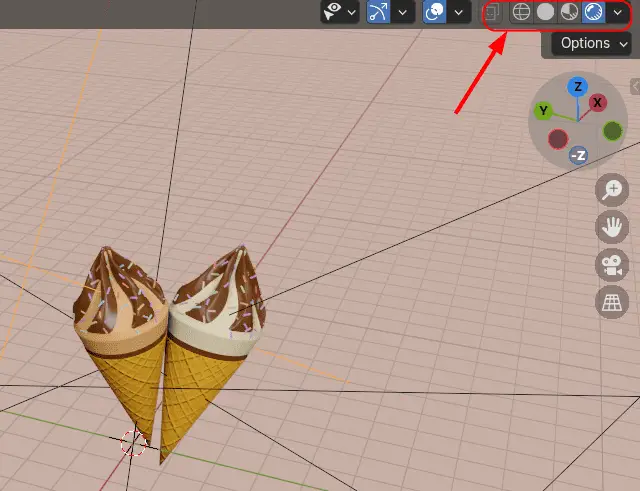
Check using Viewport Rendering
Before final rendering, you can check how the rendered image, may look like from the viewport rendering. It can be enabled from Viewport Shading, from the top right corner in the 3D Viewport.

Rendering and Saving the Image
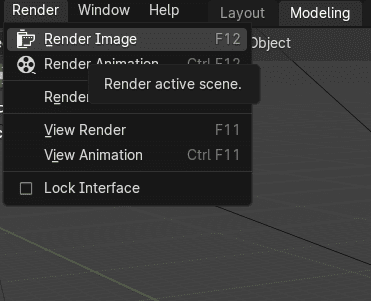
Render the image either by pressing F12 keys or click Render > Render image.

The image is saved to the output path specified earlier, or we can save the image manually from the Rendered image window by clicking Save as and then saving the image to the desired location.