

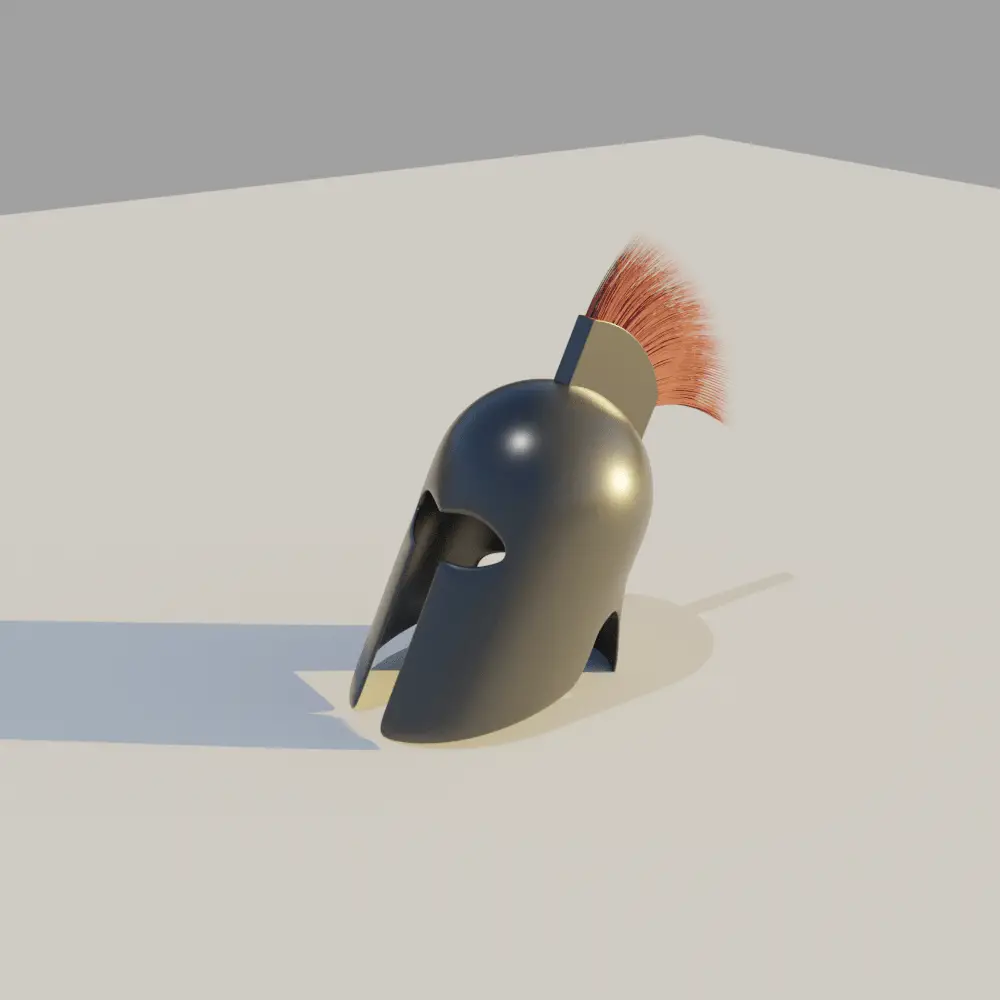
In this tutorial, we are going to model a Medieval Helmet. We are going to make the skull, the Crest holder and the Crest. We are going to start off with a sphere, and with basic modeling techniques, we will design the skull of the helmet. The Crest holder will be modeled using Shrinkwrap modifier. The Crest will be made using a Particle system. Blender version 2.92 is used.
Modeling the Helmet
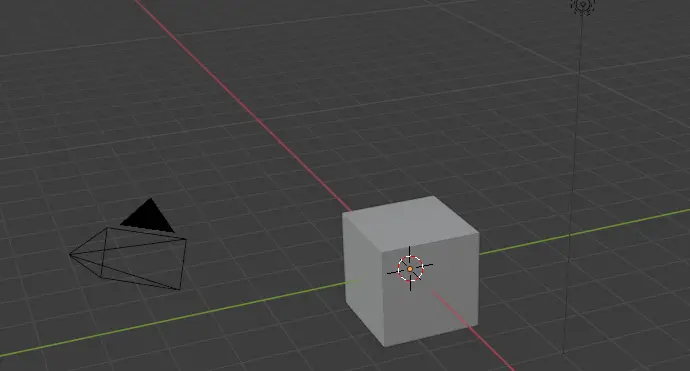
Open Blender with default cube scene, and delete the cube by selecting the cube and pressing Delete key.

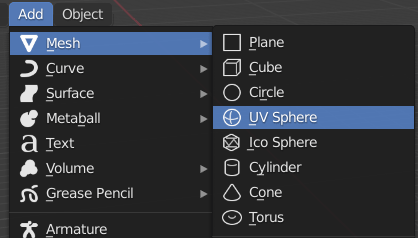
First of all, we are going to model the skull of the helmet, we are going to start off with a sphere.
Click Add > Mesh > UV Sphere.

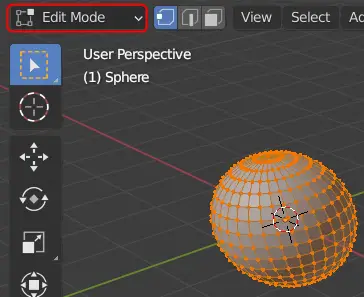
Press Tab key to go into Edit Mode or select Edit Mode from the top left menu.

In this case, it is better to work from side or front view.
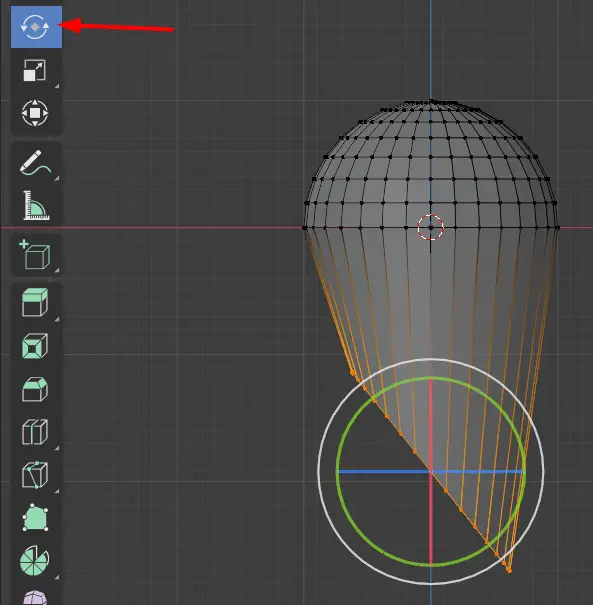
Enabling the X-ray
Click Y Axis from the Coordinate Gizmo and enable the X-ray mode.
The X-ray can be enabled by pressing Alt + Z.

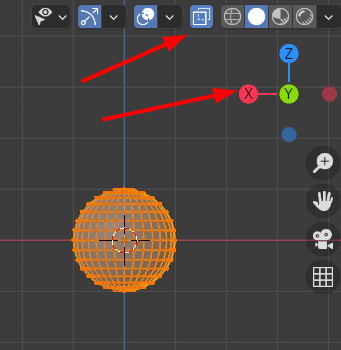
By clicking Y axis, we have now gone into side mode, and by enabling the X-ray mode, we can see and select the vertices that are behind the mesh.
Select half of the vertices and delete them by pressing X key and then clicking Vertices.

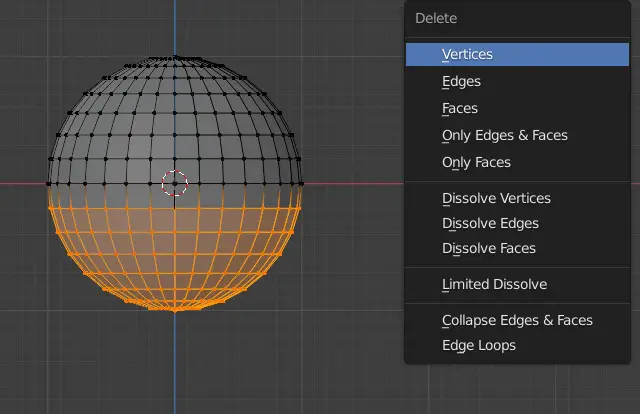
We do not need the whole sphere to model the helmet. Only half of its part is going to be sufficient.
To make the shape of a helmet we need to extrude the bottom vertices of the helmet.
Extrude Region
Select the Extrude Region tool from the left side, if it is not visible, press T key.

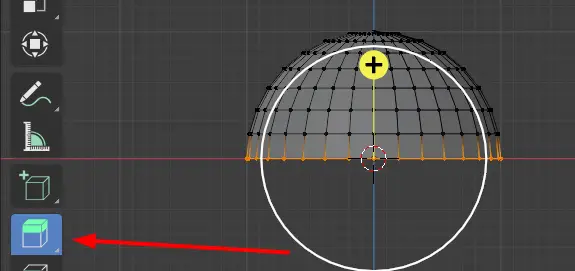
Drag the Vertices down using + cursor icon.

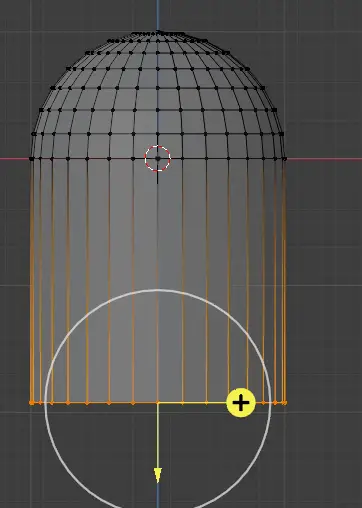
To form the shape of the helmet, rotate the vertices using the Rotation tool from the toolbar.

Appropriately scale the vertices using Scale tool.

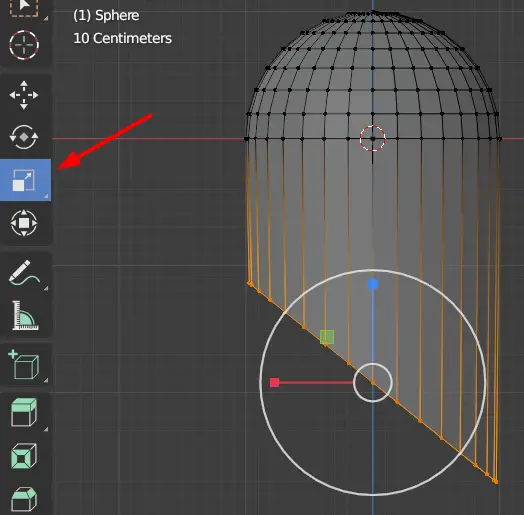
Make sure that the an appropriate shape is formed. We have worked on the side view of the helmet.


In the next steps, we are going to work on the front view of the helmet. We are going to add multiple edge loops, so that, we can make changes to model.
In the Edit Mode, press Ctrl + R, and move the mouse Scroll Wheel up, this will increase the number of edge loops and click Left Mouse Button.

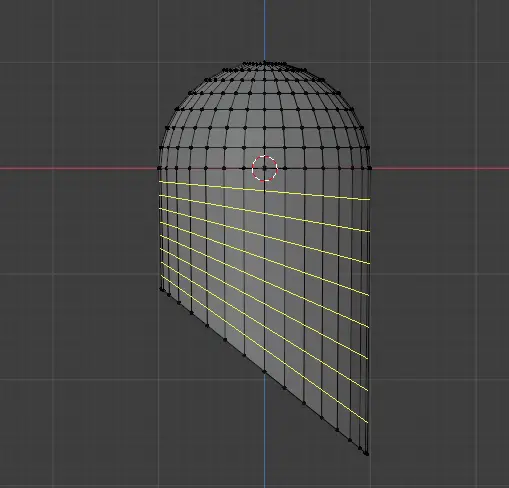
At least add 10 edge loops.

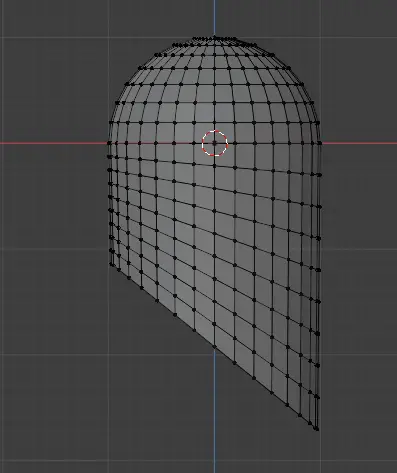
We are going to use a mirror modifier.