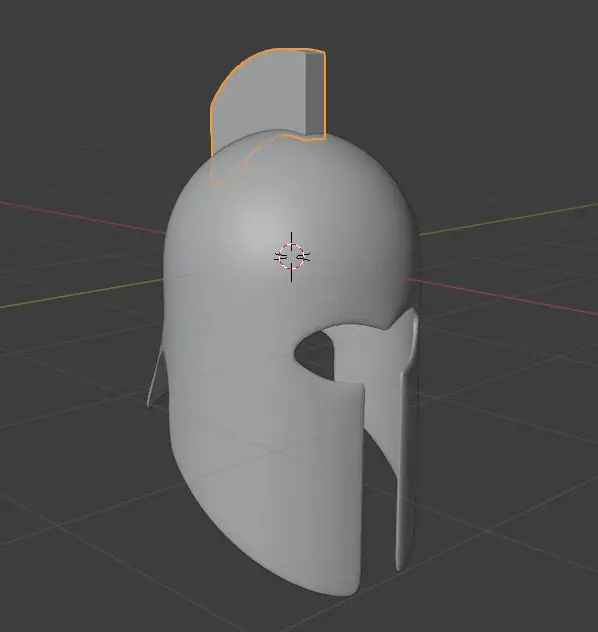
Modeling the Crest Holder
We will now model the crest holder on top of the helmet.
We are going to start with a plane, then we are going to use shrinkwrap modifier to stick that plane on to the helmet. Then, we will extrude the mesh.
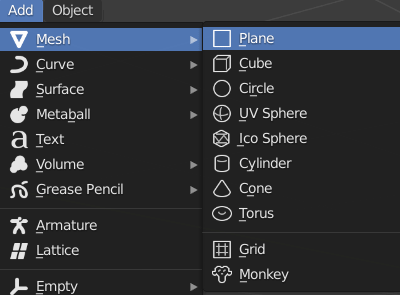
Add a plane by clicking Add > Mesh > Plane.

Move the plane above the helmet.
Shrinkwrap Modifier
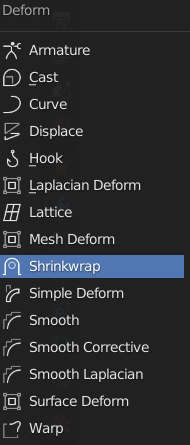
Now, we are going to wrap the plane mesh onto the helmet using a shrinkwrap modifier.
While the plane is selected, add Shrinkwrap modifier from modifier properties.

A shrinkwrap modifier shrinks the mesh onto the selected target. The vertices move closest to the position of the given mesh.
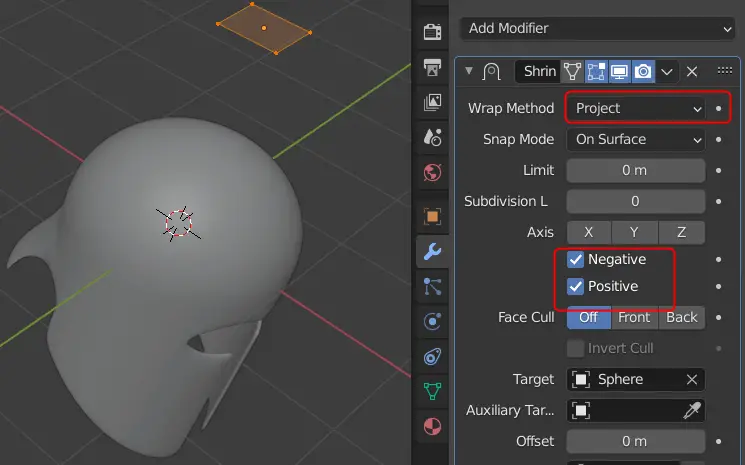
Change the Wrap Method to Project, it works better with curved surfaces. Enable both Negative and Positive, this determines the direction of mesh that will shrunk on the target. In this case, we want both. Change the Target to sphere.

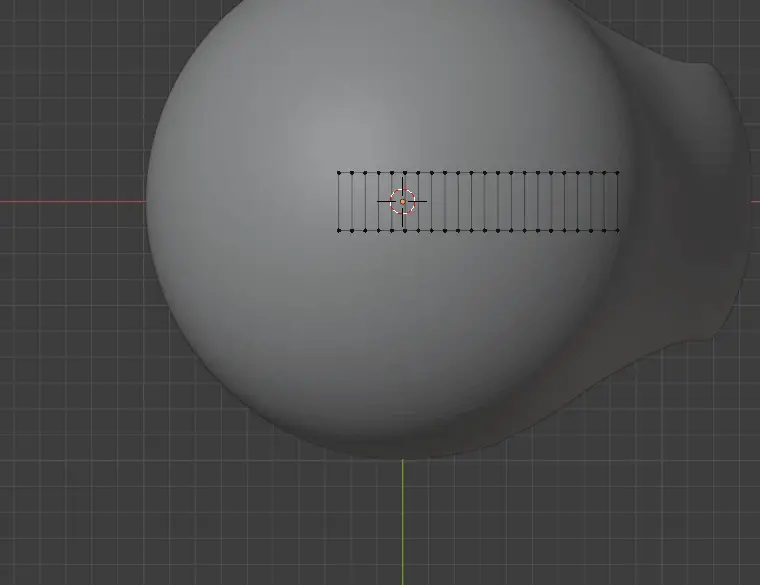
Go to the top view and start extrude one edge.


Make sure that the extruded edge is long enough to the cover the head part of the helmet.
Now add multiple Edge loops using Ctrl+R.

Apply the Shrinkwrap modifier.

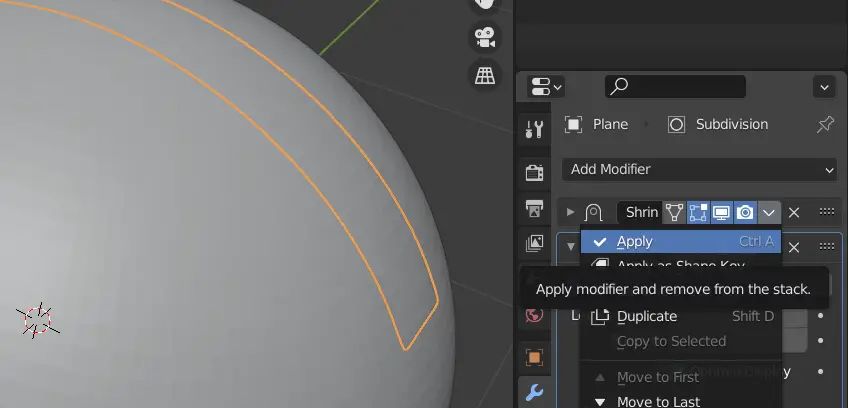
Now all of the vertices are now placed on the helmet.

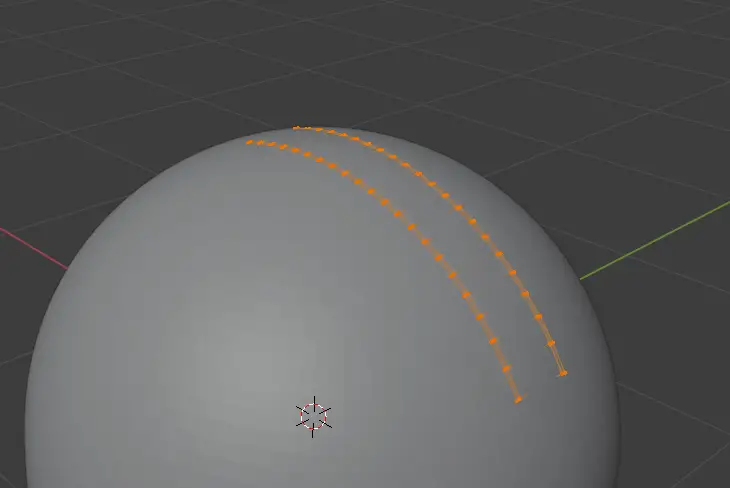
Extrude the holder using E key.

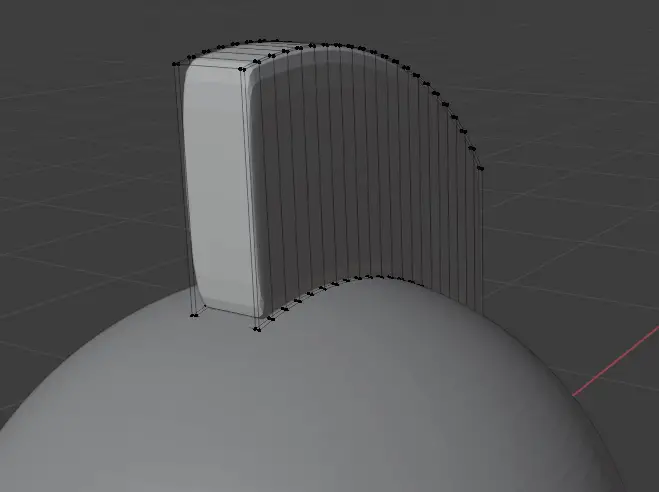
You can make it smooth using Subdivision Surface and by adding more Edge loops on edges.