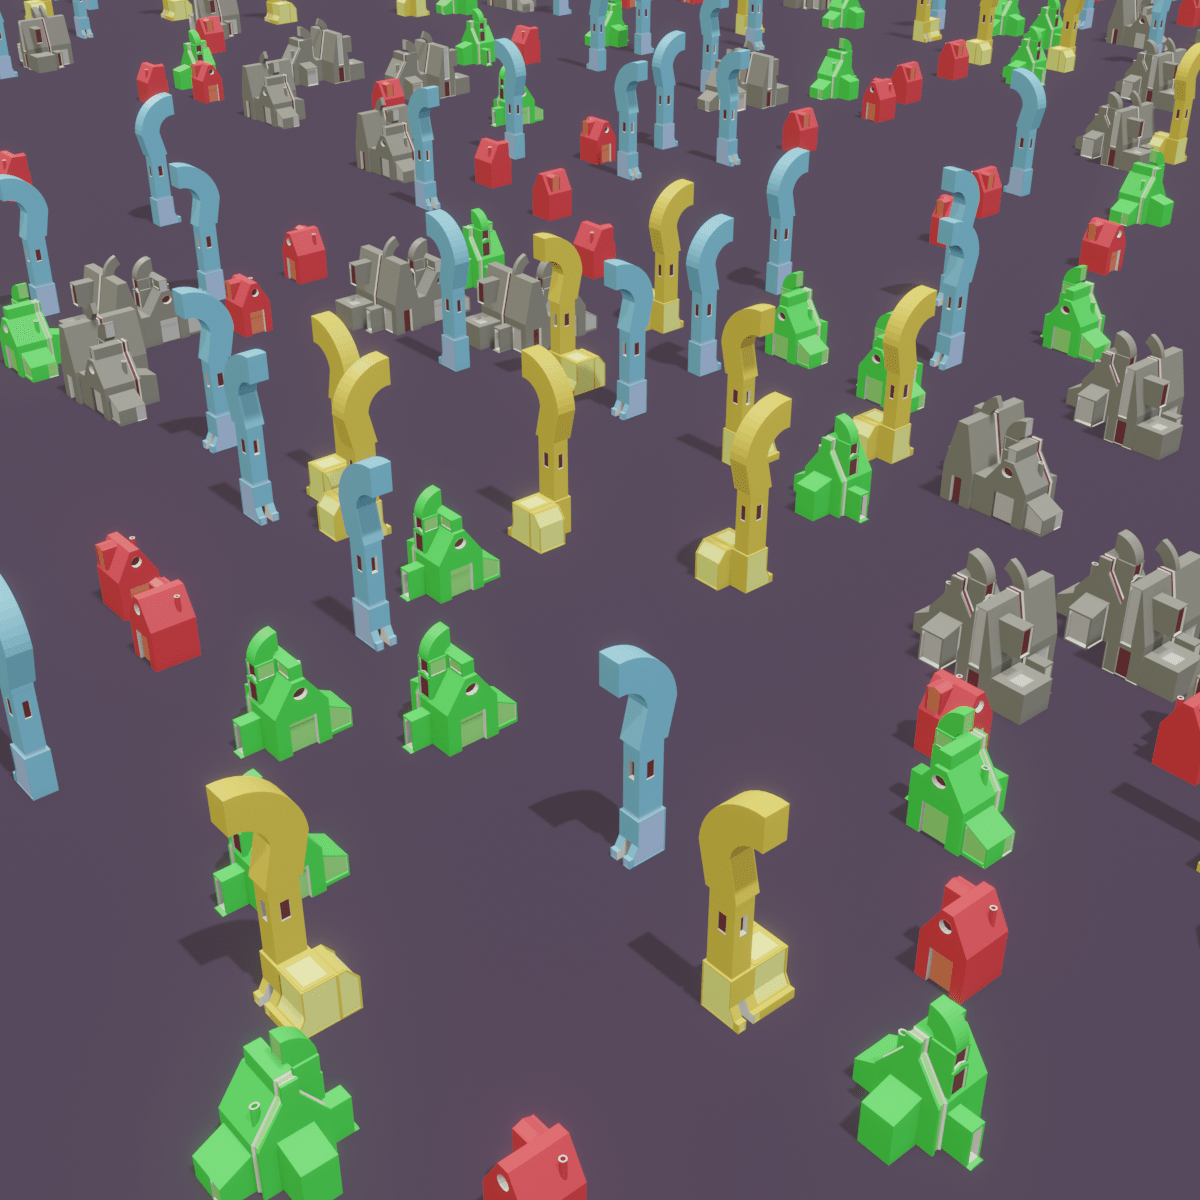
In this tutorial, we are going to use geometry nodes to place multiple buildings and rotate them 90,180,270 and 360 degrees. We will add buildings in one collection and then use a plane to instance them using point scattering . We shall use Point Distribution and Point Instance for this. Different buildings will have different rotations. We will use pre made 3d models of the buildings. Blender version 2.92 is used.
Open Blender with new file and delete the Default Cube by selecting it and pressing Delete key.


We are going place buildings in a different collection.
Making a new Collection
Press Right Mouse Button in the Outliner, which is located on the right side of your screen, an Outliner Context Menu will appear click New Collection to make a new Collection.

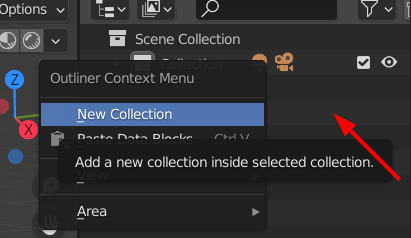
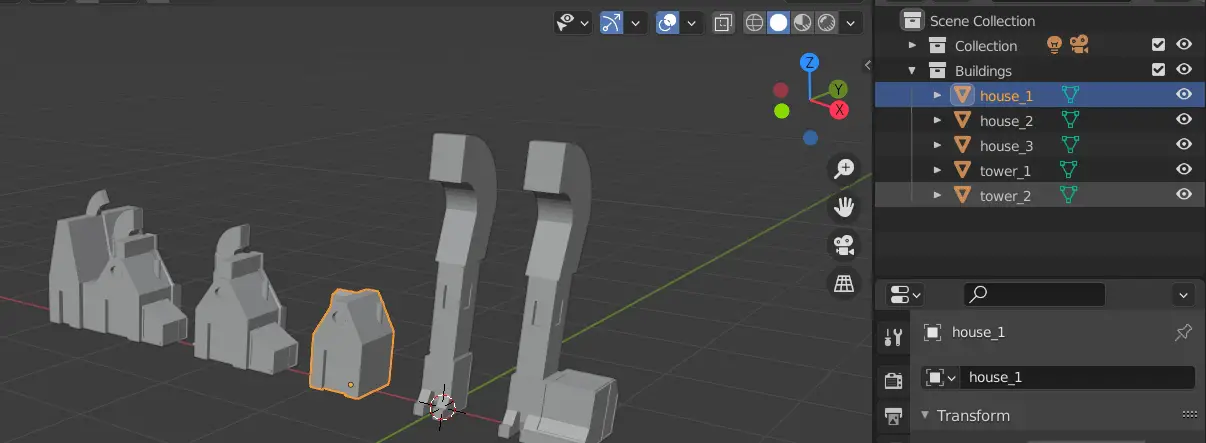
For our own convenience, name this collection as “Buildings”.
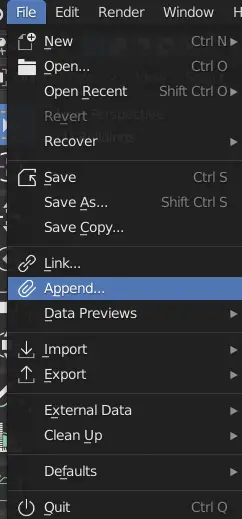
Appending blender files
We can either make new models in the new collection or we can bring the prepared models into the scene by using Append.
Click on File > Append.

Once you bring the models in the scene, make sure that they are in the “Buildings” collection.

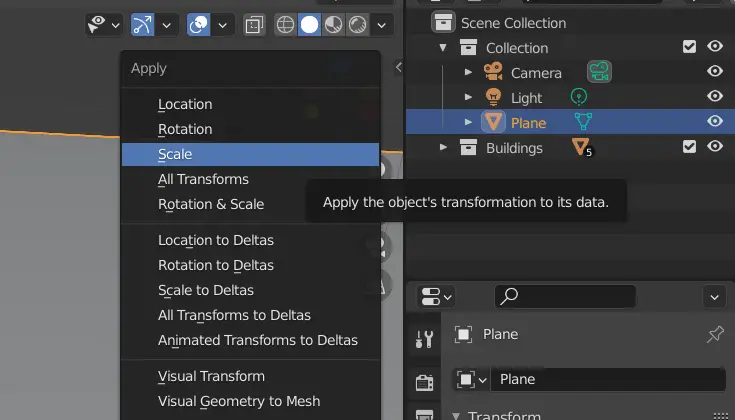
Applying Scale
Please make sure that the models have scale of 1. When making multiple copies of these models, the size of the models can differ if the scale is not set to 1.
Select a model and press N key to make the Transform window appear.

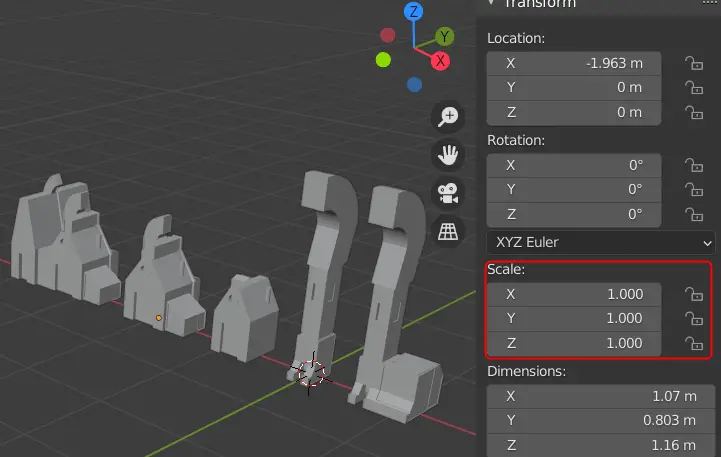
If the scale of the models is not 1, it can be changed to 1.
You need to make sure that the origin of the geometry for all the objects is the same. In this case, the geometry origin of all the buildings is at the bottom.
Applying Scale will change the scale to 1. Select all the models, press CTRL+A, an Apply menu will appear, click Scale.

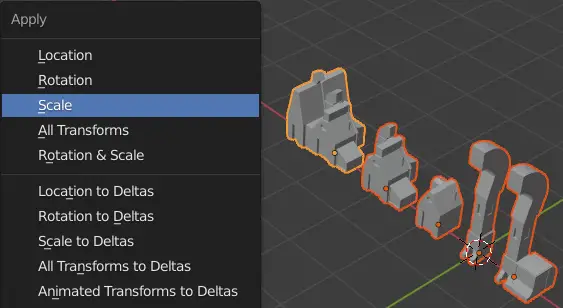
With this, scale of all the selected objects will be 1.
Adding Plane for geometry nodes
Now, select the main collection, and add a plane by clicking Add > Mesh > Plane.

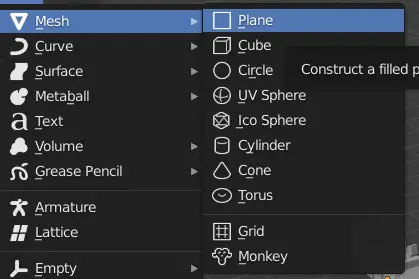
This plane will be used to scatter the points and those points will then be instanced with the buildings in the “Building” collection.
Change the size of the plane using the Resize tool.

Now, make sure to apply scale on the plane also. Select the plane and apply scale.
Make sure that the Plane is in our main collection, not in the “Buildings” collection.