

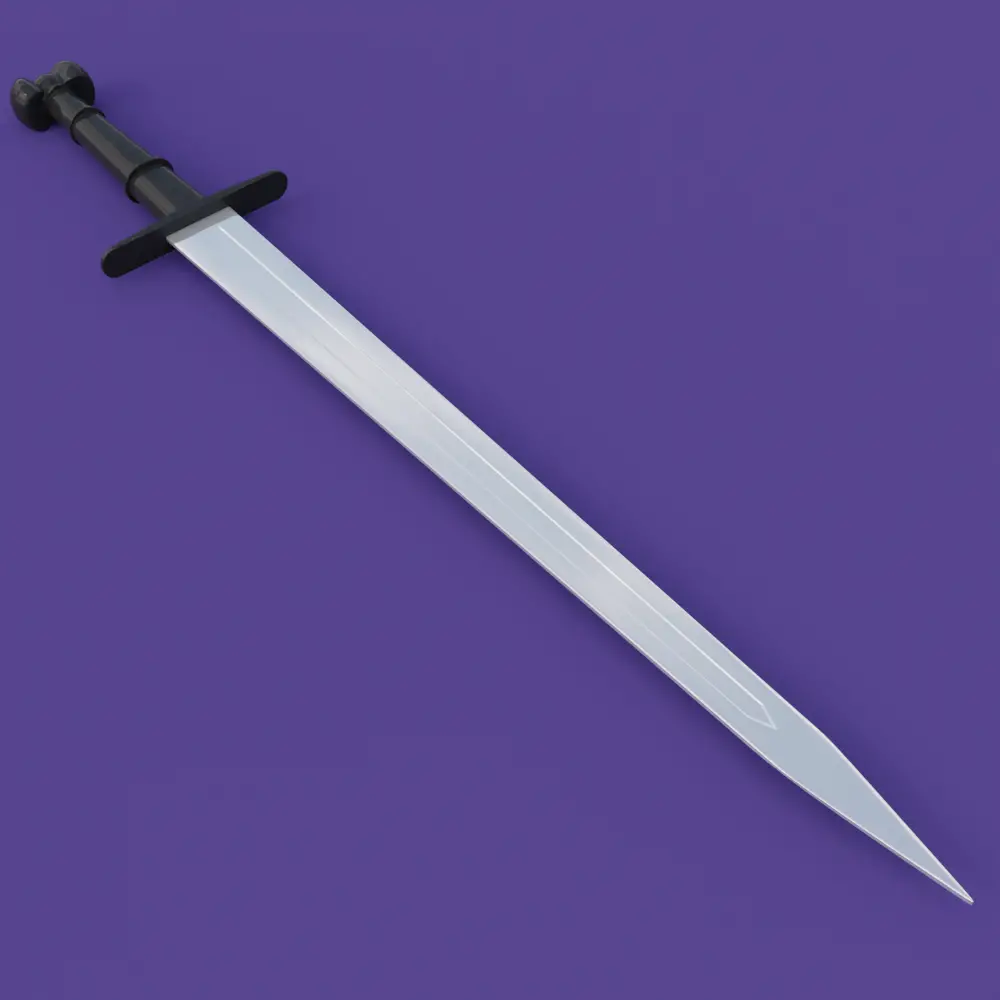
In this tutorial, we are going to make a sword. We will make the sword in two parts, Grip and Blade. We will make a pommel on top of the sword. Blender version 2.92 is used.
Modeling the Grip
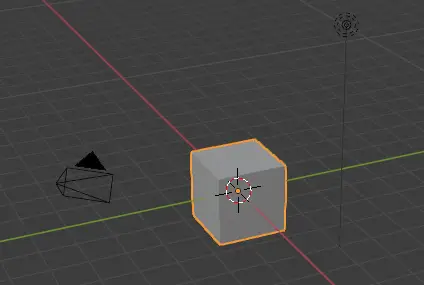
Open the scene with the default scene. Delete the default cube by pressing Delete key.

First, we are going to model the Grip of the sword. We are going to start with the pommel (top part of the grip).
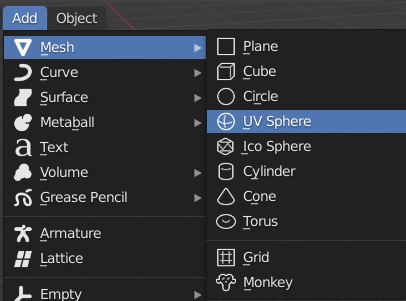
We are going to model the pommel with the help of the UV sphere.
Click Add > Mesh > UV Sphere to add a UV sphere.

Adding Mirror Modifier
It will be easier for us to model the sword using the mirror modifier. For this we need delete half the vertices of the UV sphere. It will easier to delete half the vertices from the side view.
Click Y Axis on the coordinate Gizmo on top right corner.

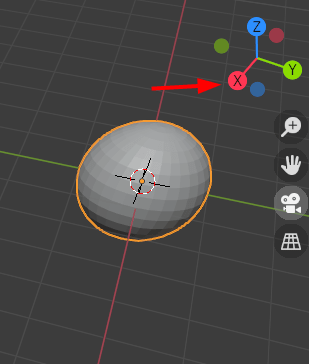
You will now be in Orthographic mode.
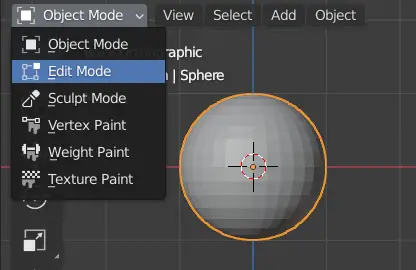
Go to Edit Mode by clicking drop down menu on top left, or press Tab key.

Click X-ray on top right or press Alt + Z, select right half of vertices, do not select the vertices that are in the middle.

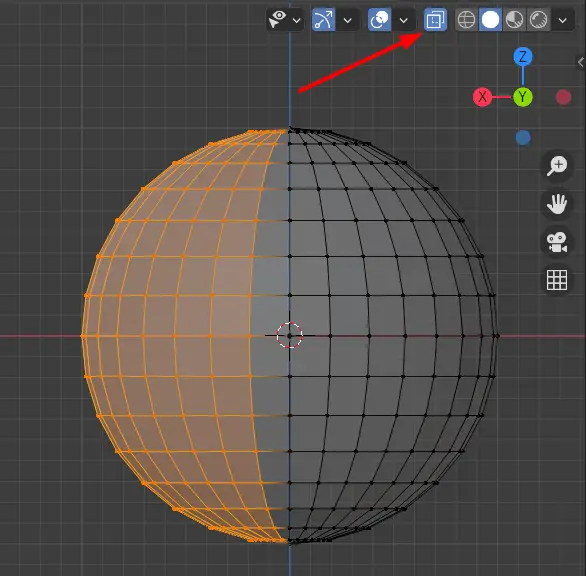
If we turn the X ray mode on, we can see and select the vertices that are behind the mesh.
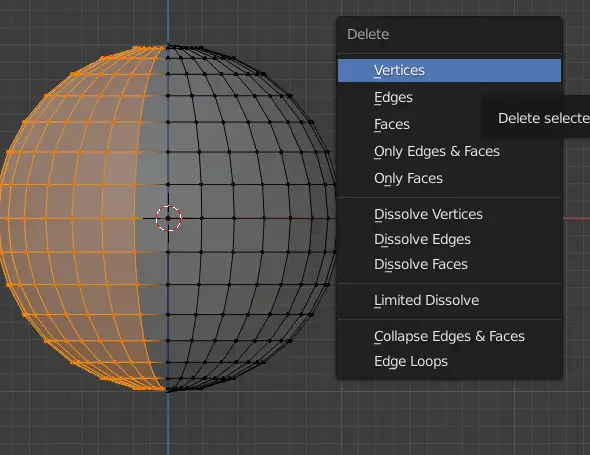
Press X key, Delete menu will appear click vertices.

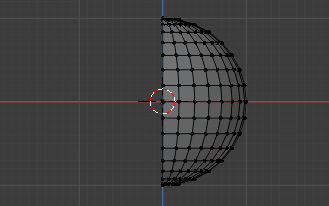
Now, you will see a half UV sphere.

We need to mirror the sphere on the other side. To do that we add mirror modifier.
Go to Modifier properties, and click Add modifier.

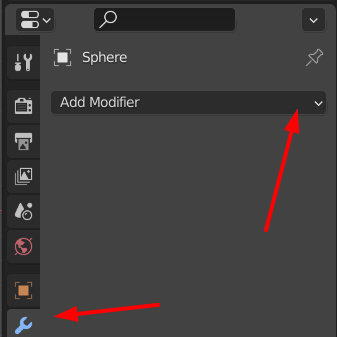
Click Mirror modifier under generate.

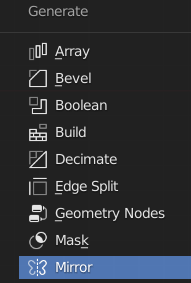
Mirror modifier duplicates the result on the opposite side of specified axis.
Make sure that Sphere is mirrored on the other side, if not try changing the mirror axis.
The mirrored side may look like this. We can add details to the object.
For our own convenience, we may use face selection, press 3 key and select some vertices.

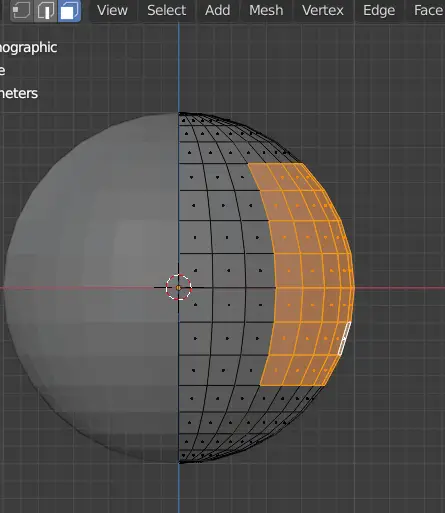
Make sure that the X ray mode is on, this way you can select the faces behind the mesh.
Press E to extrude. You may press X key when extruding, this will keep the extruded faces on the X-axis. Press Left Mouse Button to finish extruding.

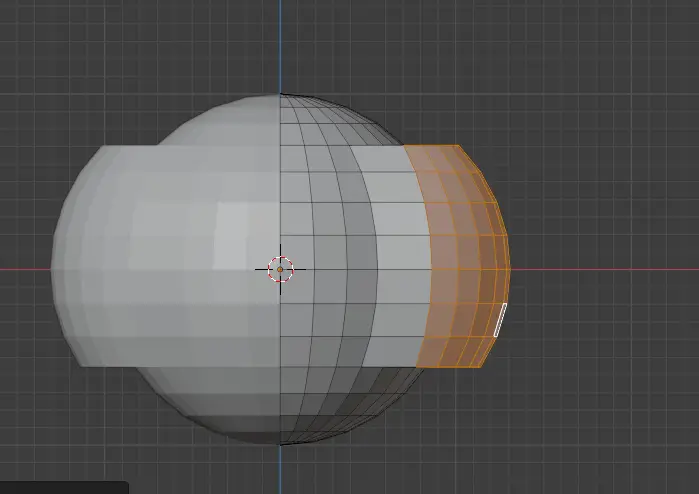
We can resize the extruded part to make it look more like a pommel using the Resize tool.


We will extend the grip using the bottom vertices of our object, this can lead to separation of mesh from the mirror axis.
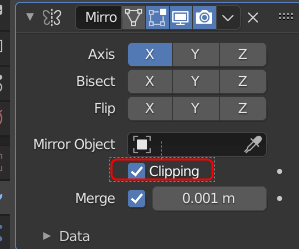
To overcome this issue, we enable clipping. Clipping prevents vertices in the middle to move, thus the mesh remains intact.

We need to extend the pommel, so we can complete the modeling of the grip.
Select some bottom vertices as shown.

