In this tutorial, we will learn how to export UV layout. UV layout is helpful in creating UV textures for the 3D models. UV layout can be made after UV unwrapping the model. UV layout can been seen from the UV editor. Blender 3.3 is used.
In this tutorial, you will learn:
What is UV layout?
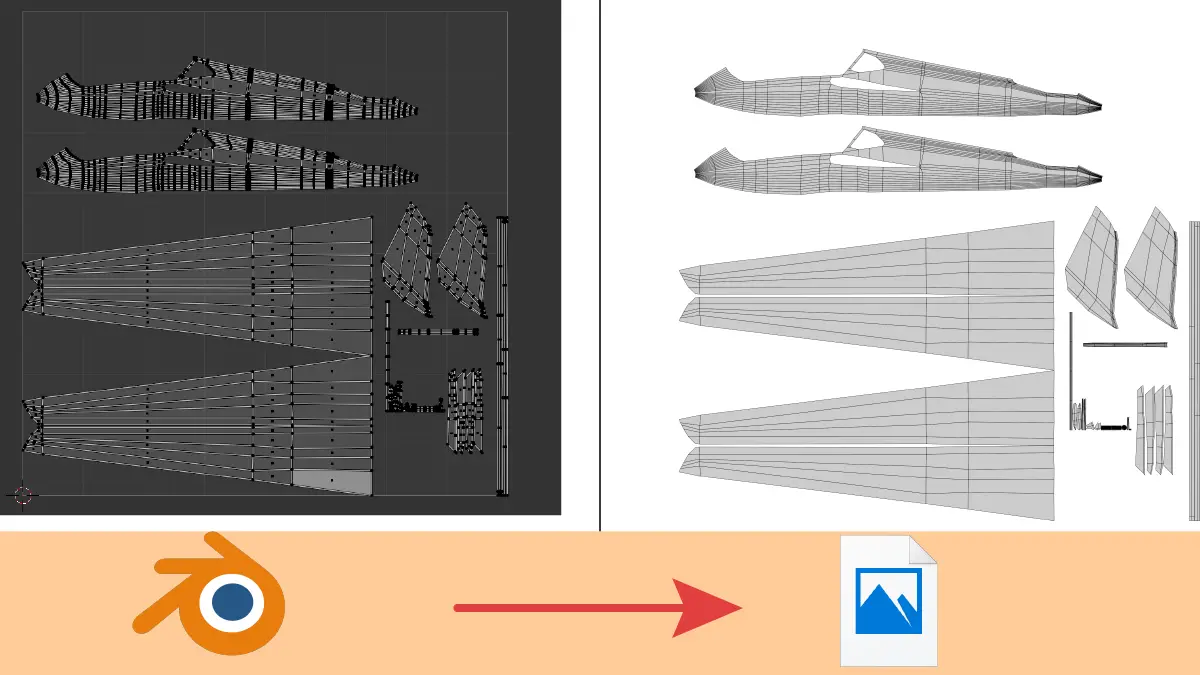
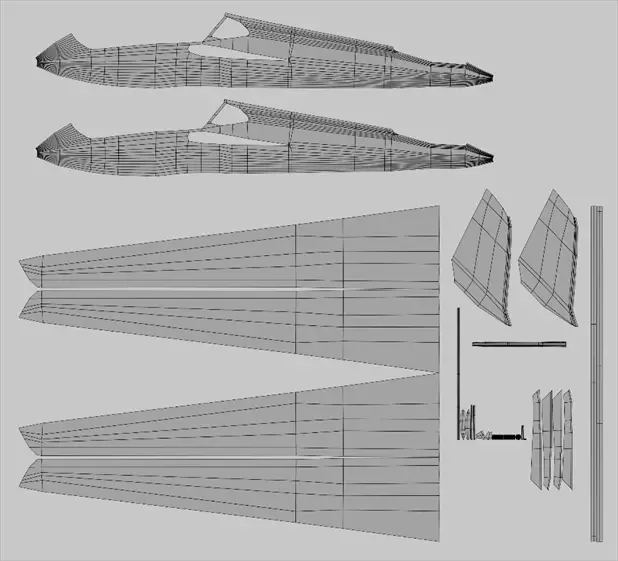
UV layout is a 2D image of any 3D model that describes how a 2D texture is perceived by the 3D model. To put in simple terms, it helps in adding texture or 2D graphics to the 3D model.
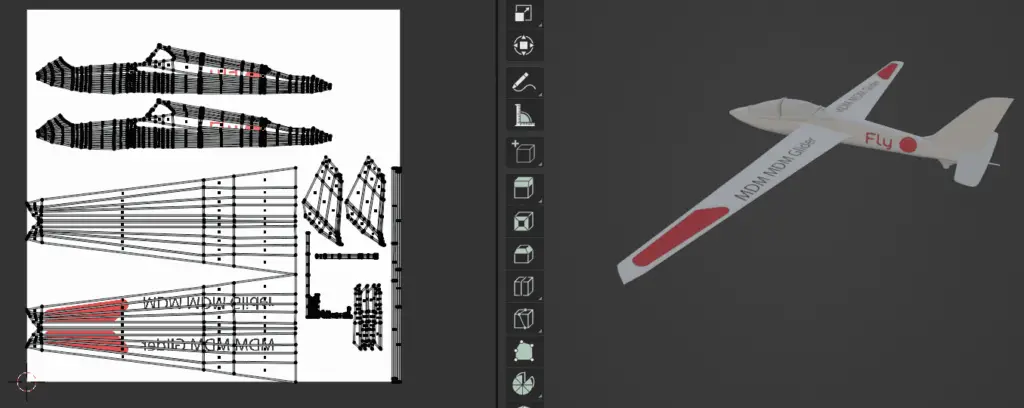
In the above image, we can see that how UV layout can help us in texturing the 3D model, without these layout, it can be very difficult to texture the 3D model. When making UV maps, we know exactly where to add graphics so that they look nice on the 3D model.
We can get the UV layout of any object by UV unwrapping it. In this tutorial, we will only learn how to export UV layouts, so that UV maps can be created from it using any external Graphics software ( such as Illustrator or Photoshop).
Exporting UV layout
Before exporting the UV layout, we first need to have the model UV unwrapped properly, so that we can easily add textures to it.
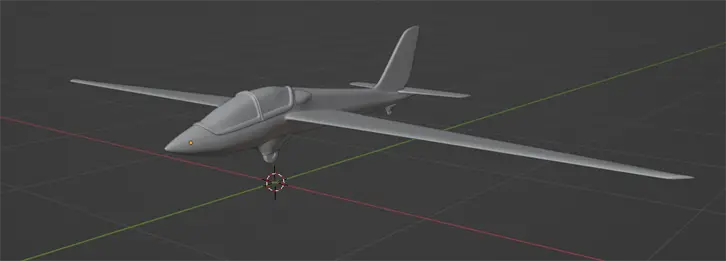
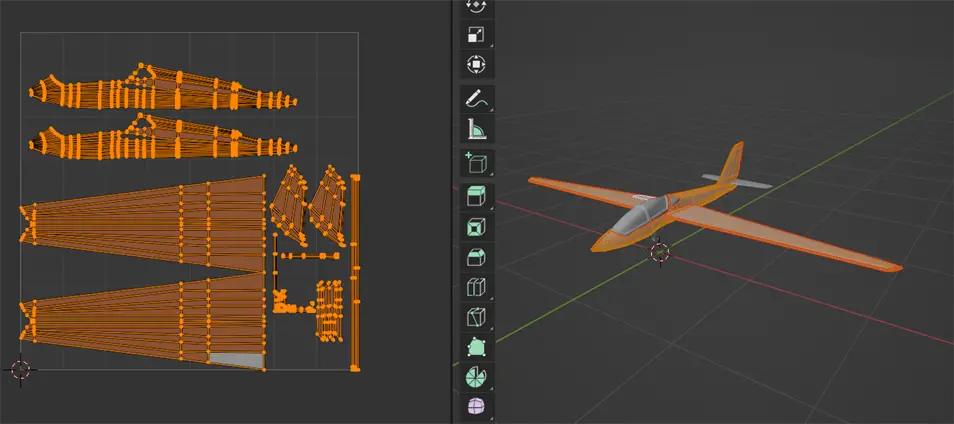
For this tutorial, we are going to use a Glider 3D model.
First, go to UV Editing tab.
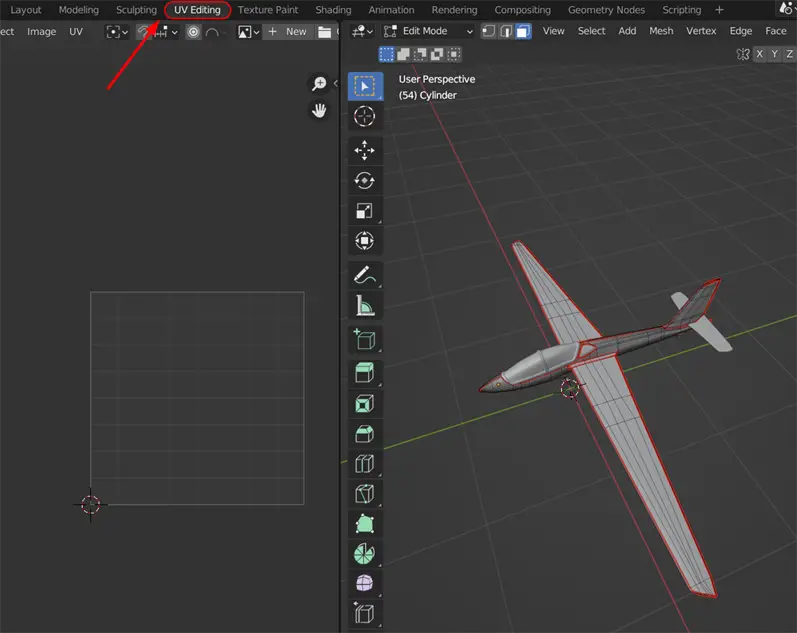
UV Editing tab consists of two major windows, UV editor and 3D viewport. UV Editor ( on the left) is where the UV layout appears, and the right one is 3D viewport, which shows us the 3D model.
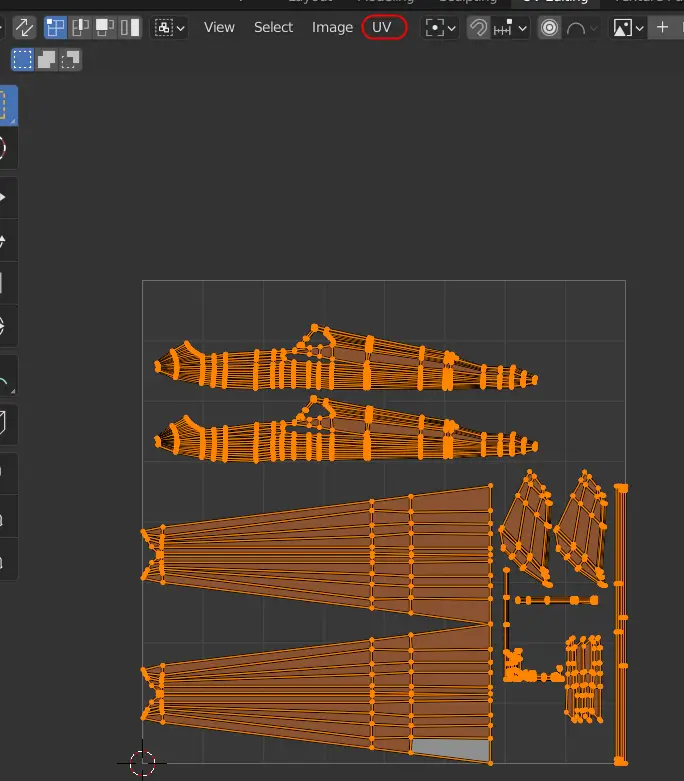
Select the 3D model, go to Edit mode, and then select all the vertices by pressing A key. UV layout will appear on the UV Editor.
Select all the faces for UV mapping, faces that have not been selected will not appear in UV layout.
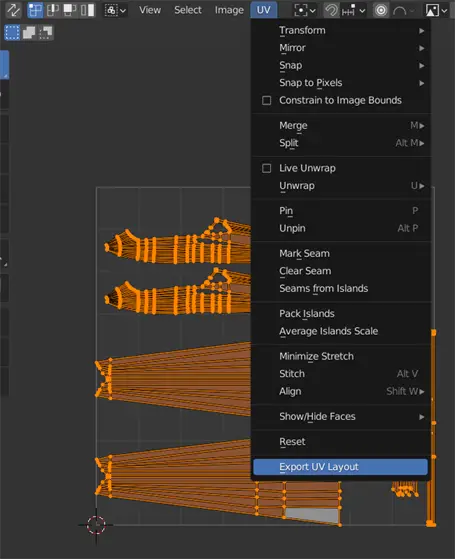
Select UV from the UV Editor’s top menu bar.
Then, select, Export UV Layout.
Save the UV layout.
You can now open the UV layout in any external image editor.
Making Custom Resolution UV layout
By default, Blender exports the UV layout in 1024 by 1024 resolution. We can increase the resolution of the image of Exported UV layout.
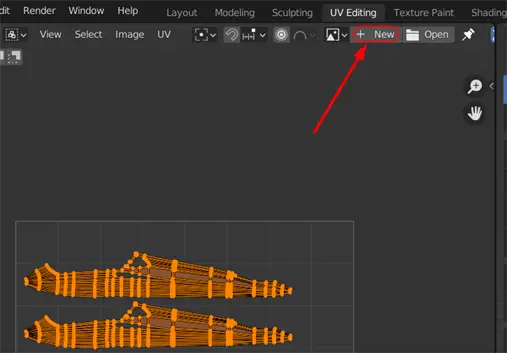
In the UV Editor, in the top menu bar Select +New image, this will make a new UV layout with the Custom Resolution.
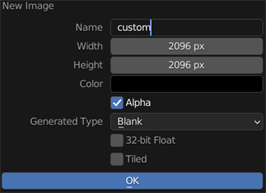
A menu will appear, enter the resolution you want.
The UV layout will have the custom resolution.
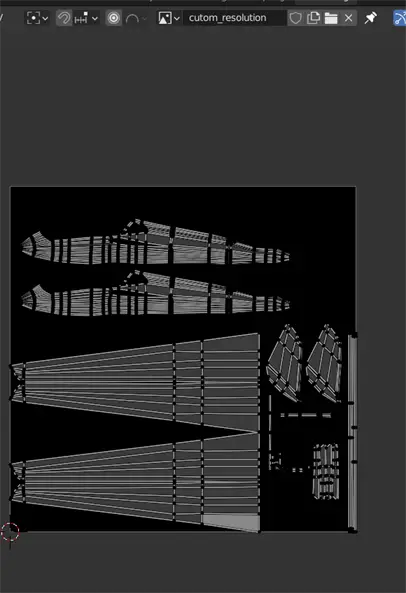
When you export the UV layout, it will have the same resolution as specified in Blender.