

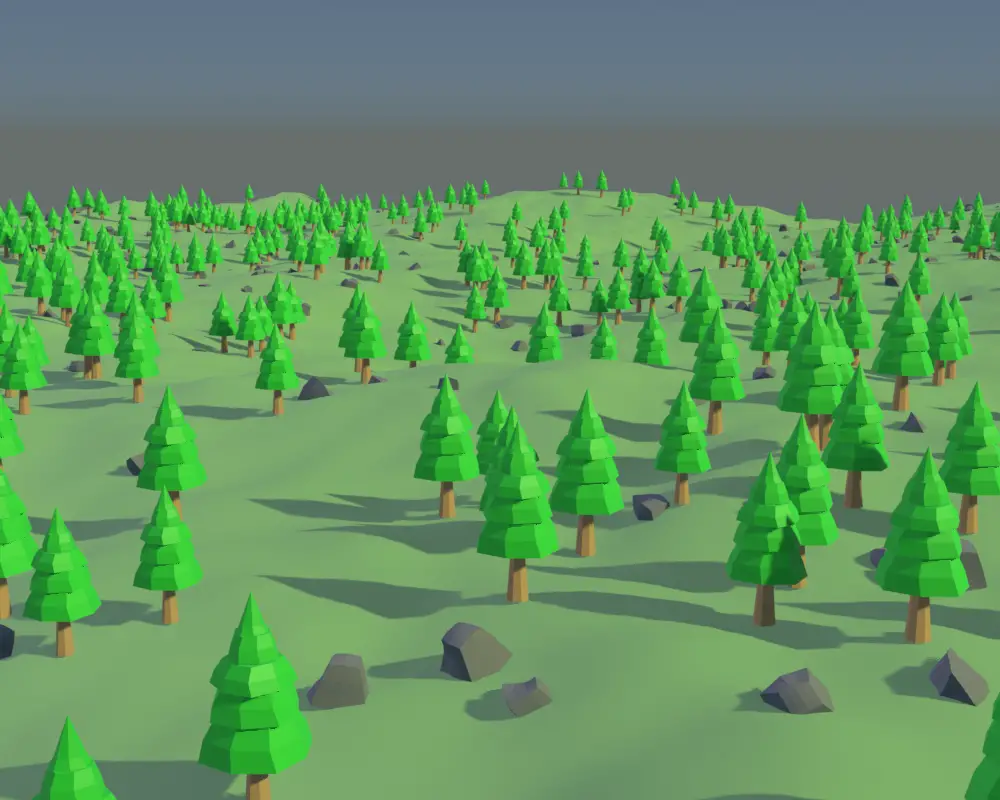
In this tutorial, we are going to make an animation of earthquake using Wave modifier. We will make a terrain using displace modifier, add some trees and finally make a shaking ground animation. Blender version 2.91 is used.
Making terrain using Displace modifier
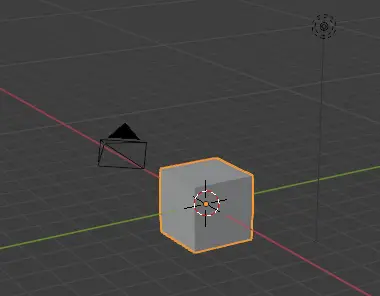
Open blender with default scene.

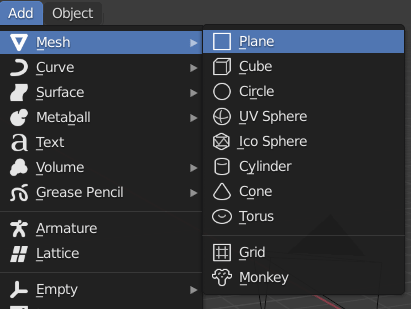
Now add a plane by clicking Add > Mesh > Plane.

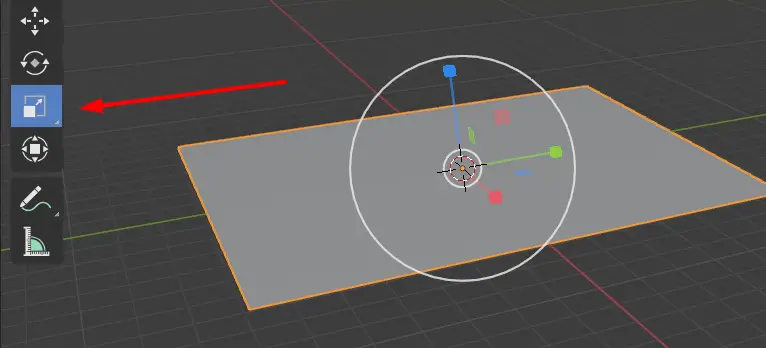
Now scale up the plane using Scale tool.

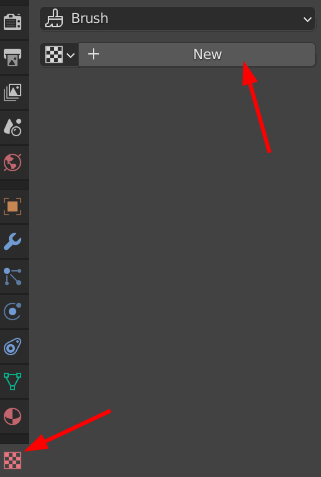
Select the plane and go to Texture Properties, click New to add new texture.

We will use a texture to create a terrain.
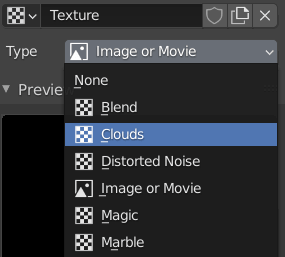
In the new texture choose the type to be Clouds. You can choose any texture but clouds are more appropriate for our scene.

You can modify the texture as you like.
Now, select the plane and go to edit mode by pressing Tab key. Press the Right Mouse Button, in the Vertex Context Menu, click Subdivide.

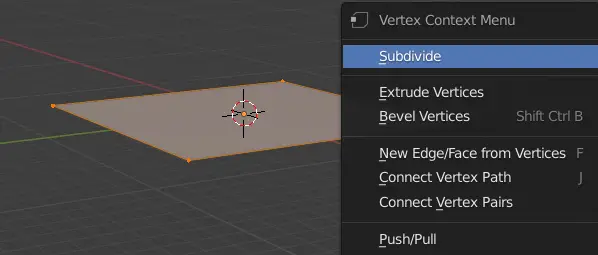
A subdivide menu will appear in the bottom left.
Expand the menu by clicking it, change the Number of Cuts to 40.

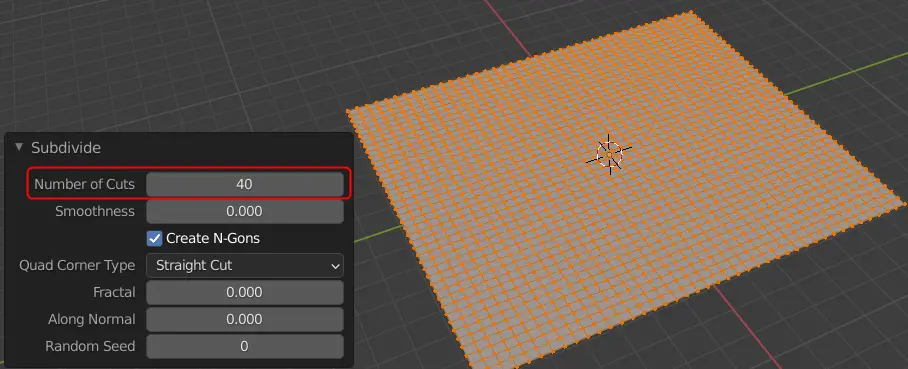
Increasing the number of cuts will subdivide the mesh even more.
Go to Object Mode by pressing Tab key.
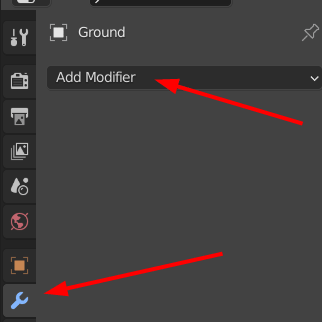
Go to Modifier properties and click Add Modifier.

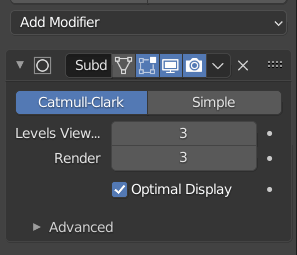
Add a Subdivision Surface modifier. Change the Level Viewport and the Render to 3. This will make our mesh even smoother.

Now, click Add Modifier again and add a Displace Modifier.

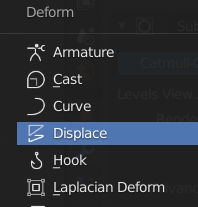
With the help of Displace modifier, we can displace the mesh with the help of cloud texture that we made earlier.
In the Displace modifier, choose the texture that we made earlier, in this case “Texture”.

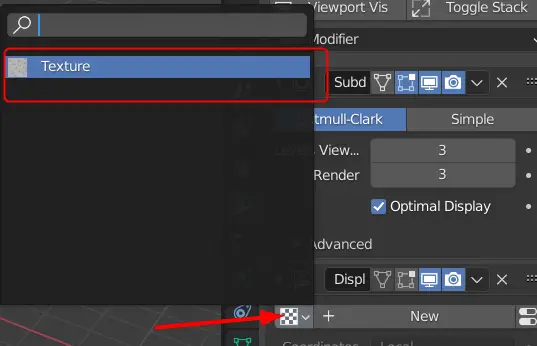
You will see how it will displace our mesh.

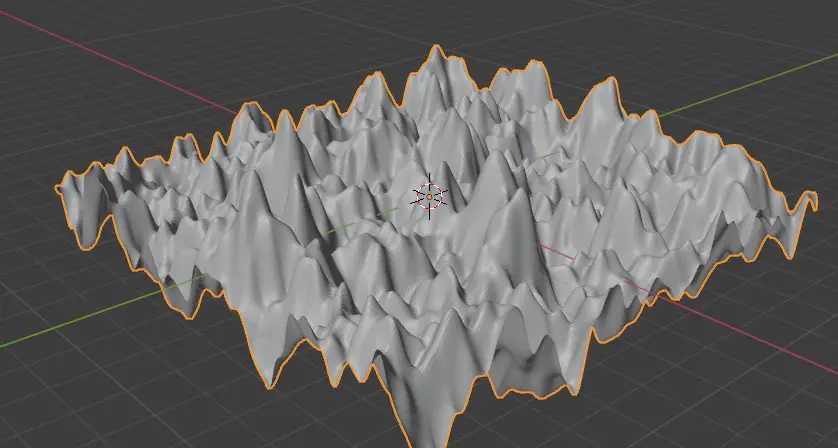
The mesh is too much displaced. We can fix it by adjusting the parameters.