

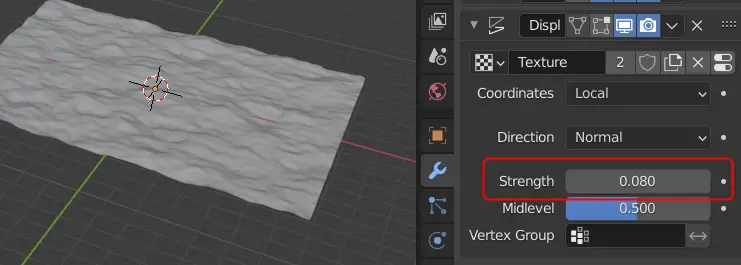
If we change the Strength of the Displace modifier, we can get good results.

In the Object Mode press Right Mouse Button, in the Object Context Menu, click Shade Smooth. This will smoothen our mesh.

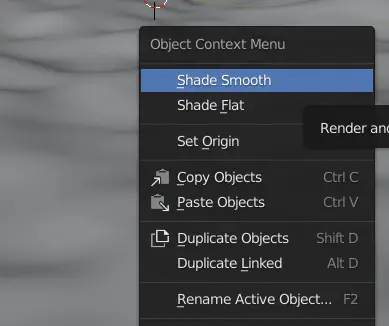
Up till now, we had made our mesh smooth enough, but still there were some visible polygon faces. Shade Smooth makes a smooth surface and covers up those faces.
Since we are happy with the way our mesh looks, we can Apply both modifiers as shown.

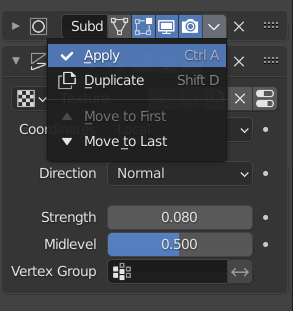
If we do not apply these modifiers, later they can slow down Blender and our animation.
Weight Painting
Now, we can Weight Paint the mesh. But first we need to make a Vertex group.
Go to Object Data properties, under Vertex Groups click + sign, a new Vertex Group will be made.

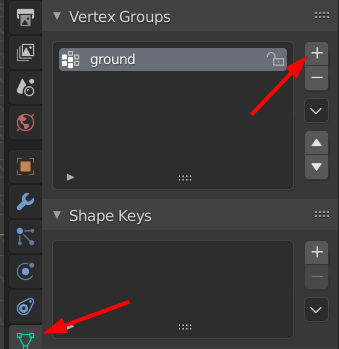
We will use Vertex group in our animation. This vertex group will be Weight painted. By weight painting, we make a heat map and specify how the vertices or parts of the mesh are affected. Consequently, we use these Vertex Groups in Rigging, modifiers or Particle systems.
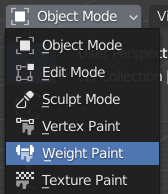
On the top left, change Object Mode to Weight Paint.

Now paint with Weight value 1 ( Red zone) for the parts you want to be most affected by earthquake and paint with Weight value 0 ( Blue zone) for which you do not want the mesh to be affected.

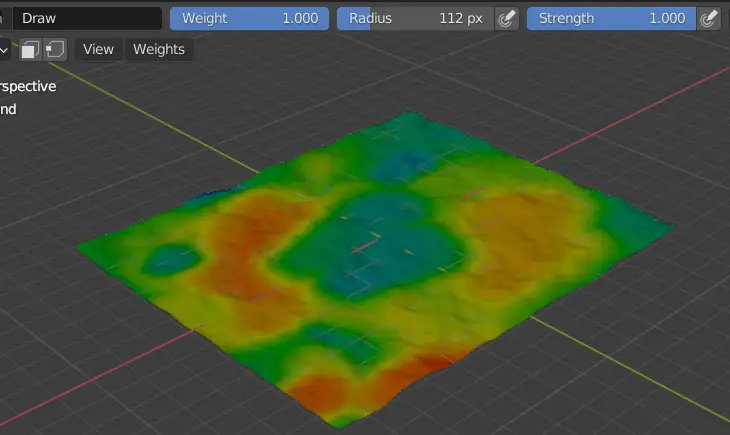
You can paint it pressing Left Mouse Button and dragging your Mouse. Value of Weight can be changed from top.
Now go back to Object Mode.
Add Wave Modifier
Select the Plane, go to Modifier properties and add a Wave modifier.

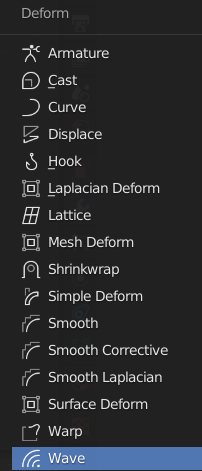
Wave modifier can add ripple affect to the mesh.
After adding the Wave modifier, if you press Space key, you will see the ripples being formed.
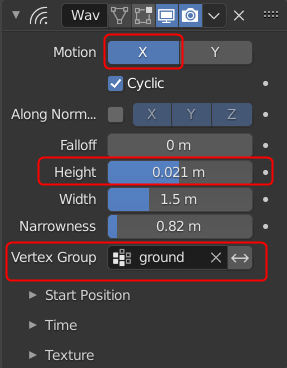
We will need to make the following changes.
- Change the
MotiontoX. - You will need to adjust the
Heightof the wave. - For a more realistic type of wave, choose the Vertex group we made earlier.

Now, if you press the Space key, the animation will look similar to this.

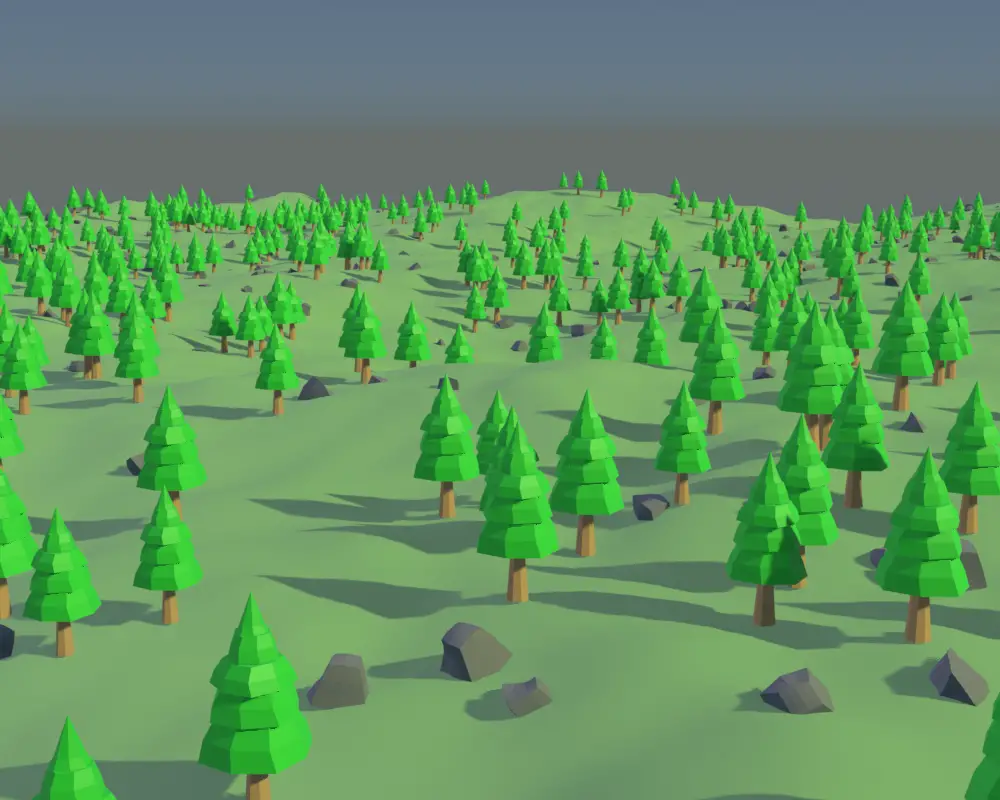
We can add objects on top of the plane. To do this, an object can be appended or imported.
Appending Object
In this case, we are going to use a tree. You can use anything. If you have a blender file of some other model, you can append that model by clicking File > Append. OR you can import a file of some other format by clicking File > Import.

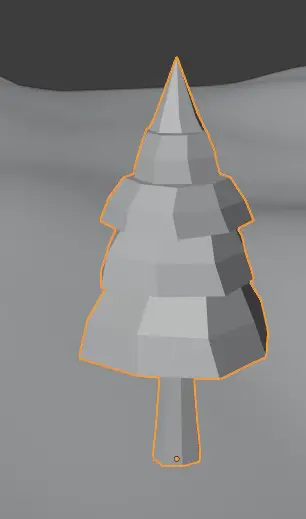
We are going to make multiple copies of this tree and spread them across our terrain.
To do this, we are going to use particle system.
Go to Particle Properties and add a new ParticleSettings. Change the Emitter to Hair because we want our objects to remain static. You can change the number of objects.