

In this tutorial, we are going to improve the lighting for a scene in Blender. There can be many difficulties while setting up the correct lighting. Most problems with lighting is that the final render image is dark in some areas. Blender version 2.93 is used.
It is important to note that all the images are rendered with Cycles for this tutorial.
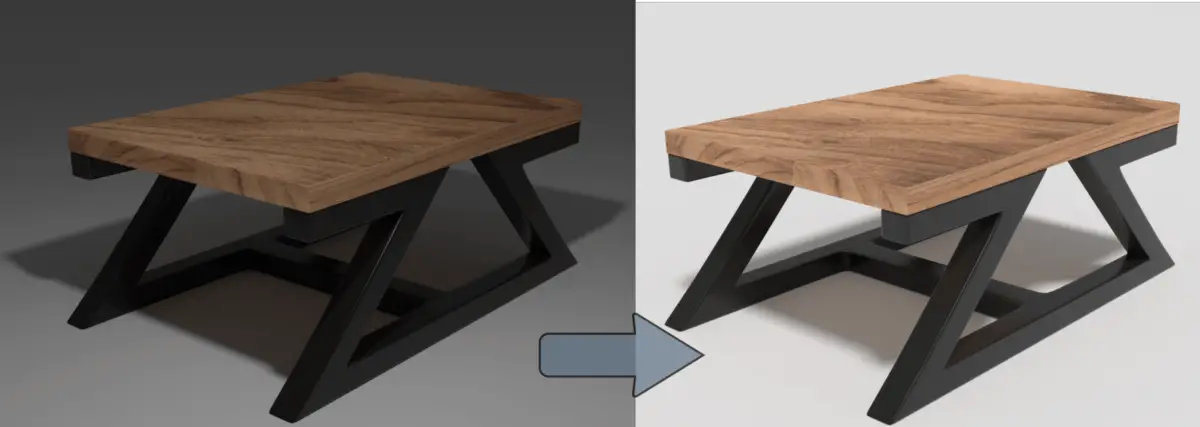
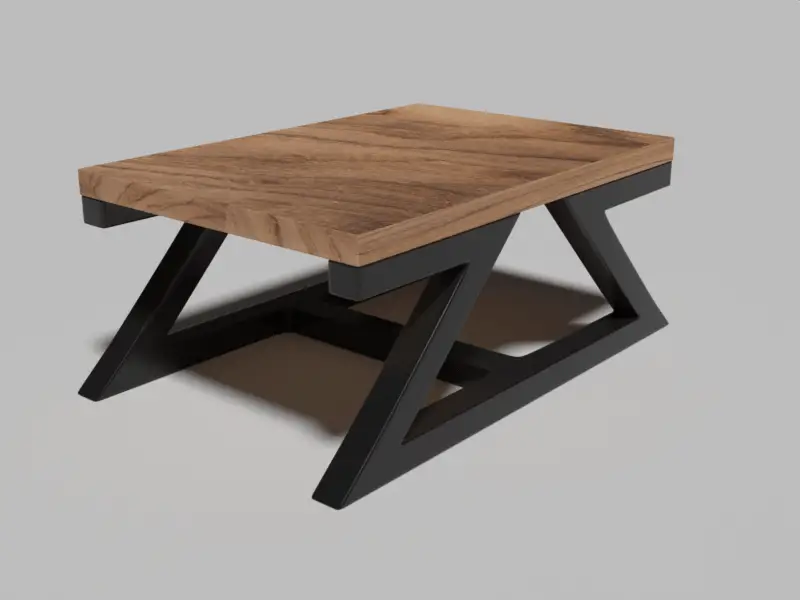
We have rendered the following image. The problem with this image is that only a certain area of the image seems bright and the other areas seem dark.

The above image is only rendered with a single Point Light. We can increase the power of the point light, but it will not resolve the issue, it will make the table very bright and the other areas will not be in accordance with the bright area.

This shows the impact of a single point light onto our scene. The light is not distributed uniformly.
This can be fixed using multiple ways. One or more are used together to get the optimal rendered result.
Using Sun Light
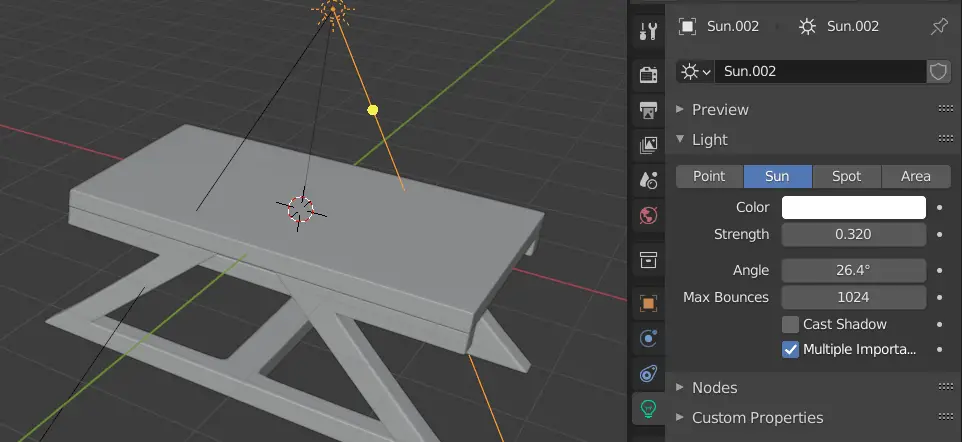
Sun lights spread the light uniformly on every spot. They can be very useful for rendering scenes, that need to be thoroughly lit. You can change the settings for the lights in the Object Data Properties.

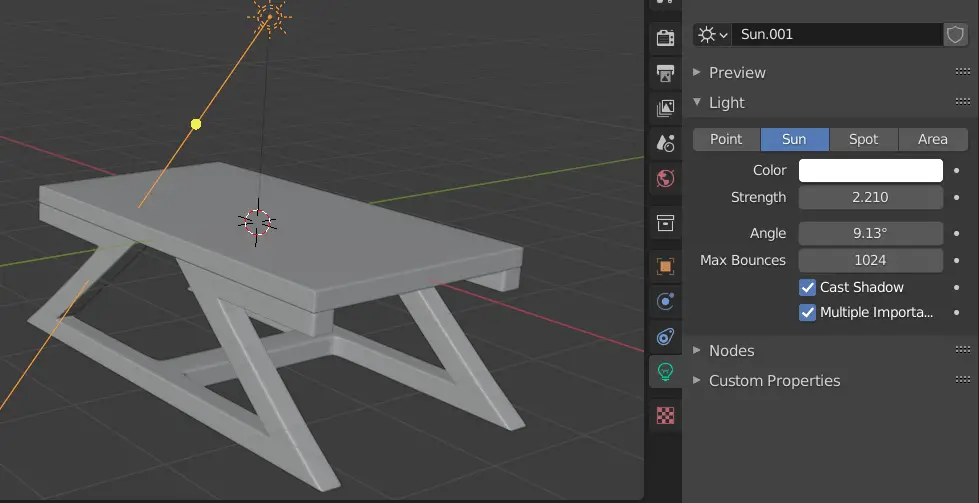
You can adjust the Strength in accordance with the scene. Change the Adjust the value of Angle to get the desired shadow result.
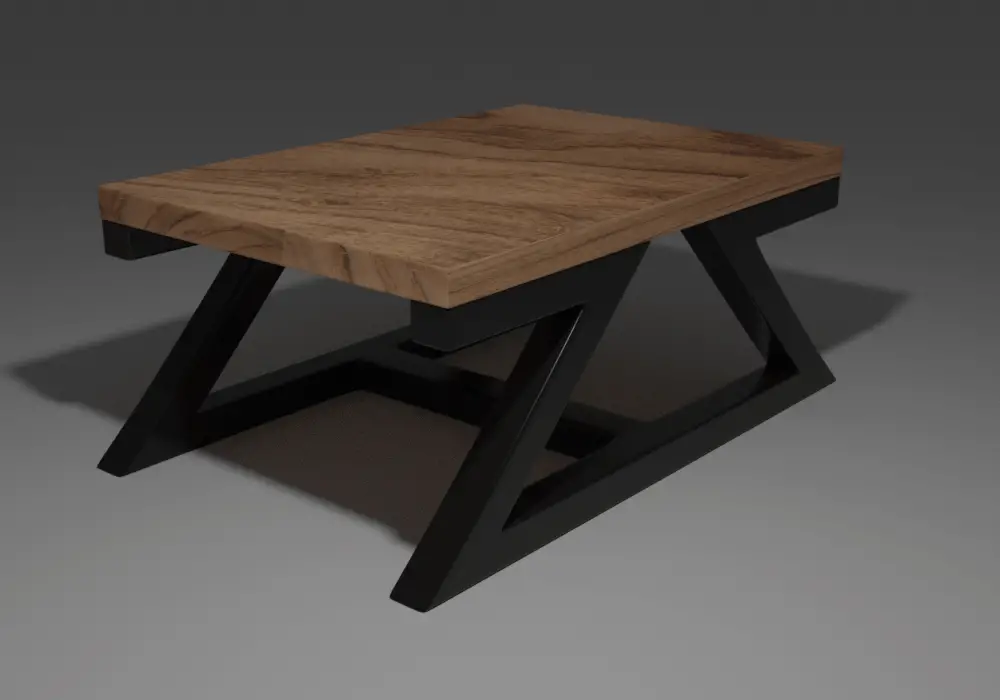
The rendered result may look similar to this.

It can be seen after adding a Sun light to the scene. The rendered result has improved.
The sun light can be used with the combination of many other lights.
For many cases, we do not want to use a Sun light, for those particular scenes, multiple point lights, area lights or a Sun light with a relatively low strength may be used.
Using World properties
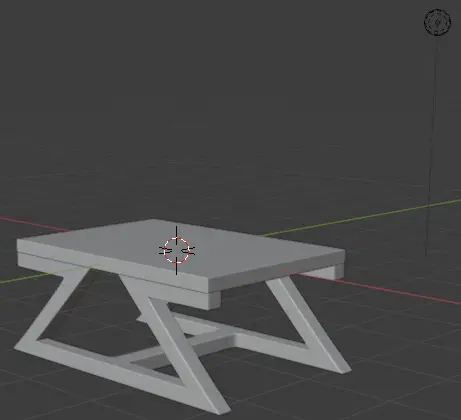
In the above case, we did improve the lighting but the scene looks dark, there are things that could be improved.
We can improve our lighting using World properties, the World properties tab can be found on the right side.

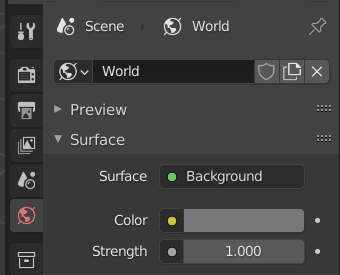
You can change the Color or Strength of the Background. In this case, we will be changing the color, we will make the color brighter.
Click on Color to change it.

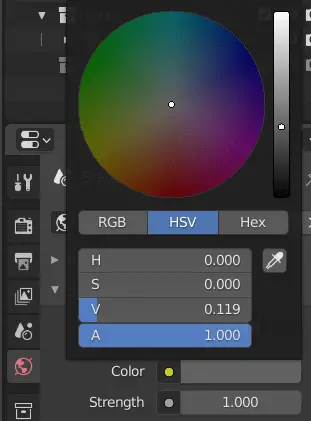
You should change the value of V, or move the slider towards white color.
The lighting will look much better after this.
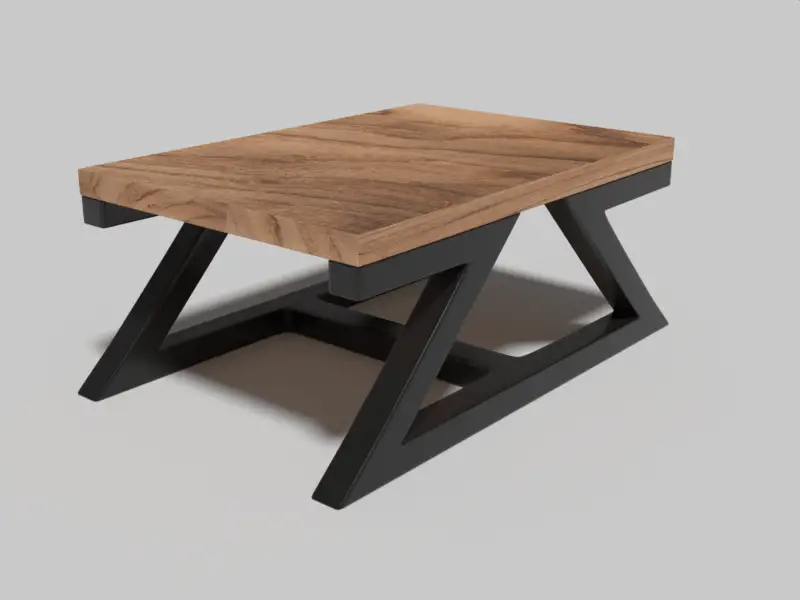
Overall, the scene looks much better, but one thing that we see now is that the shadow is very dark.
Using multiple lights
We use multiple lights that include sun lights, point lights, or area lights. We see that our shadow is darker, and we want to fix that.
Remember that, this is not a primary light and the following things should be considered while adding this light.
- Its
Strengthshould be lower than our main light. - It should have the same
Coloras the main light. - The
Cast Shadowoption should disabled. We do not want extra shadows from this light, rather we want the shadow to have a lighter color. - The light should be 180 degrees to the main light on the Z axis. The reason for this is that, it should be irradiant on the shadow.

We have used two Sun lights in this scene. You can duplicate the main light and rotate it on Z axis by 180 degrees.
We have used two Sun lights and here are the results.
