

Roads can be made using Array and Curve modifiers. Roads should be modeled in such a way that they can extended. We apply texture on the mesh to make the road. Blender version 2.91 is used.


First of all download the texture of the road from this link : https://cc0textures.com/view?id=Road006
This file has different textures, but for this tutorial, we are only going to use the color texture.
Open blender with default settings.
Select the cube, delete it by pressing the Delete key.
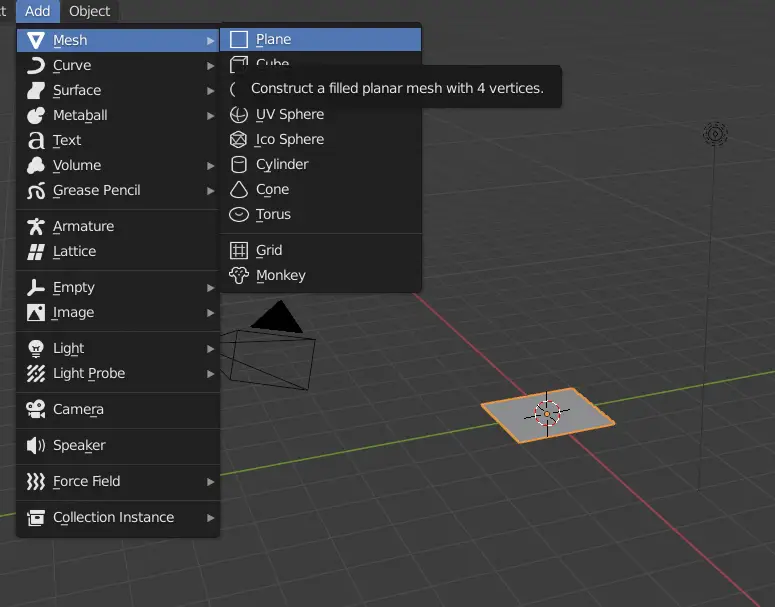
Add a plane by clicking Add > Mesh > Plane.

Applying Image texture
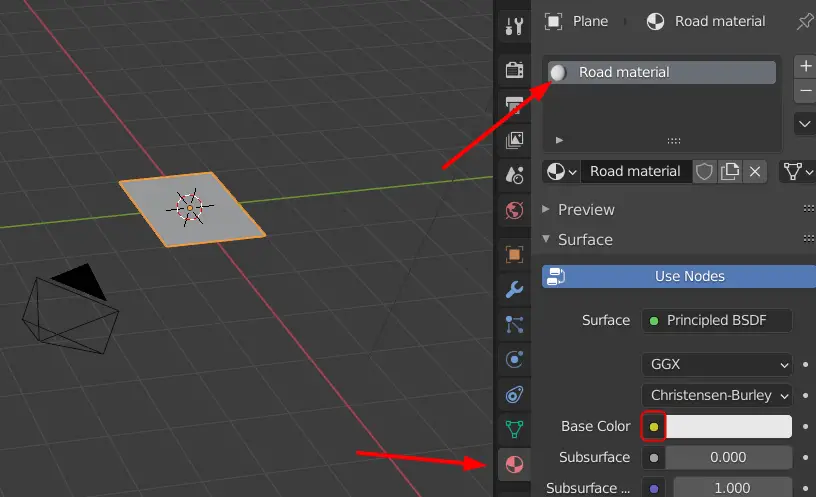
Now go to Material properties, add a material and name it as “Road Material”.
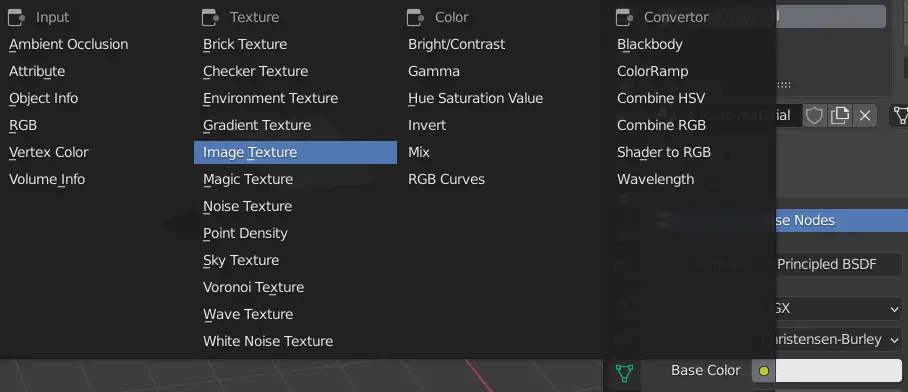
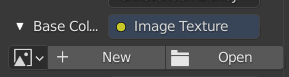
We are going to apply an image texture, so click on the Yellow dot beside the Base Color.

Click Image Texture.

In blender you can use an image that has already been opened, make a New image or Open an image from your computer.
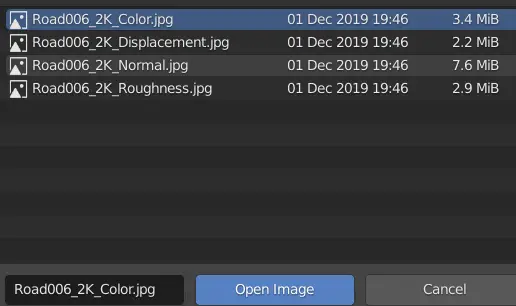
Since, we want to apply the textures that we have downloaded, click Open.

Load the Color image.

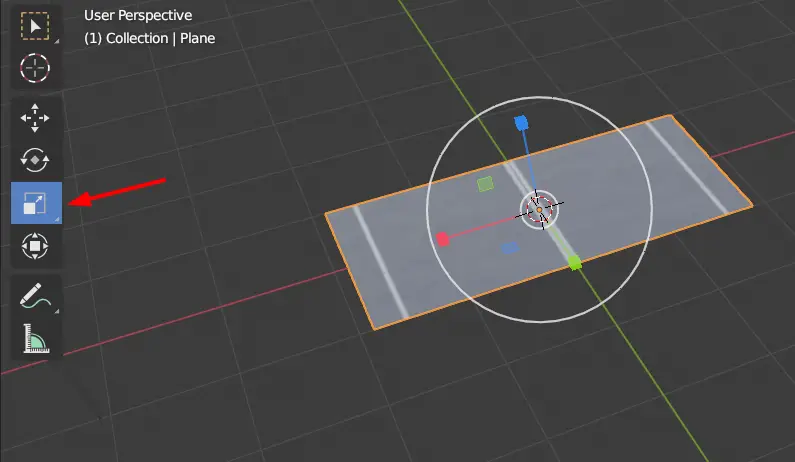
Change Viewport Shading to Material Preview, this will allow us to check how the material has been applied.

You can make the road wider by changing its scale using the Scale tool.

Now we need to add a curve, so that the model can be placed on the curve.
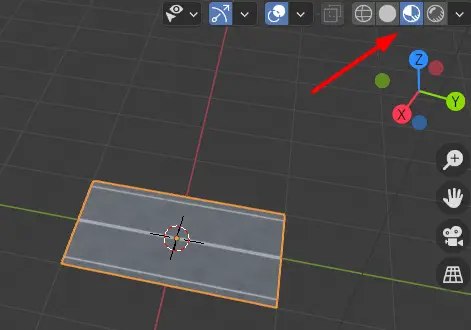
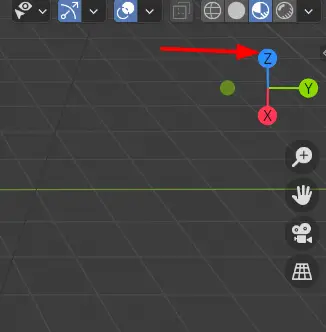
But first, we switch to top view, click on the Z axis on the top right gizmo.

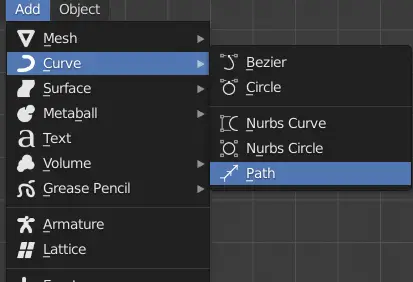
Adding Path
Now add a path by clicking Add > Curve > Path.

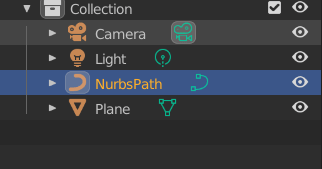
The curve is small, it can be selected from the Outliner on the left side.

Select the curve, press Tab to go to Edit mode, and adjust the control points of the curve to make a path for the rod
The control points can be adjusted using the Move, Scale, and Rotate tool.

Go to Object Mode by pressing Tab key.
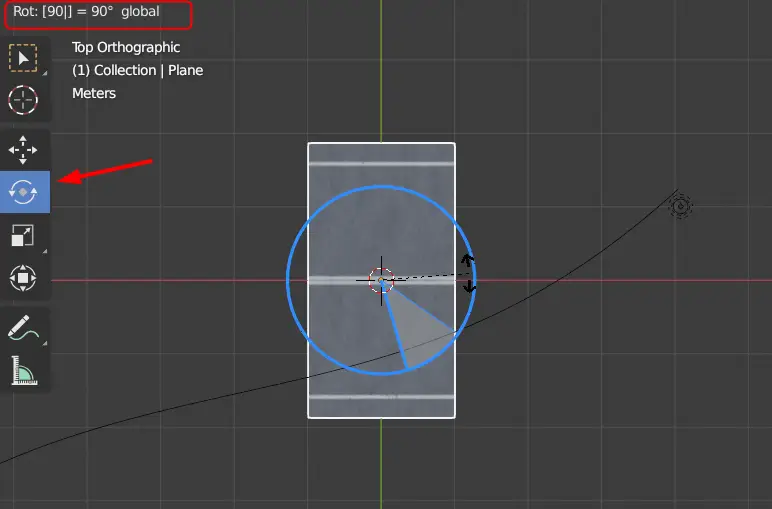
We can see that the curve is along the X- axis, while the texture is facing the Y-axis. In our case, we want to both of them to be facing the same axis.
Select, the road plane, select the Rotate tool from left toolbar, left click and hold the blue circle, and type 90. This will rotate the plane 90 degrees in Z axis.

Adding Array modifier
Go to Modifier properties and click Add Modifier.

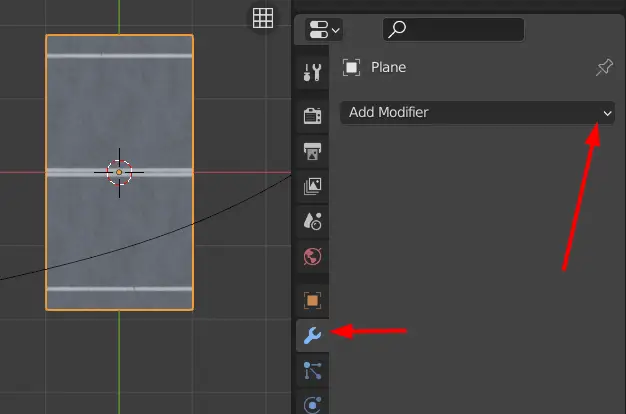
Add the Array modifier.
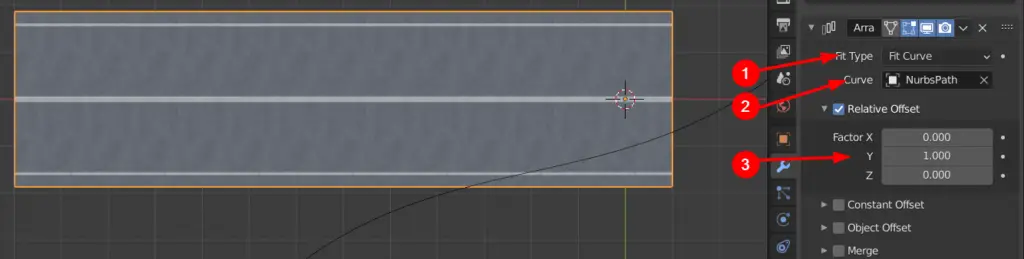
In the array modifier, change the Fit Type to Fit Curve, this will change the size of the road according to the length of the curve. Select the curve to be NurbsPath ( the name of the curve we just added).
Since the texture is originally along the Y axis, under the Relative Offset, change X to 0 and Y to 1.

The array modifier has been added but we need another modifier to deform the curve along the curve.
Placing the road on the curve using Curve modifier
Now click Add Modifier again, and add a Curve modifier.

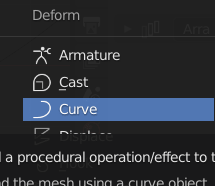
In the Curve modifier, change the Curve Object to NurbsPath.

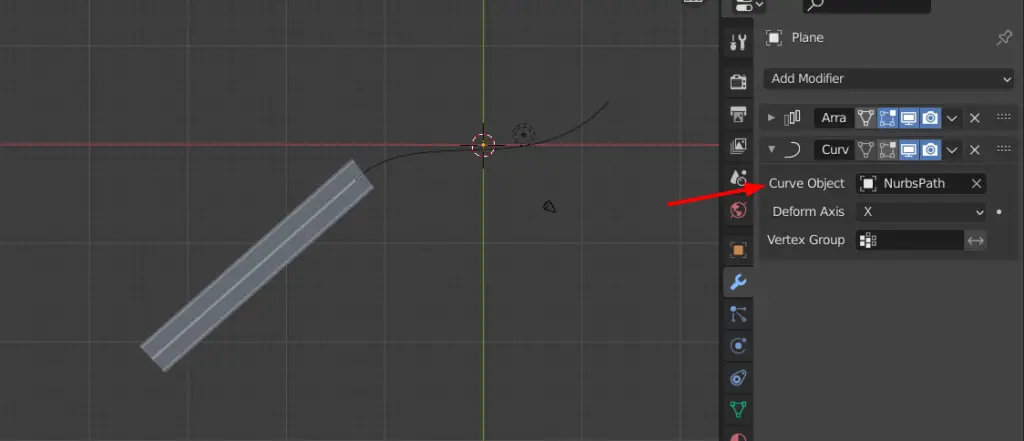
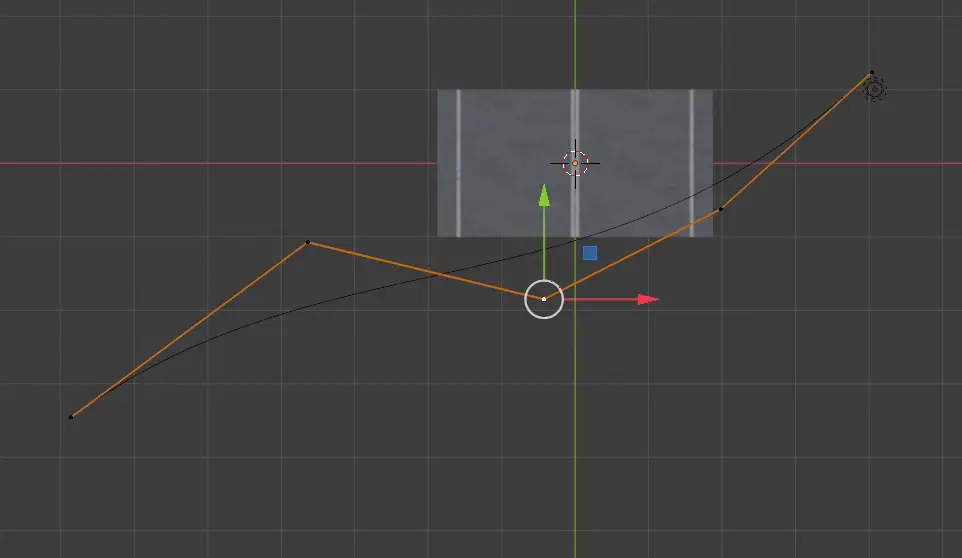
We see that the road has been shifted towards one end of the curve.

To change this, select the Move tool from the left toolbar, and then select the road. Move the road along the X-axis( Red Arrow), until the road is perfectly placed on the curve.

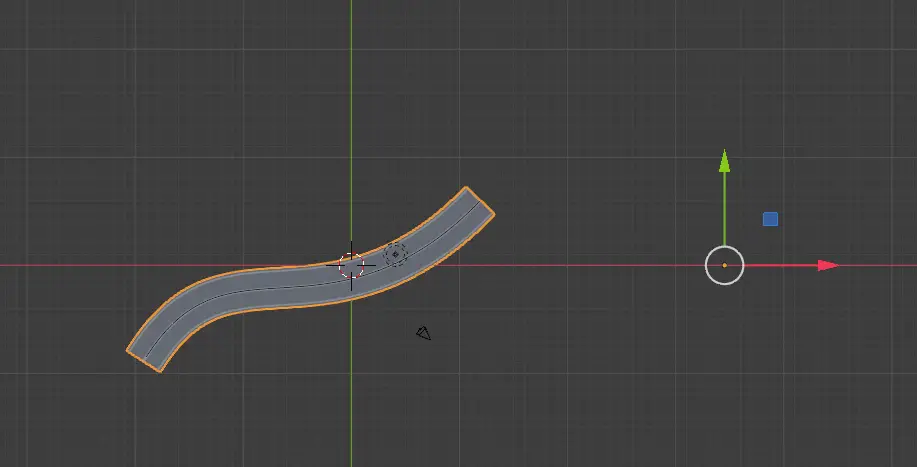
The road is now fixed.
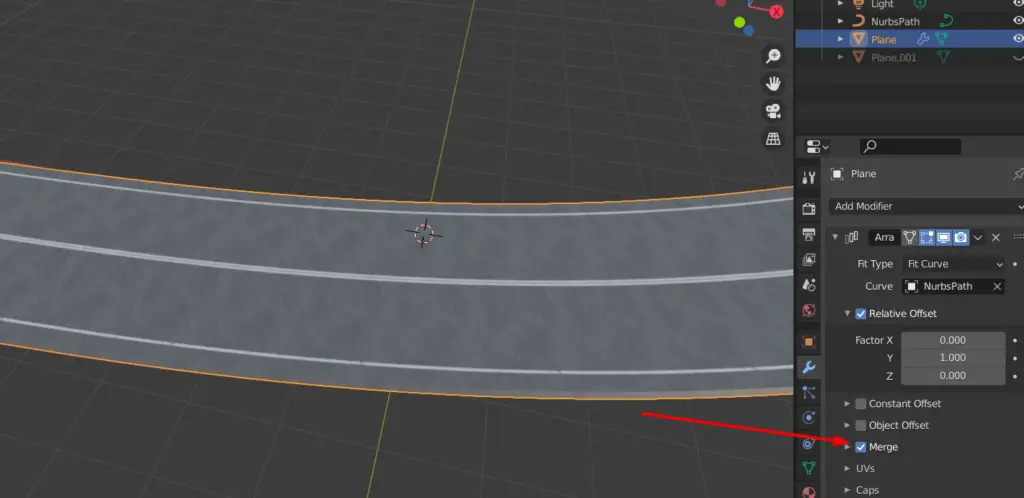
Now if we zoom in, we see that our mesh has some gaps in them. This is because, the segments of the roads are seperated.
To fix this, select the road, and go to Array modifier, and enable Merge.

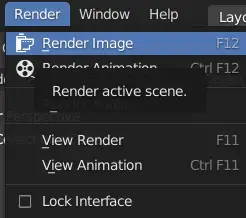
Now, add a ground and some lights.


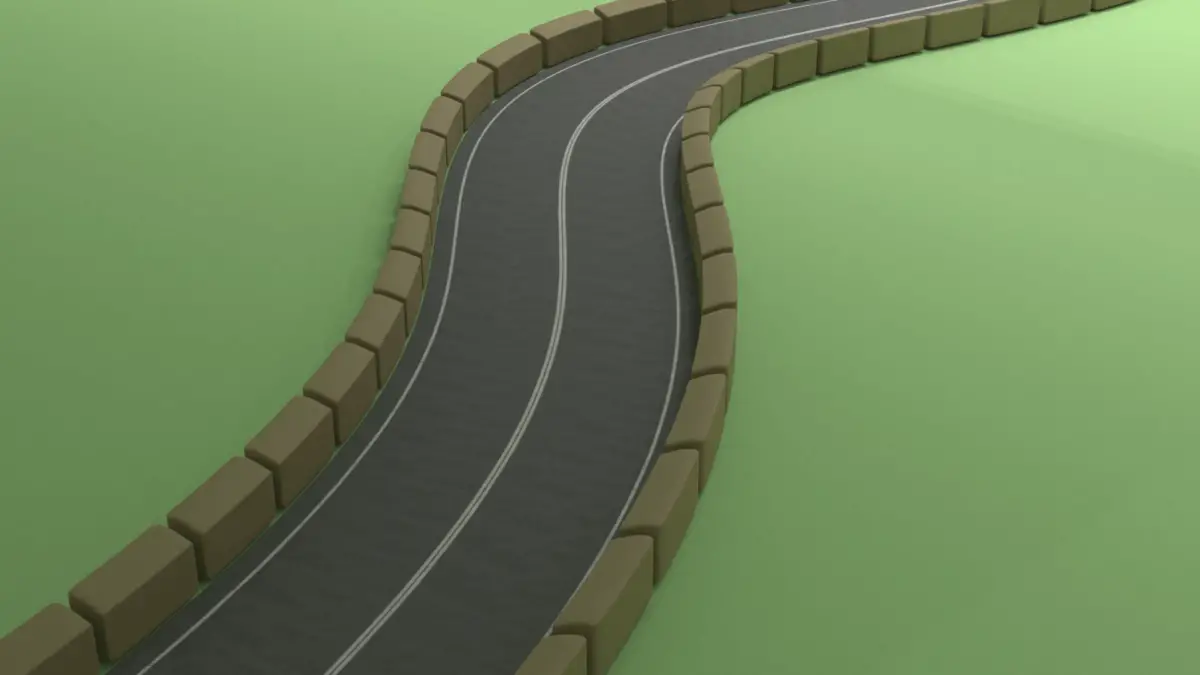
Click Render > Render Image.

The final render will look similar to this.