In this tutorial, we are going to make an object appear as it is being built from bottom to top. This can be done using the Mask modifier. The mask modifier can hide the parts of the mesh using Vertex groups or Armature. Blender version 2.91 is used.

We will first assign a vertex group to the object, and then weight paint the model and finally apply the mask modifier.
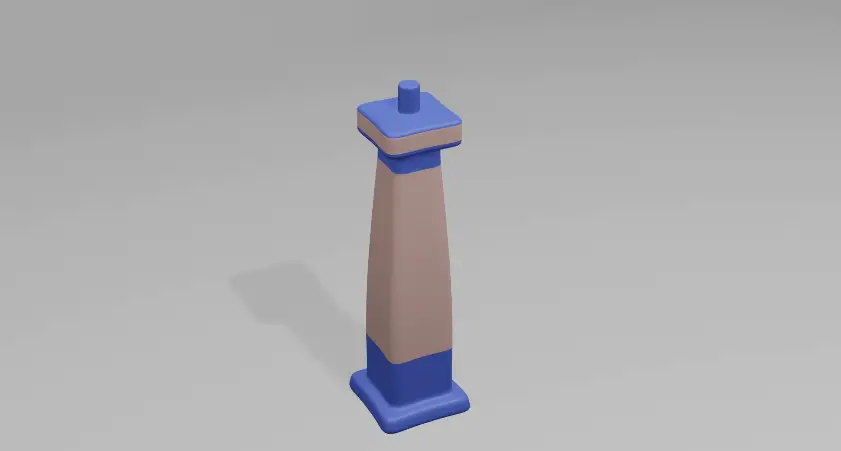
For this tutorial, we are going to use an object that is already modeled.
Weight painting
Open the scene with model.

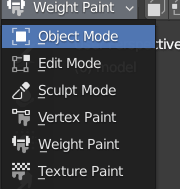
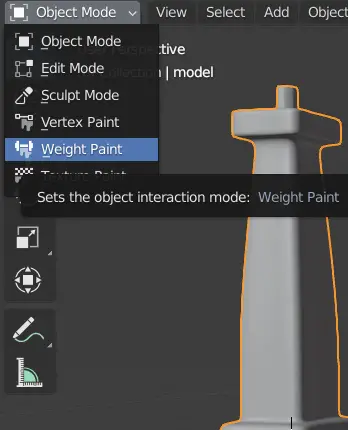
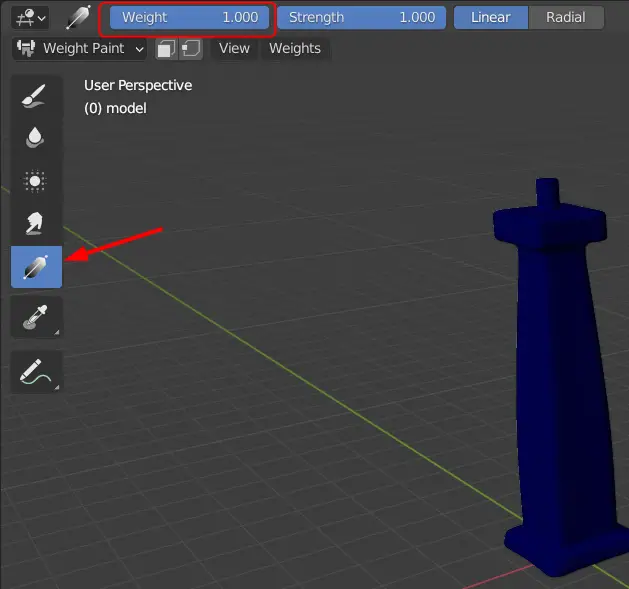
Go to Weight Paint mode from top left menu.

Go Object data properties and add a Vertex group and name it as “Mask”

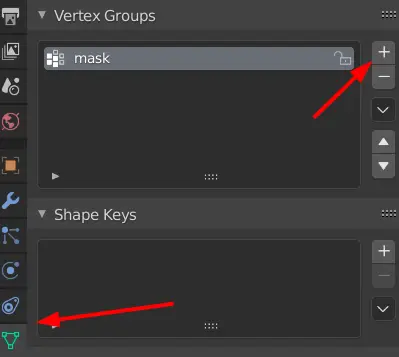
The mask modifier applies only to Vertex groups or Armatures, in our case, we have created a group for the vertices of our object.
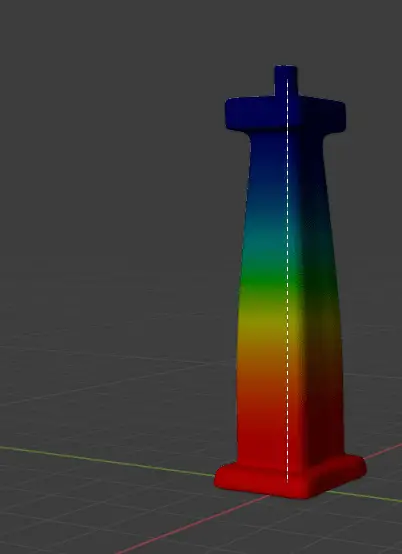
Now, we are going to Weight paint our model, this means that we are going to apply a heat map to our model. It can serve various purposes in Blender. Basically, it tells the blender which vertices are going to be affected the most and which are going to be least affected.
Make sure that the Weight is 1. Choose the Gradient tool.

Apply the gradient from bottom to the top.

Go to Object mode.