


In this tutorial, we are going to use the models that have already been modeled. For this tutorial, we are going to use these buildings.

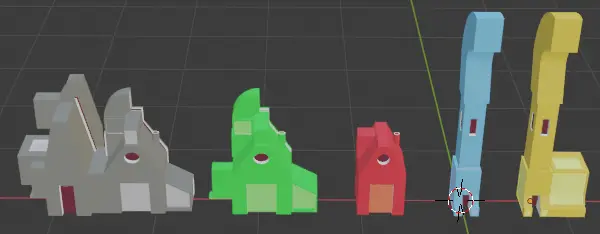
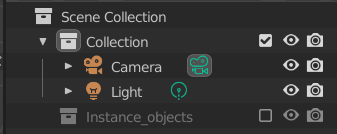
We make a separate collection and name them Instance_objects. We also disable the collection, so that it can only be visible through Geometry Nodes.

Go to Geometry Nodes tab from the top ribbon. It has three windows 3D Viewport, Spreadsheet and Geometry Node Editor.
Click Add > Mesh > Plane in 3D Viewport.
Any other object may also be added in place of the plane. That object will have Geometry Node modifier and it does not matter, whichever object it is, because it is not going to be in the scene. We are only adding this object for geometry node.
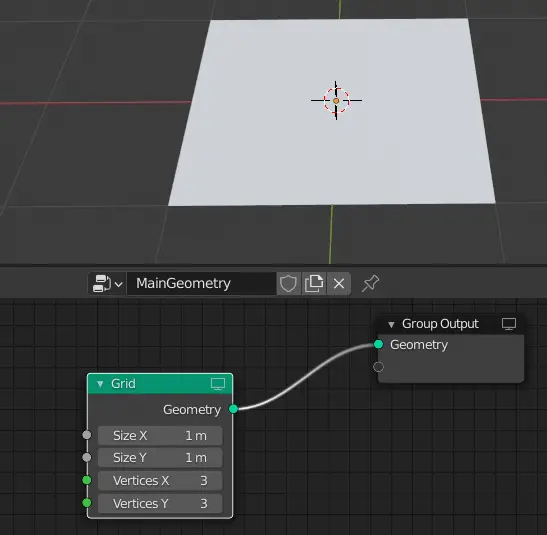
Click New in Geometry Node Editor and name it MainGeometry. Disconnect the Node that connects Group Input and Group Output.

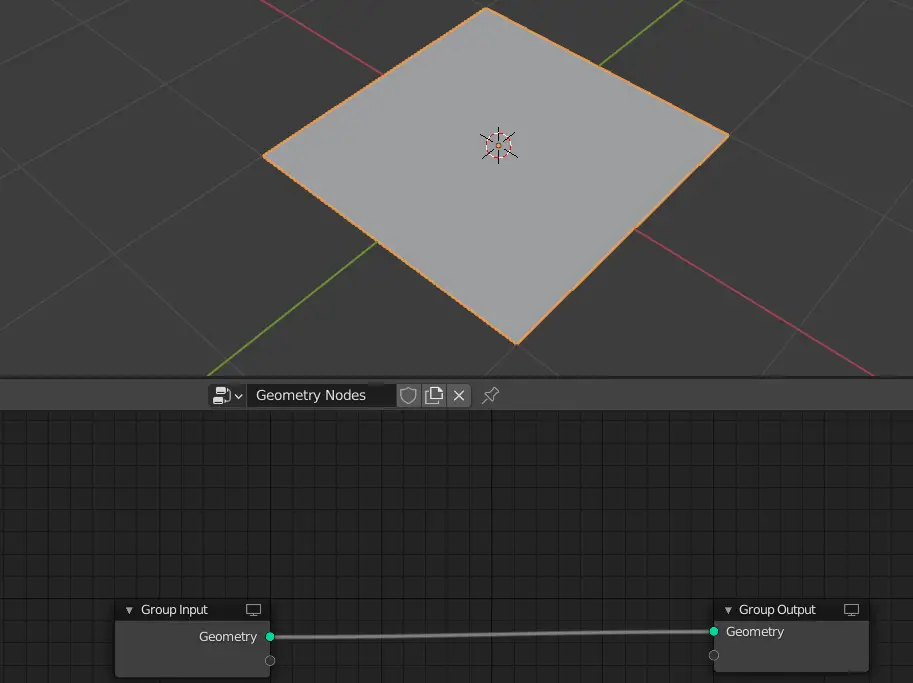
We have disconnected them, because what we need is a procedural method for modeling.
Adding a Grid
Add a Grid in Geometry Node Editor by clicking Add > Mesh Primitives > Grid.

We are going to use the vertices of the grid to make instances the objects in the collection.
We are going to use the Point Instance node to instance the objects. In this case, point instance is going to add an object in the place of a vertex on the grid.
Adding Point Instance node
Click Add > Point > Point Instance. Select Collection and uncheck the Whole collection.

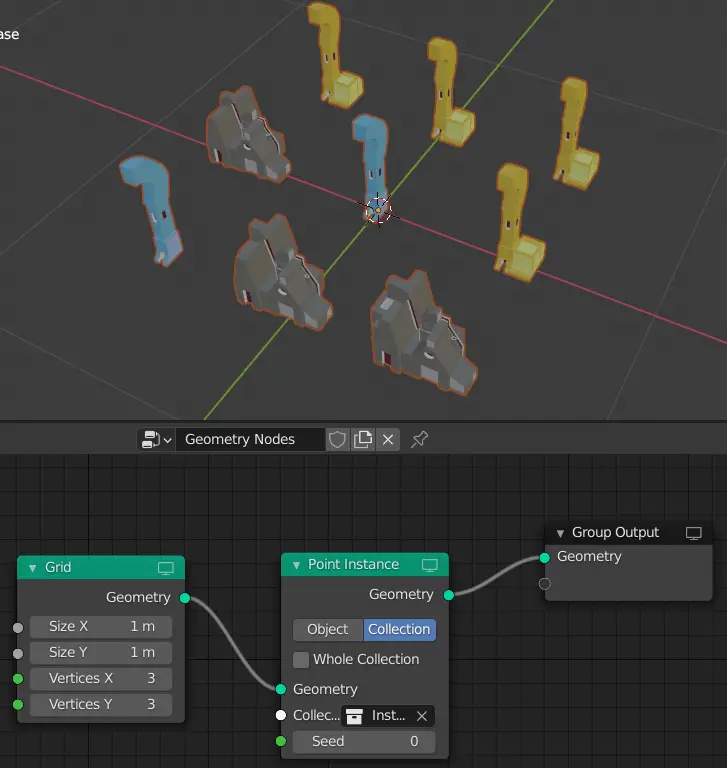
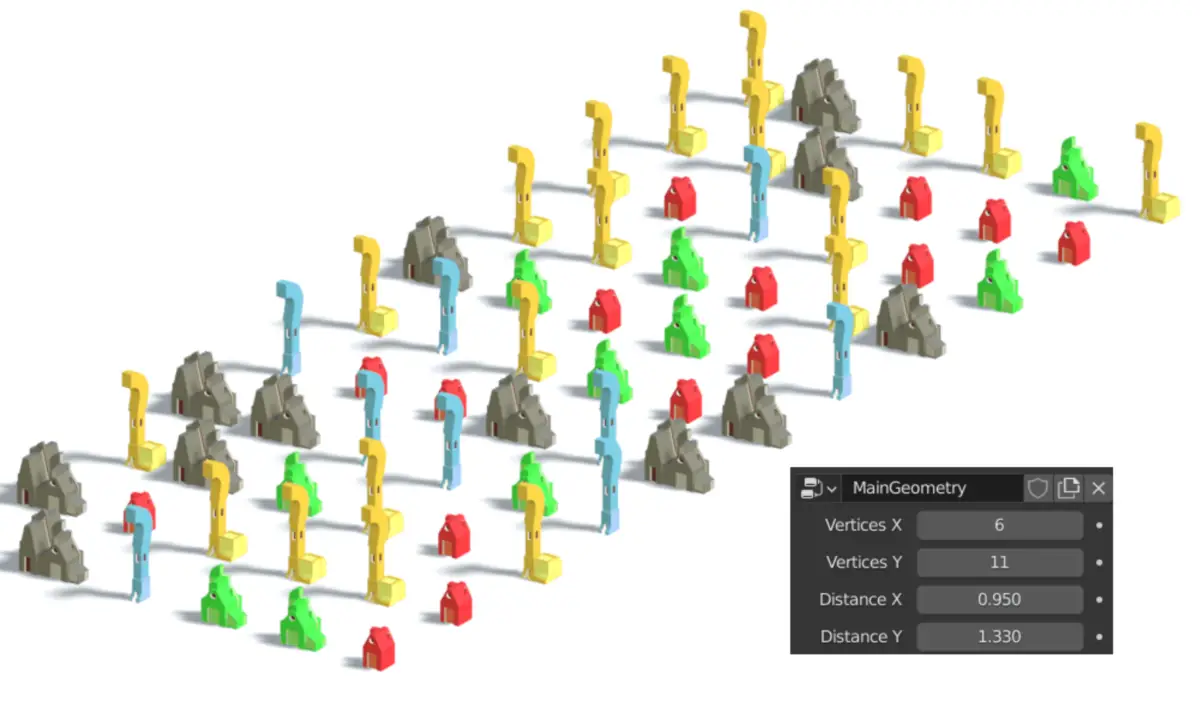
Now, as we increase or decrease the number of vertices, the number of instances will also change according to that.
Size X and Size Y are the dimensions of the grid. They can also be used to define distance between the Instances.
This method does have a limitation, as the number of vertices cannot be less than 2, so the number of instances or the objects cannot be less than 2.
We want to change the number of objects instanced through the Modifier properties.
Connect the Vertices X and Vertices Y to the blank output of the Group Input. Do not connect them to the Geometry Parameter.

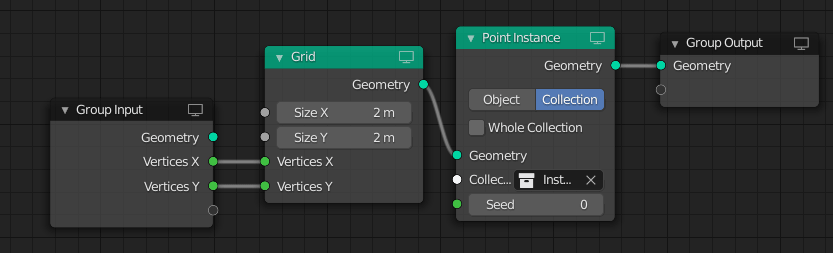
Now, if we change the parameters from the Modifier Properties, we see that number of instances changes but all of the instances get disorganized because the size remains same.


To deal with this problem, we can connect the Vertices X of group Input to Size X, and do the same for Y axis.

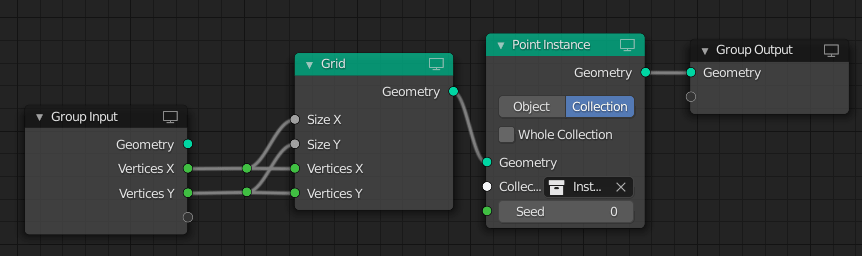
This way, the size of the plane(in meters) is same as the number of vertices in the same axis.
In the next part of this tutorial series, we are going to add a distance parameter from which we can change the distance between the instance objects.
Add a Distance parameter to set the distance between instance objects
Further next parts of this tutorial series.