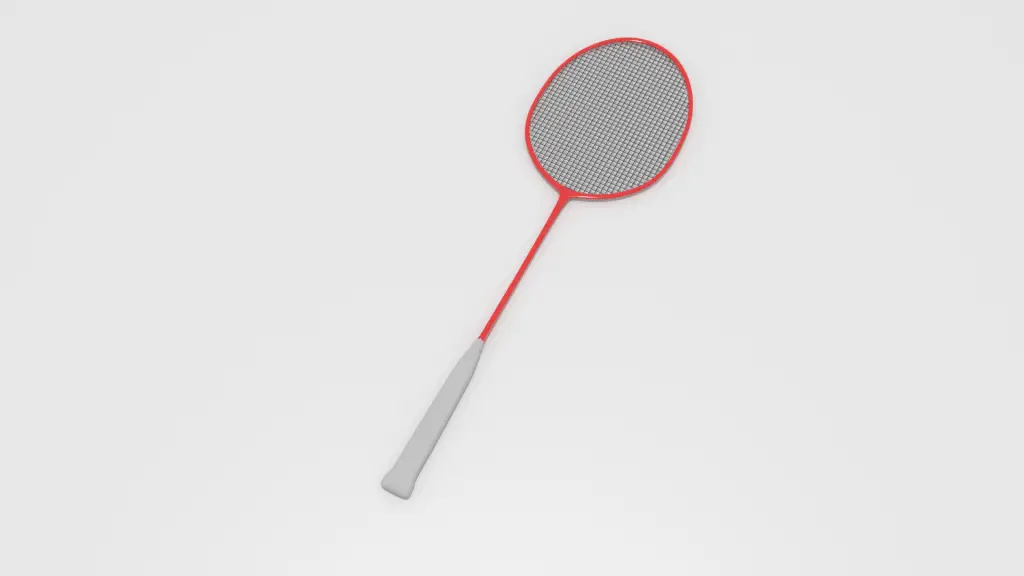
Proportional Editing
We can fix this, by using Proportional Editing, it enables the user to transform the properties of the selected section ( vertices, edges or faces) to the other surrounding elements. In other words, if we select one vertex while the Proportional Editing is enabled, the surrounding vertices will be affected accordingly when we change the position, size and orientation of the selected vertex.
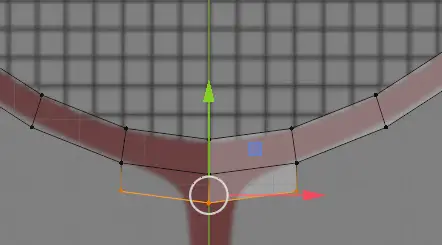
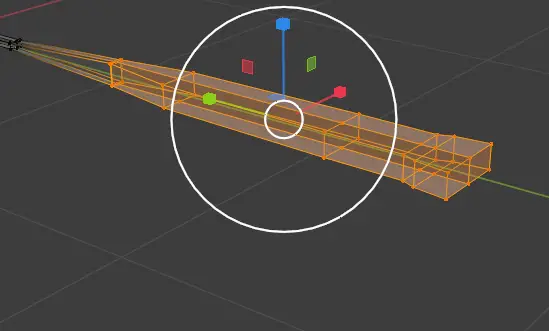
Enable Proportional Editing from top and select the edge which is not aligned with the reference image.

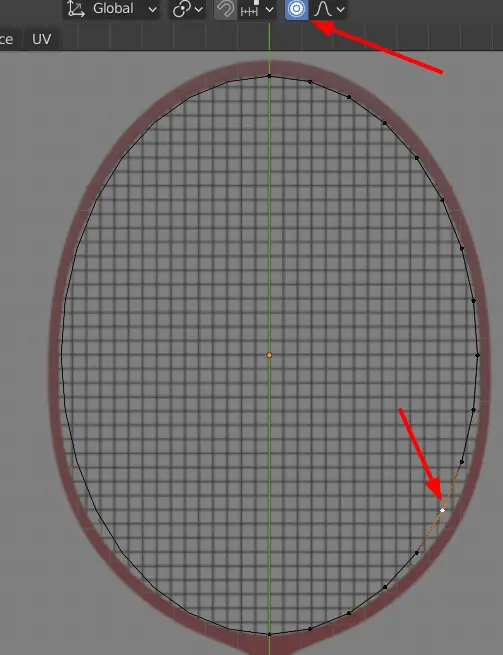
Move the vertex with the Move tool, while using the move tool.
When you press and hold the Left Mouse Button, there appears a circle, this circle determines the which vertices will be affected by proportional editing.
If you use the Scroll Wheel of the mouse, the radius of the circle will change.

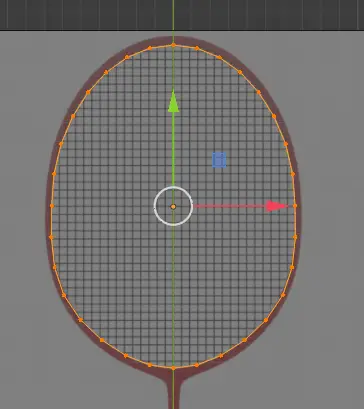
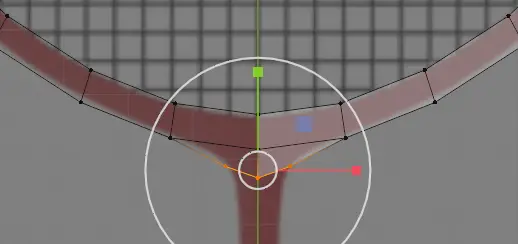
Using proportional editing, the mesh will now be according to the reference image.
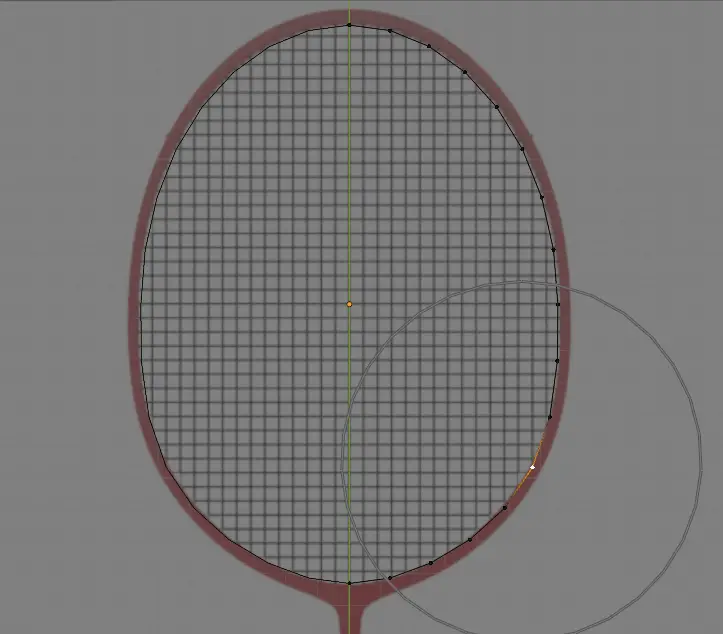
Disable the Proportional Editing.


Now go to Object Mode by pressing Tab key.

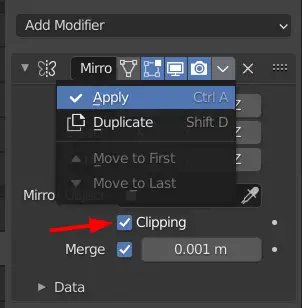
Enable Clipping option and Apply the modifier.

Extruding the head
Go back to Edit mode and select all the vertices.

Press E to extrude, then press S and hover the mouse to scale up the mesh.

Remember, we need to see through the mesh, so enable the X-ray by pressing ALT+Z.
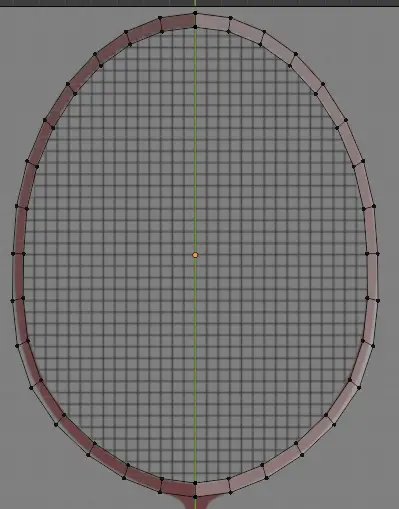
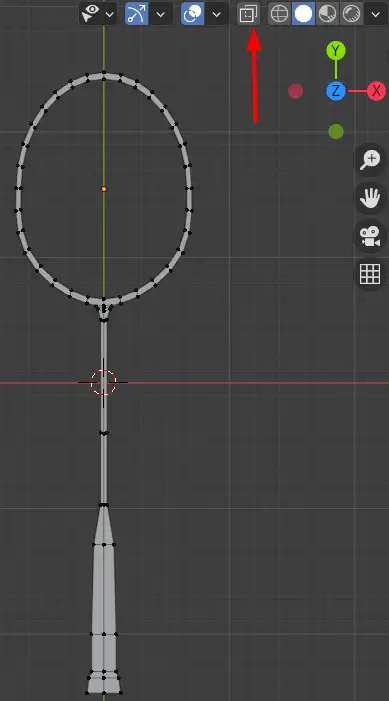
The head is completed, now we will complete the rest of the frame.
Modeling the Shaft
Select the bottom three vertices.

Press E to extrude them, and then use the Move tool.

Use the Scale tool to resize the vertices.

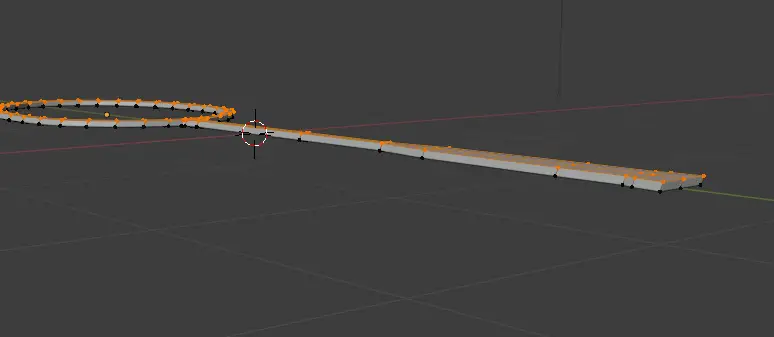
Repeat the process and finish the frame.

We do not need the reference image, you can either delete it or hide it.

Disable X-ray by clicking Toggle X-ray or press ALT + Z.

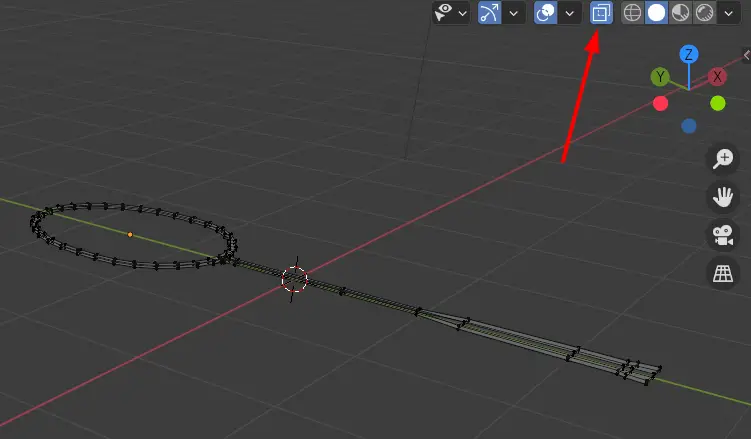
Adding Depth details
Select all of the mesh and extrude it on the Z-axis.

Enable the X-ray again by pressing ALT+Z or clicking Toggle X-ray from top right.

Select the vertices of the handle and choose the Scale tool.

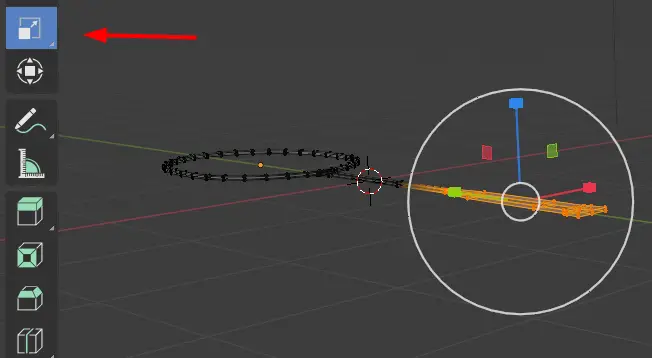
Increase the scale of the handle on the Z-axis.

Go to Object Mode by pressing Tab key.
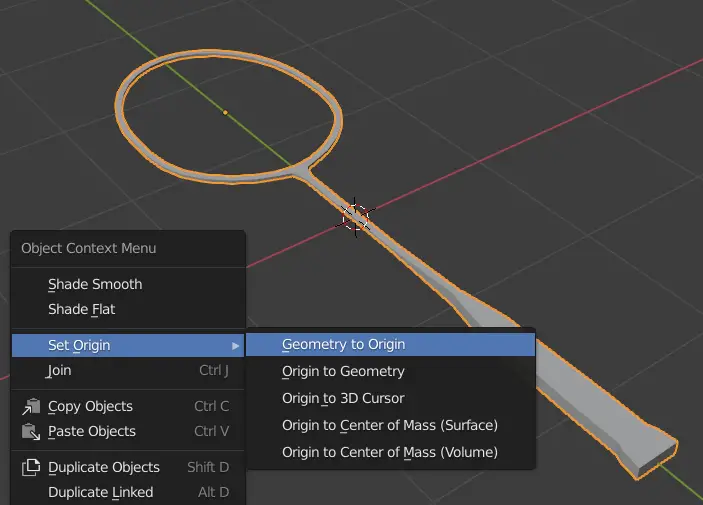
Select the frame, and press Right Mouse Button, in the Object Context Menu click Set Origin > Geometry to Origin.

Modeling String bed
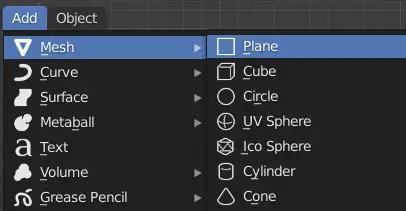
Add a Plane by clicking Add > Mesh > Plane.

Go to Edit mode by pressing Tab key.
Add 41 number of Loop by pressing CTRL + R, then type 41, and hover your mouse cursor near the upper side plane and press Enter.

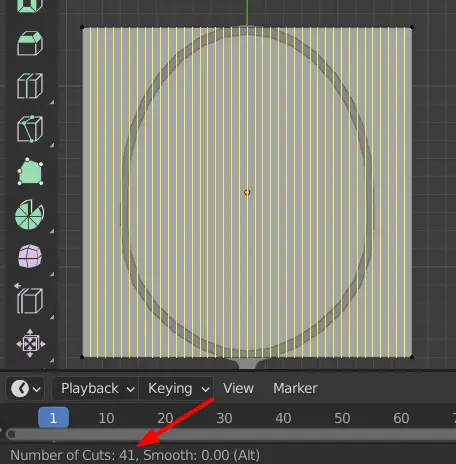
Similarly, add another 41 Loop Cuts on the Horizontal side by hovering the cursor on left side of plane.

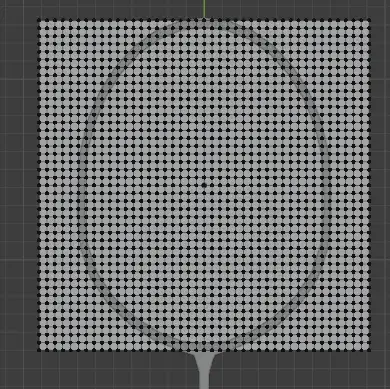
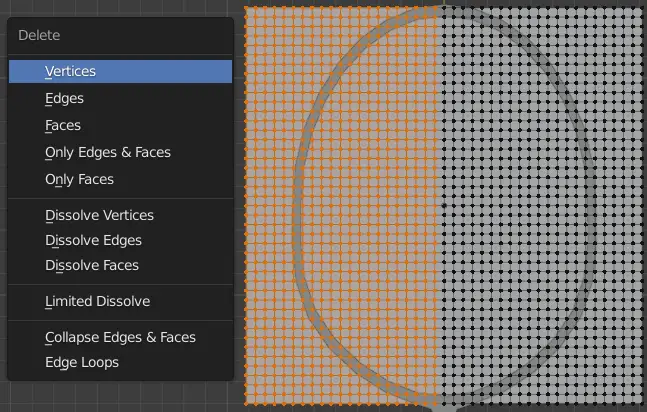
Select half of vertices and delete them by pressing Delete key, and then clicking Vertices in the Delete Menu.

Go to Modifier properties, and add Mirror modifier. Enable Clipping. The mesh should be projected to the opposite side.
Then add Wireframe modifier.

To see the effects of Wireframe modifier, go to Object mode.

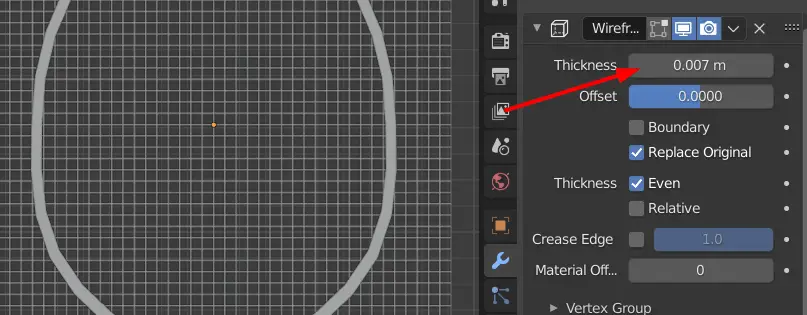
Change the thickness of the modifier
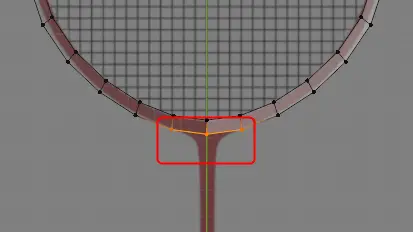
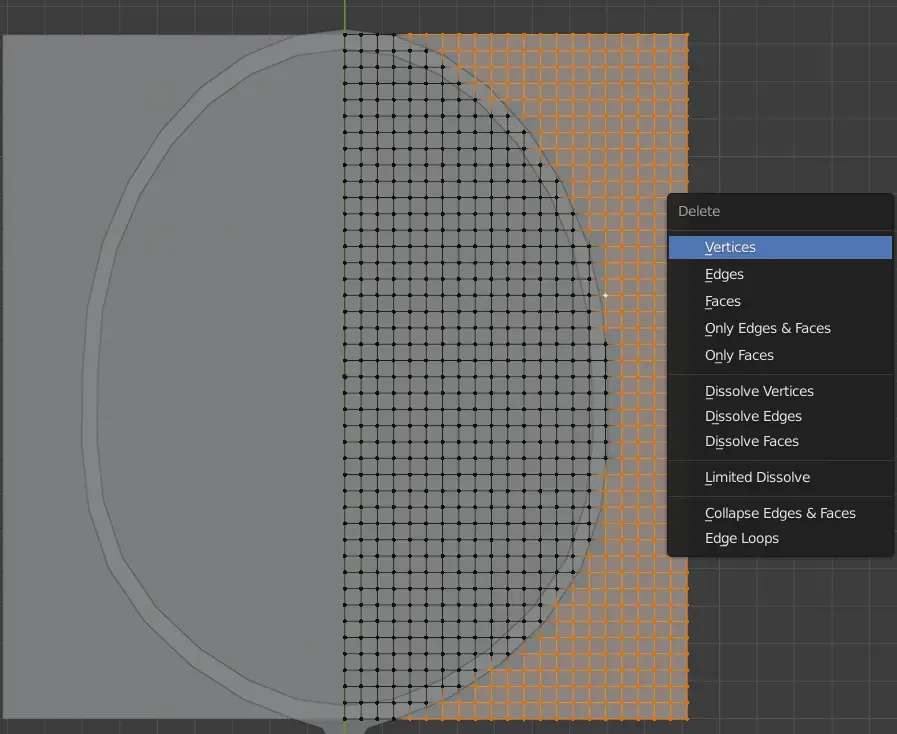
Now, go back to Edit mode, select the excessive edges outside the frame and delete them.

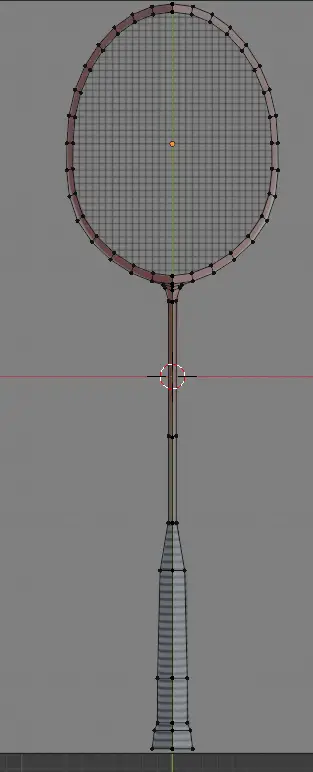
The model should look similar to this.


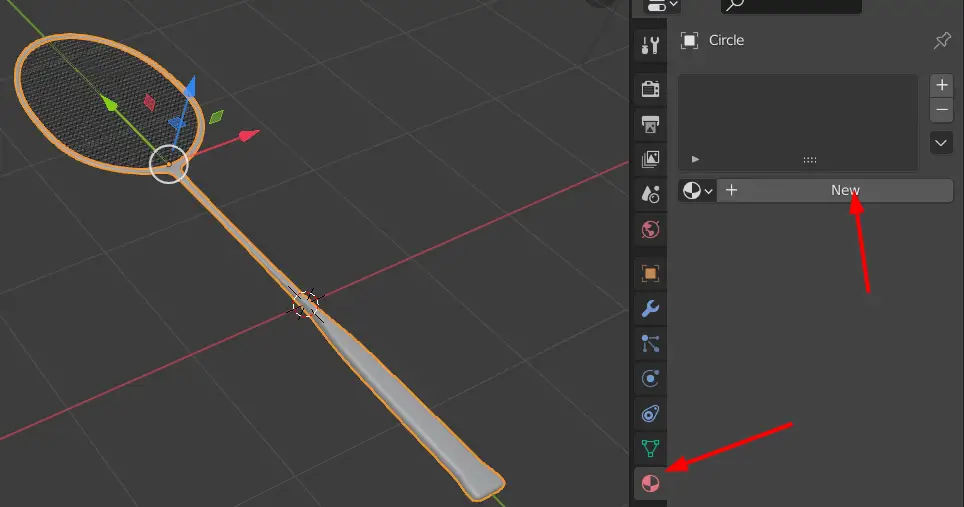
Add materials by clicking Material properties and clicking New.

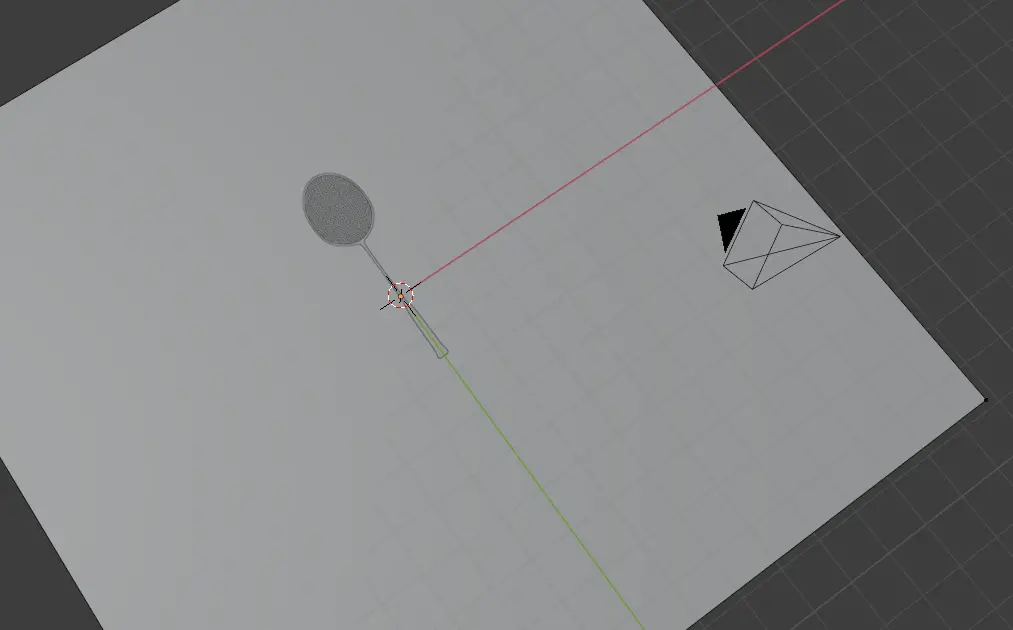
Add a floor, adjust the lights.

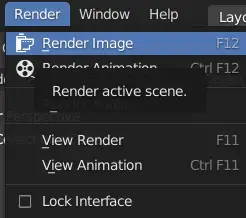
Render the scene by clicking Render > Render Image.

The render image will look similar to this.