Adding Particle System for Object Instancing
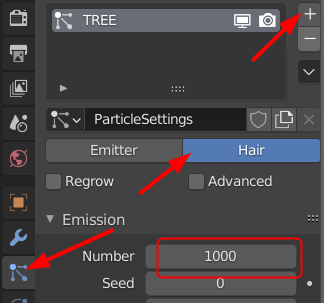
You will see that numerous hair like objects will be formed.
Under the Render, choose Render As "Object". And under Object choose the Instance Object to be the tree or any other object you would like.
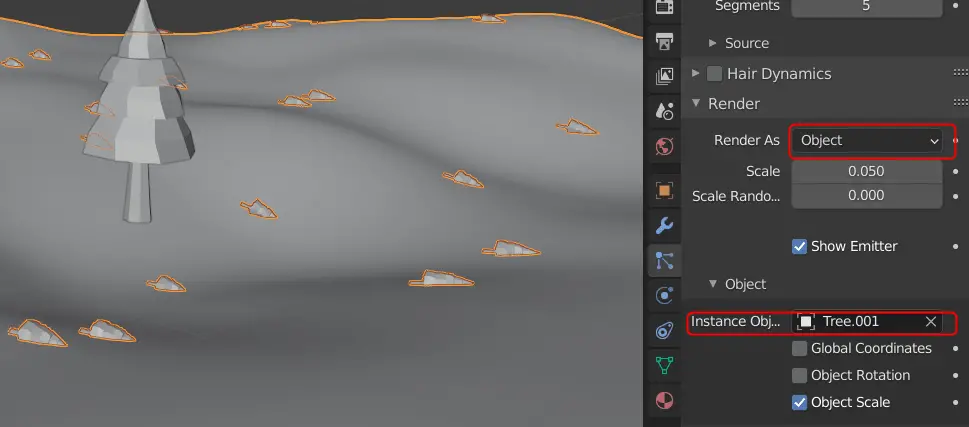
The orientation and size of the objects is not correct.
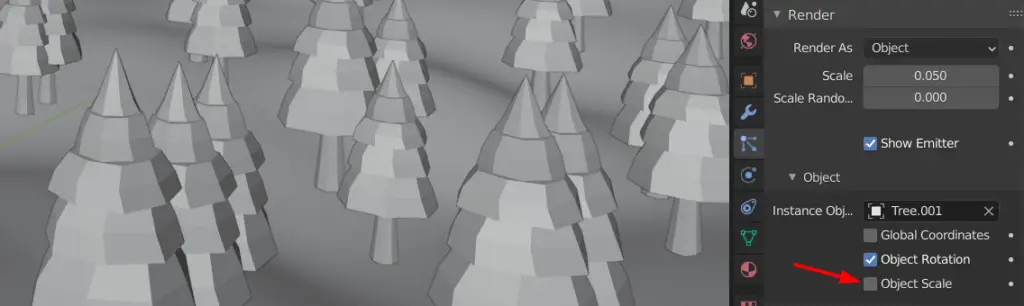
The size can be corrected by disabling the Object Scale.
Enable the Advanced option, then you will be able to see Rotation, enable Rotation and choose the Orientation to be None.
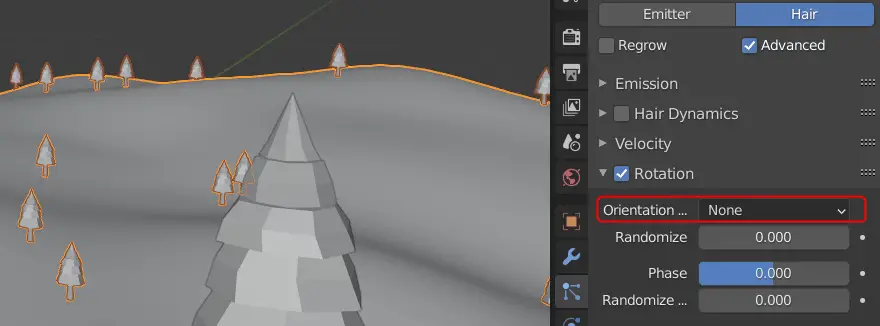
You can choose a different Orientation, but this is ok.
Press Space key and the animation will run.
We can choose the vertex group for which we want the region to be more dense with the instance objects.
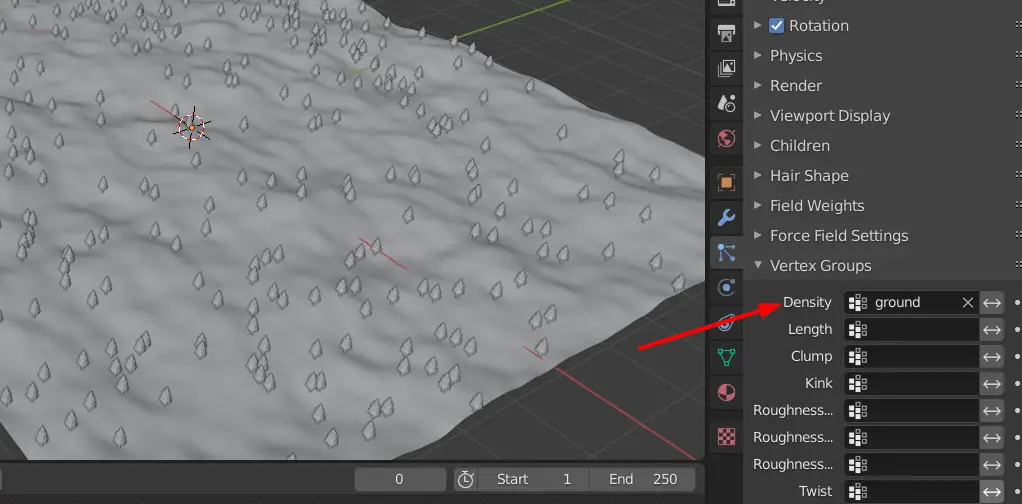
We have chosen the same vertex group we made earlier, but you may choose a different one.
It is recommended to use a Sun light. We should also enable Contact Shadows.
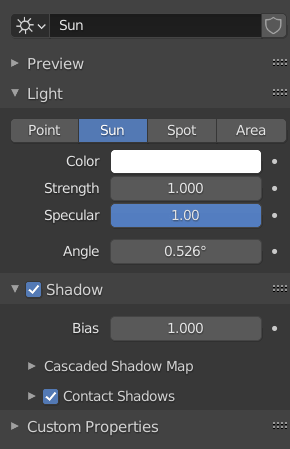
Contact shadows will make our scene better.
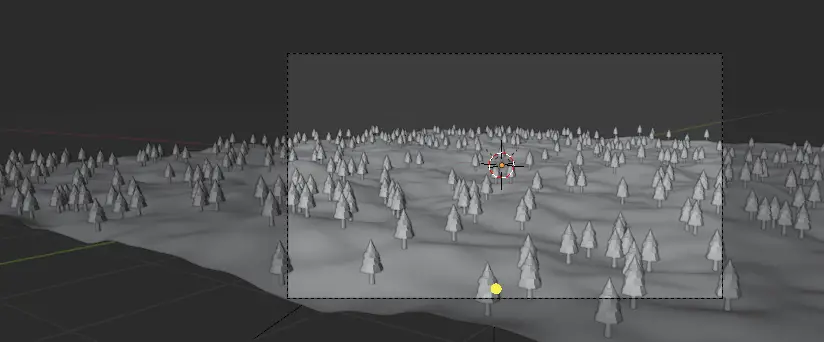
Set the camera at an angle, which best suits the scene. The camera can be set to the viewport view by pressing CTRL + ALT + Numpad 0.
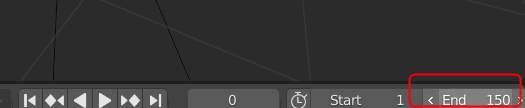
Choose the End frame to be 150. The animation will be rendered to the End frame.
Rendering
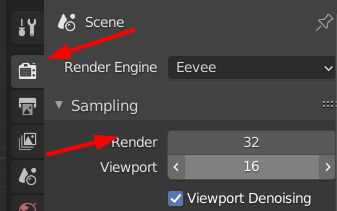
In the Render properties, you can reduce the Render sampling for the animation to render faster.
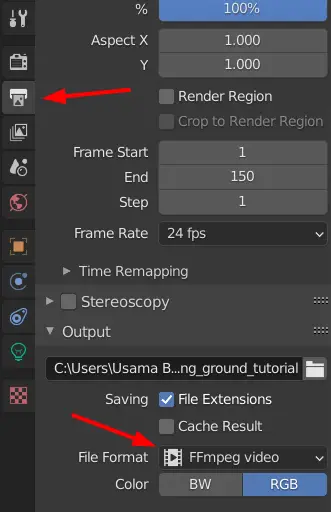
In the Output properties, change the File Format to FFmpeg video.
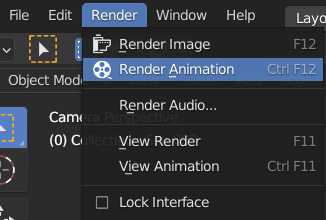
To render the animation click Render > Render Animation.
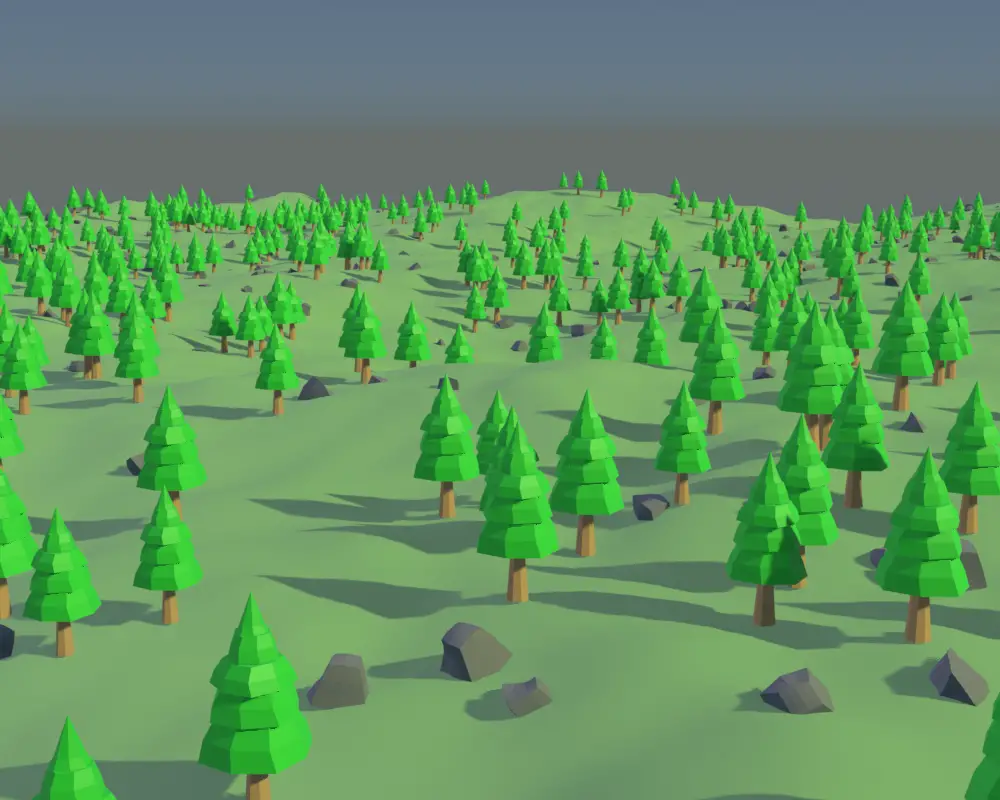
The final render will look similar to this.