Using Geometry Nodes
We are going to use both 3d Viewport and Geometry nodes window at the same time. We are going to switch our Timeline window to the Geometry Node Editor window.
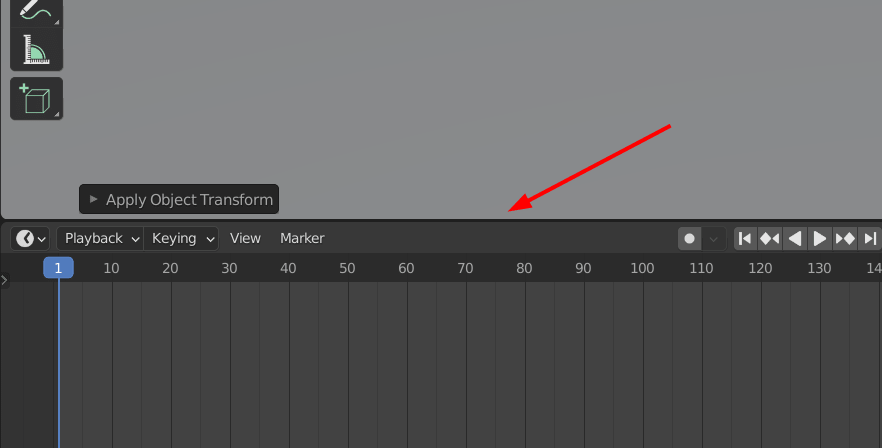
Drag the Timeline above, so that it covers the half of the screen.
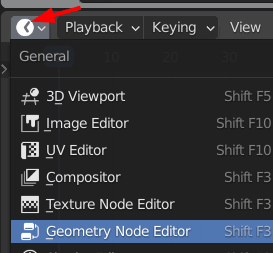
Click on Timeline icon, and change it to the Geometry Node Editor.
Select the plane, and click on New in the Geometry Node Editor.
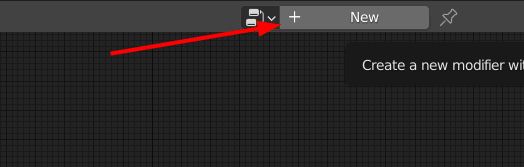
This will make a Geometry Node modifier on the object.
Two nodes will appear, Group Input and Group Output. Both of them must be present all time.

If these nodes are not connected, the mesh will not be visible.
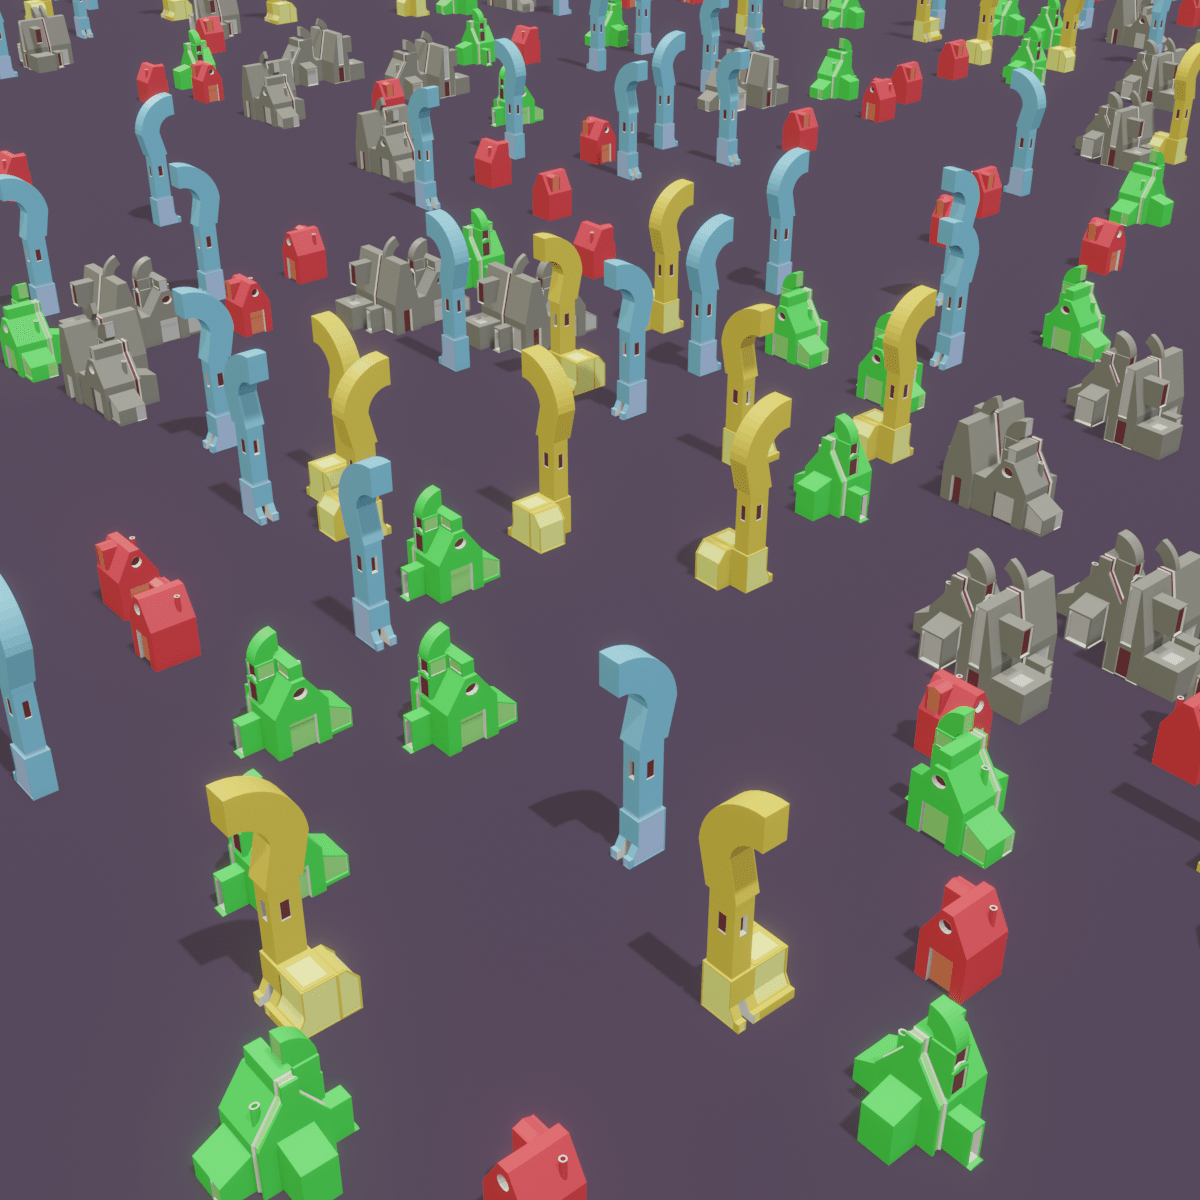
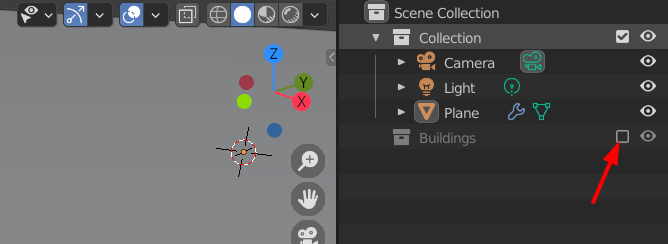
Disable the “Buildings” collection, because we do not want the buildings to be visible, rather, we want the geometry nodes to make the buildings on a plane that will be rotated by 90, 180, 270 and 360 degrees.
As it has been mentioned earlier, we will use point scattering or distribution to make multiple buildings..
Adding Point Distribute node for scattering
Click Add > Point > Point Distribute.

This will convert our mesh into some points.
Change the distribution method from Random to the Poisson Disk. The Poisson Disk distributes the points evenly compared to the Random method.
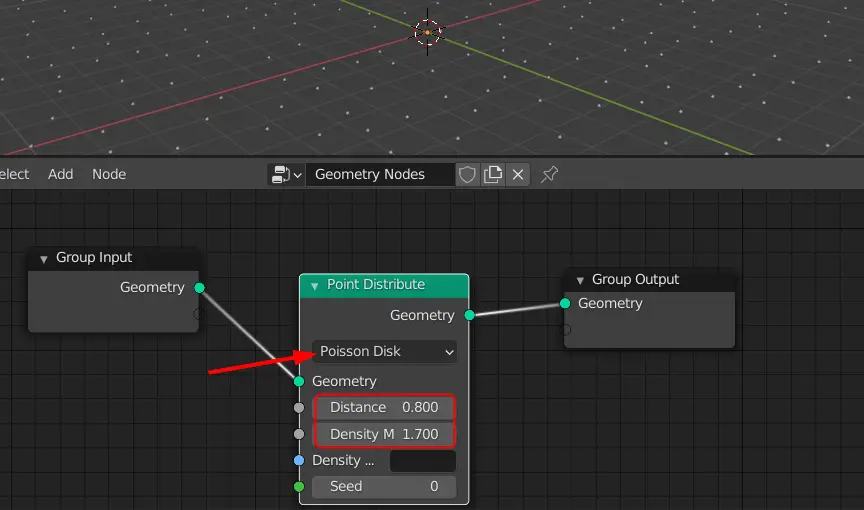
The number of points can be changed by changing Density. The minimum distance between the points can be changed by changing the Distance.
Now, we want these points to be converted to buildings. Point Instance node can instance the buildings at the location of these points.
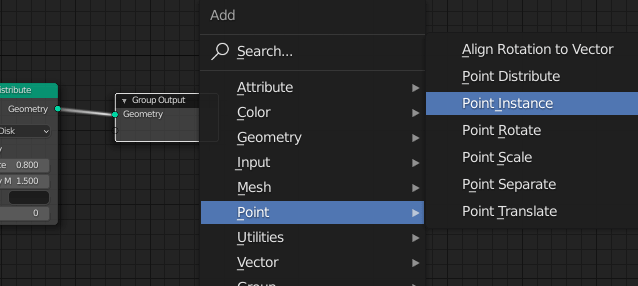
Adding Point Instance node to instance objects
Click Add > Point > Point Instance and place it next to the Point Distribute.
The Point Instance replaces the object or collection with points.
In the Point Instance node, choose collection and uncheck the Whole Collection, and choose the Collection to be “Building”
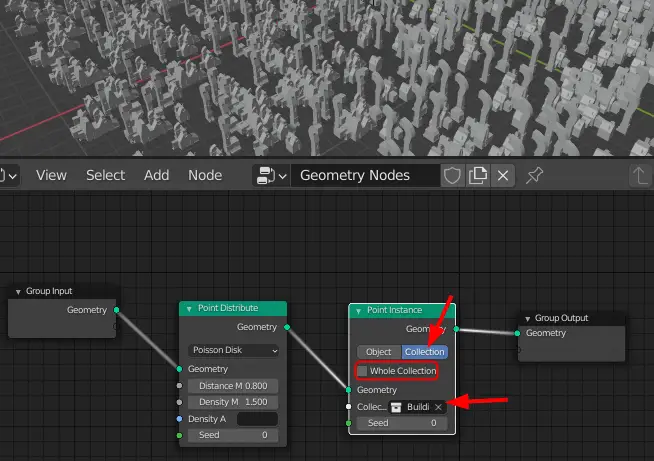
The number of buildings can be increased or decreased by changing Density in the Point Distribute node. The minimum Distance can be changed by changing Distance in the Point Distribute node.

We need a plane for the buildings. You can either add a plane or you can use the same plane that we added earlier. The earlier plane was converted to points, however, we can use join geometry to bring that plane back.